Introduction
This section of the blog talks about what I learnt about Molding & Casting. Molding and casting is used to make all sorts of objects like dices and figurines.
PCB Fabrication
In order to start Molding and Casting process, I would first have to create a foam mold for the silicon mold, so that I can cast and create the final product out of a rubber. Note that if both materials are made of silicon, they would stick together.
| Example Image | Explanation |
|---|---|

|
To get started create the item you would want to mold and cast. then create a box around it. |

|
Switch the mode in fusion360 to manufacture. |

|
Download the stepcraft post processor |

|
Click on set up and choose the stepcraft post processor. Select the end mill that you will be using. For me I will be using the 3mm end mill and choose the adaptive clearing tab on the top bar. |

|
Download the gcode. |
Creating the Foam Mold.
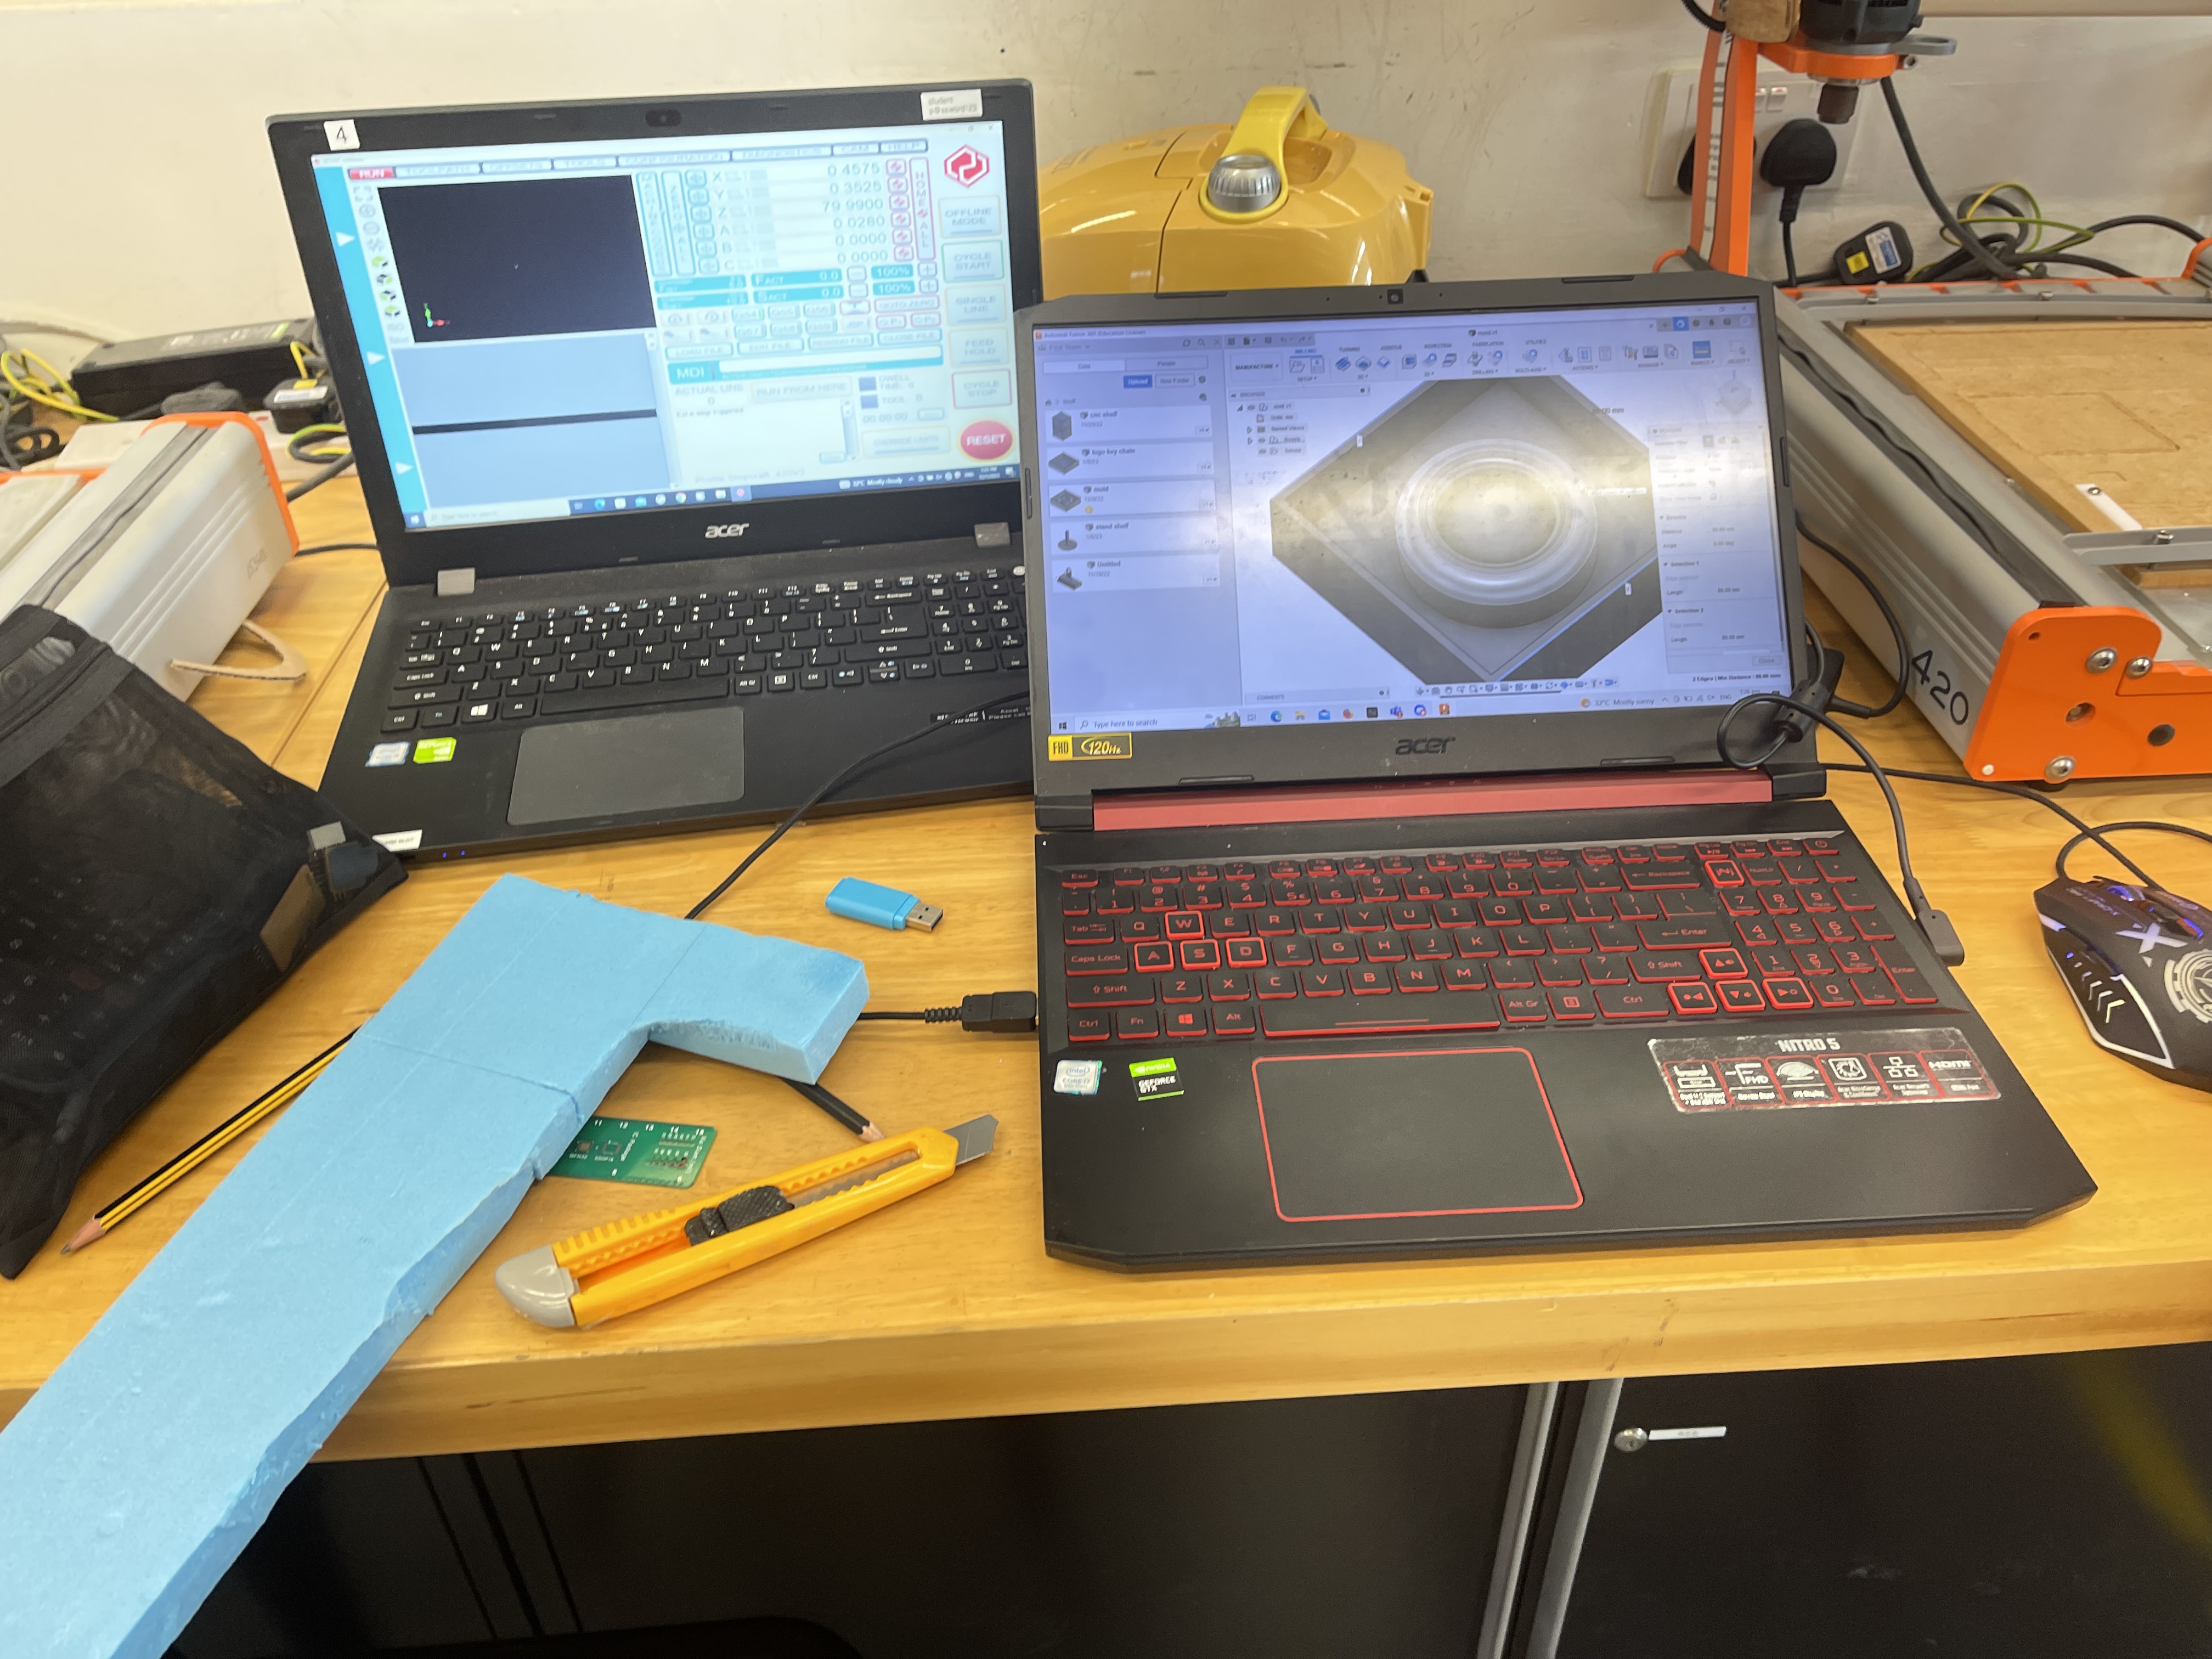
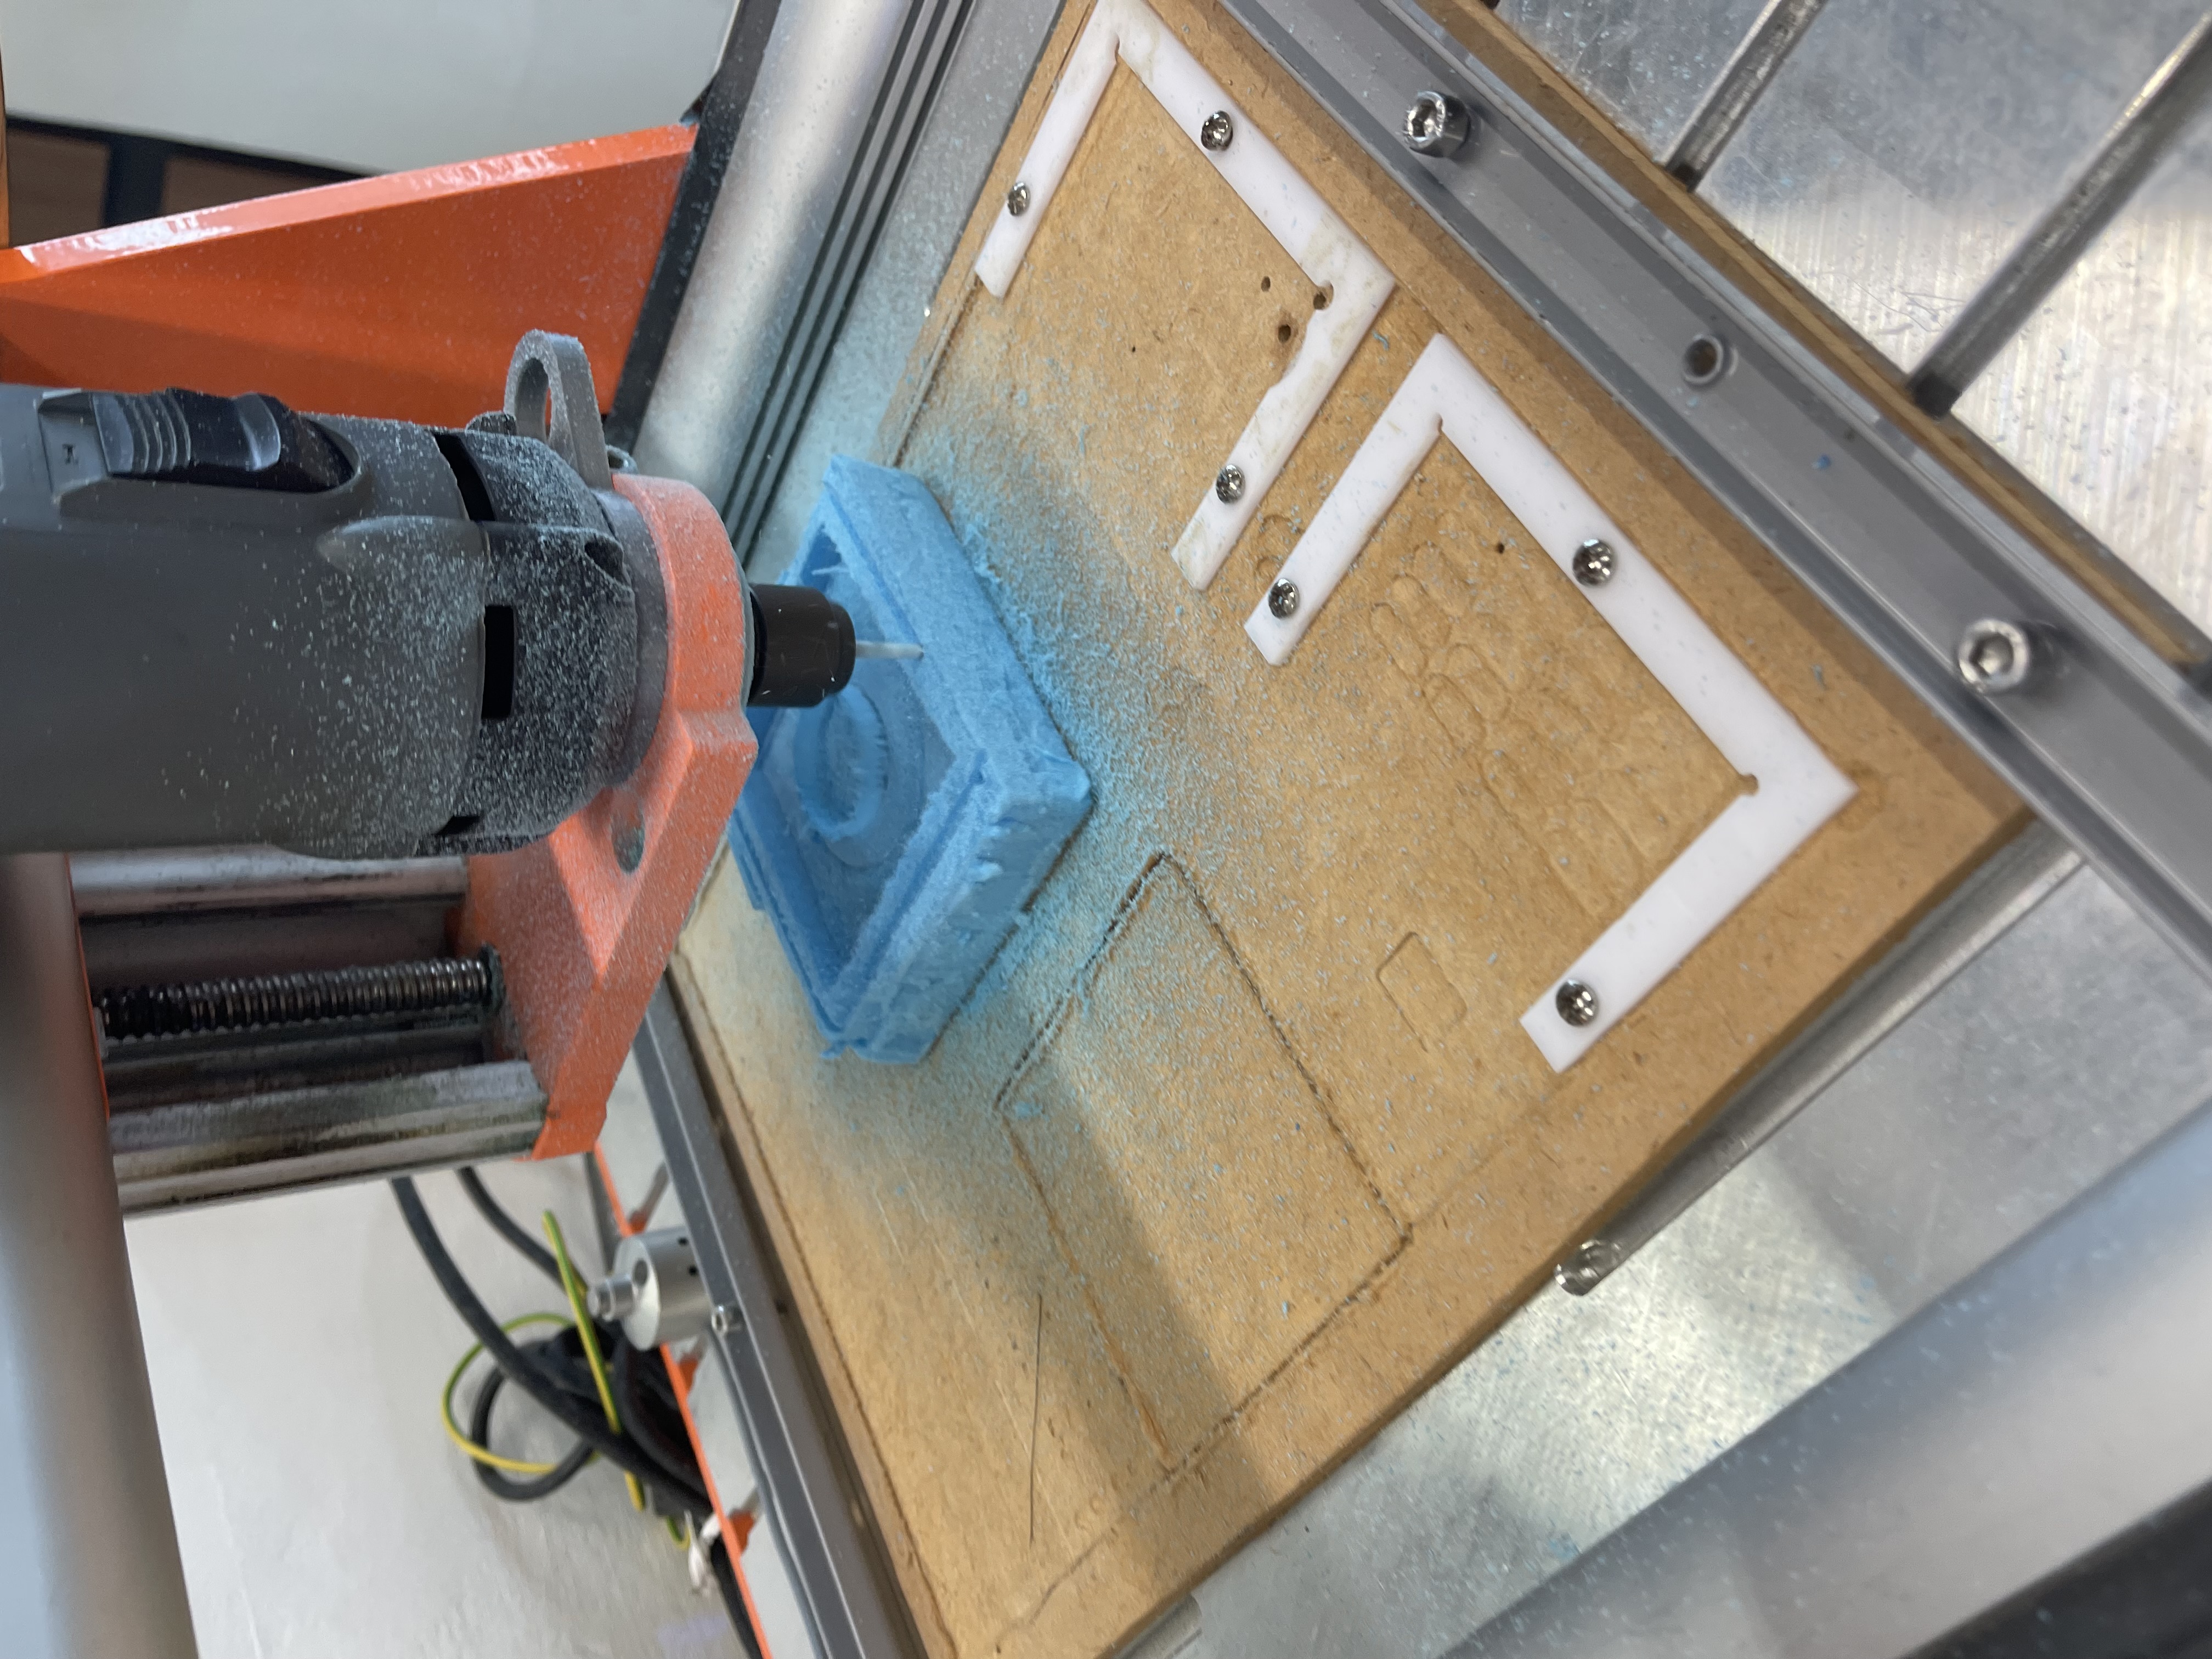
This process uses the stepcraft CNC router.
| Steps Taken | Explanation |
|---|---|
|
Step 1Take the Gcode generated from your Fusion 360 progarm and transfer it to the computer connected to the stepcraft router. |
|
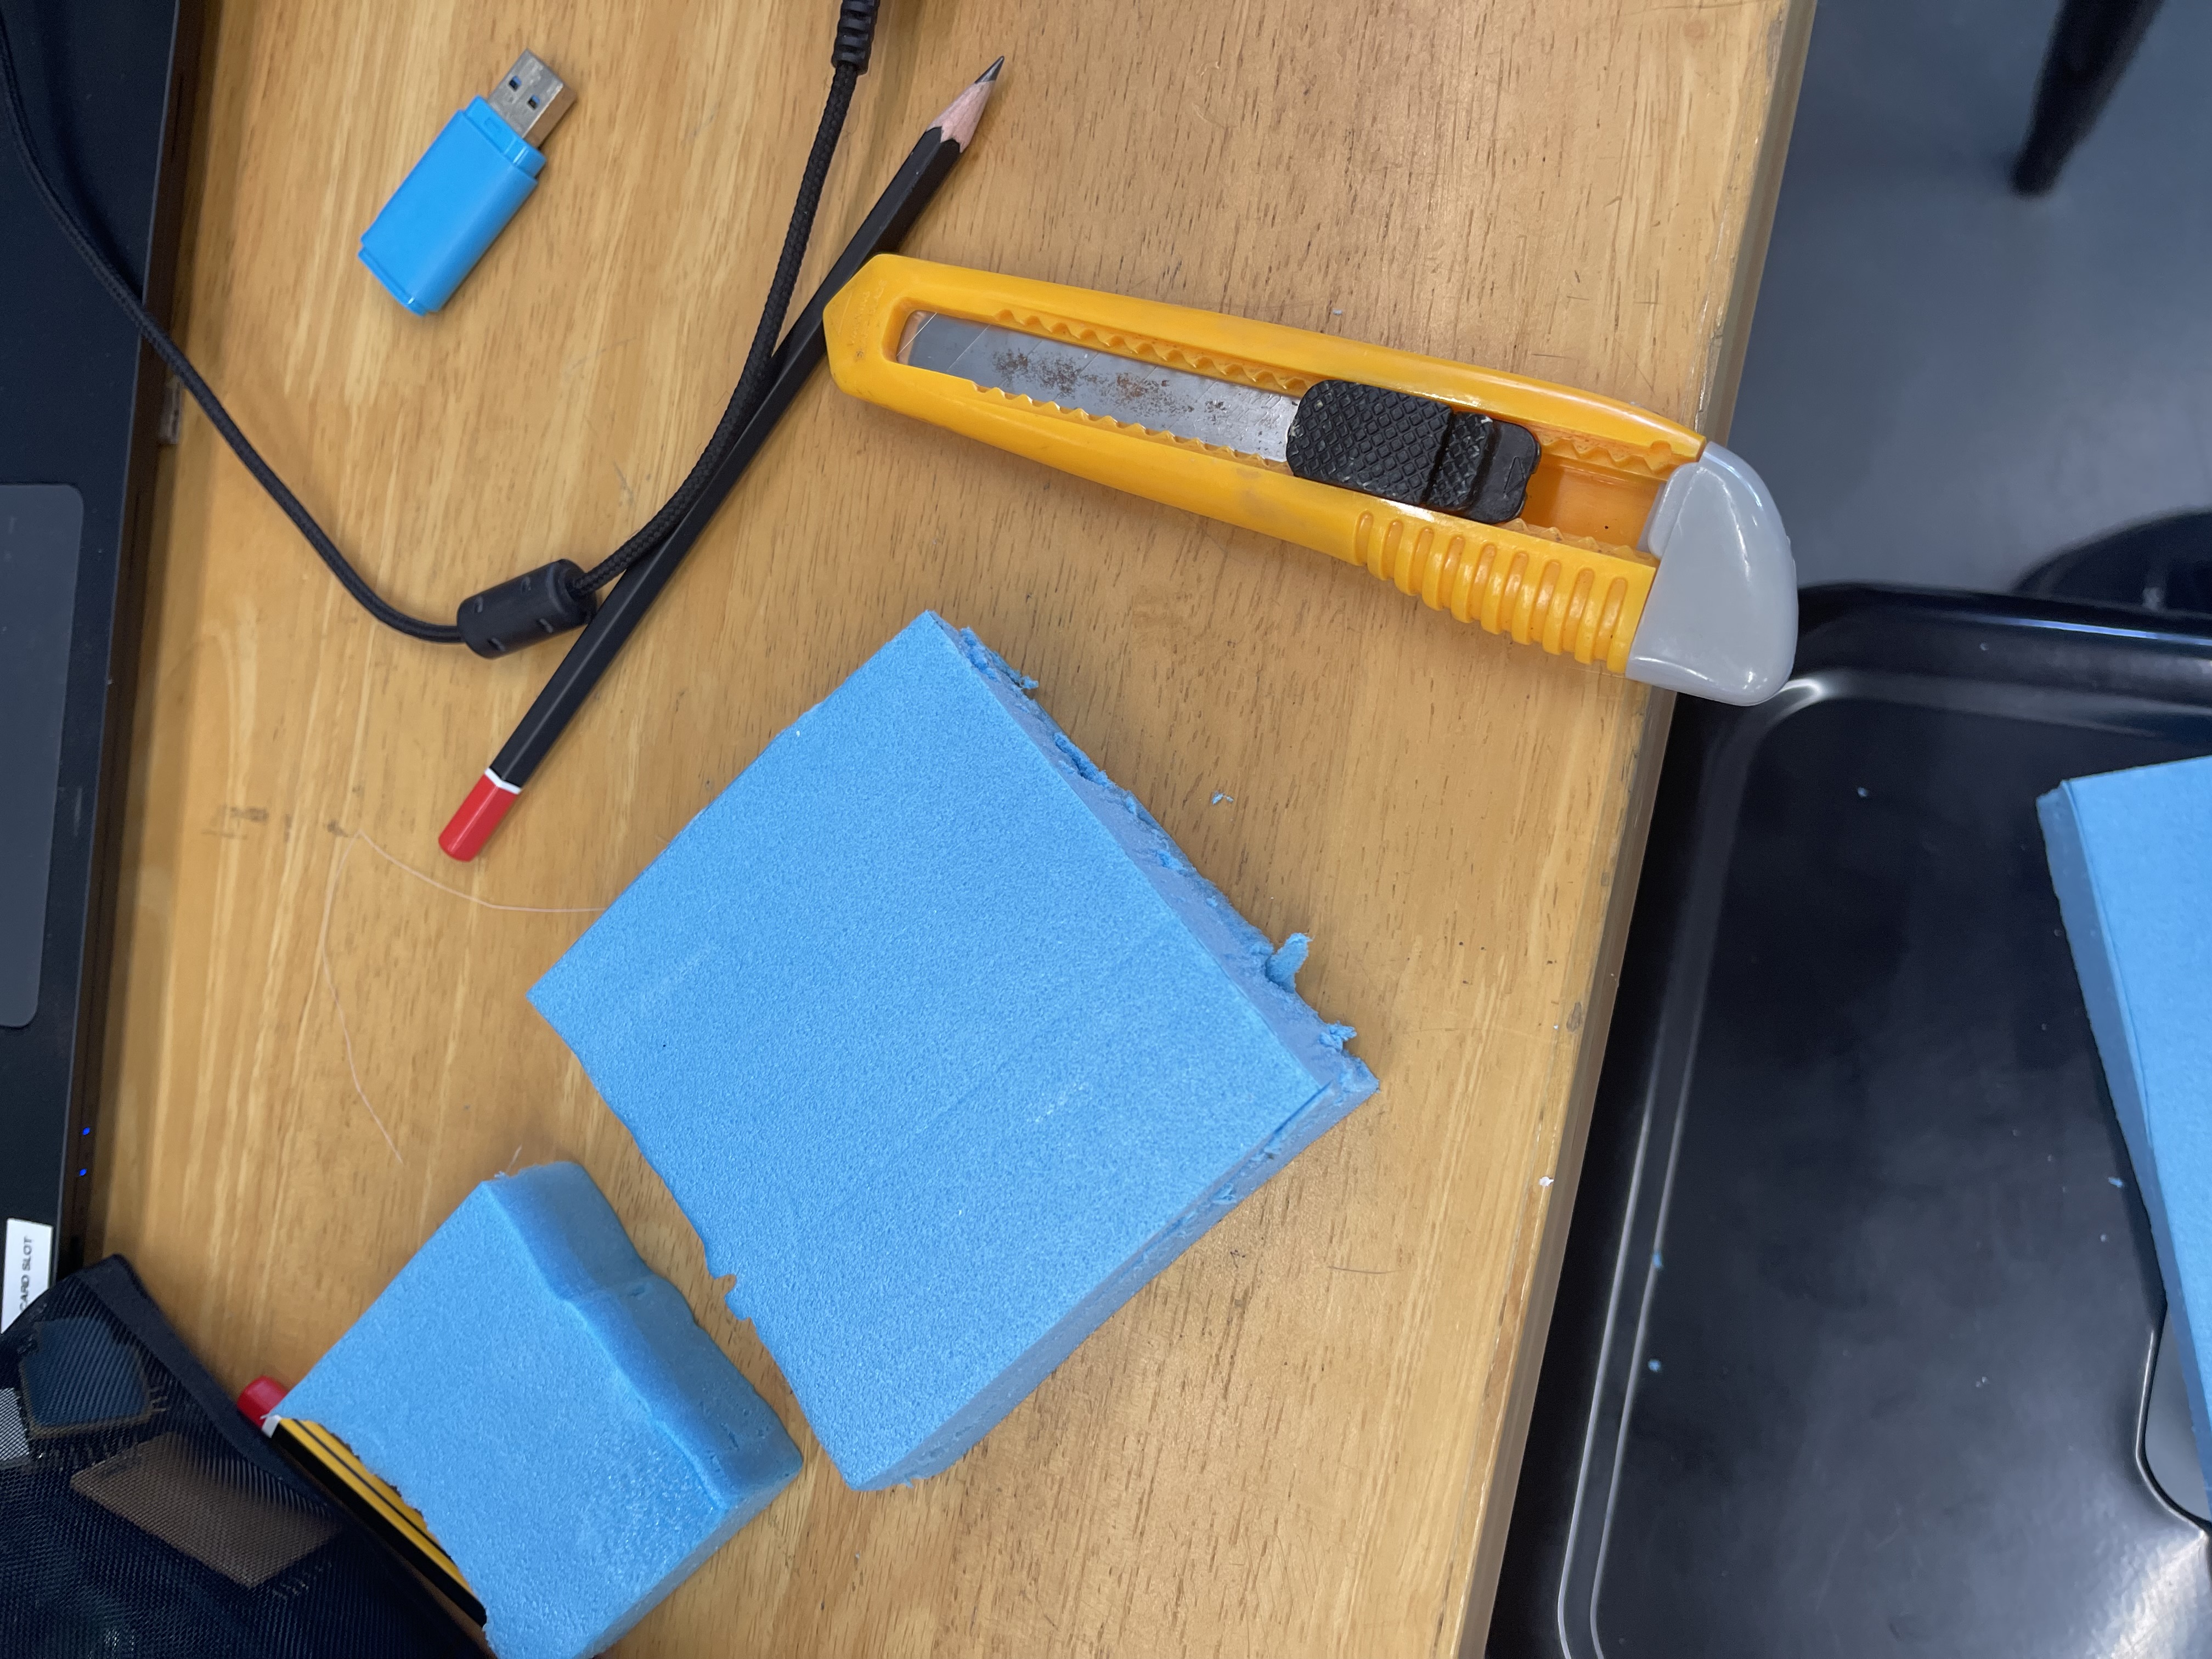
Step 2Cut the foam so that it fits the stock measurements from your Fusion 360 model. The tolerance of the stock is negligible as long as it is larger than your model in Fusion 360. The is becuase the router would cut through the stock anyways based on the G code. |

|
Step 3Once the G Code is exported, you can use NC viewer on the computer to open the file. With it you can set where the X and Y axis where the piece is going to be cut which will be your reference points this is similar to the CNC router at T11C. Make sure to use the Z axis limit switch to mark the Z axis refernce point.. |
|
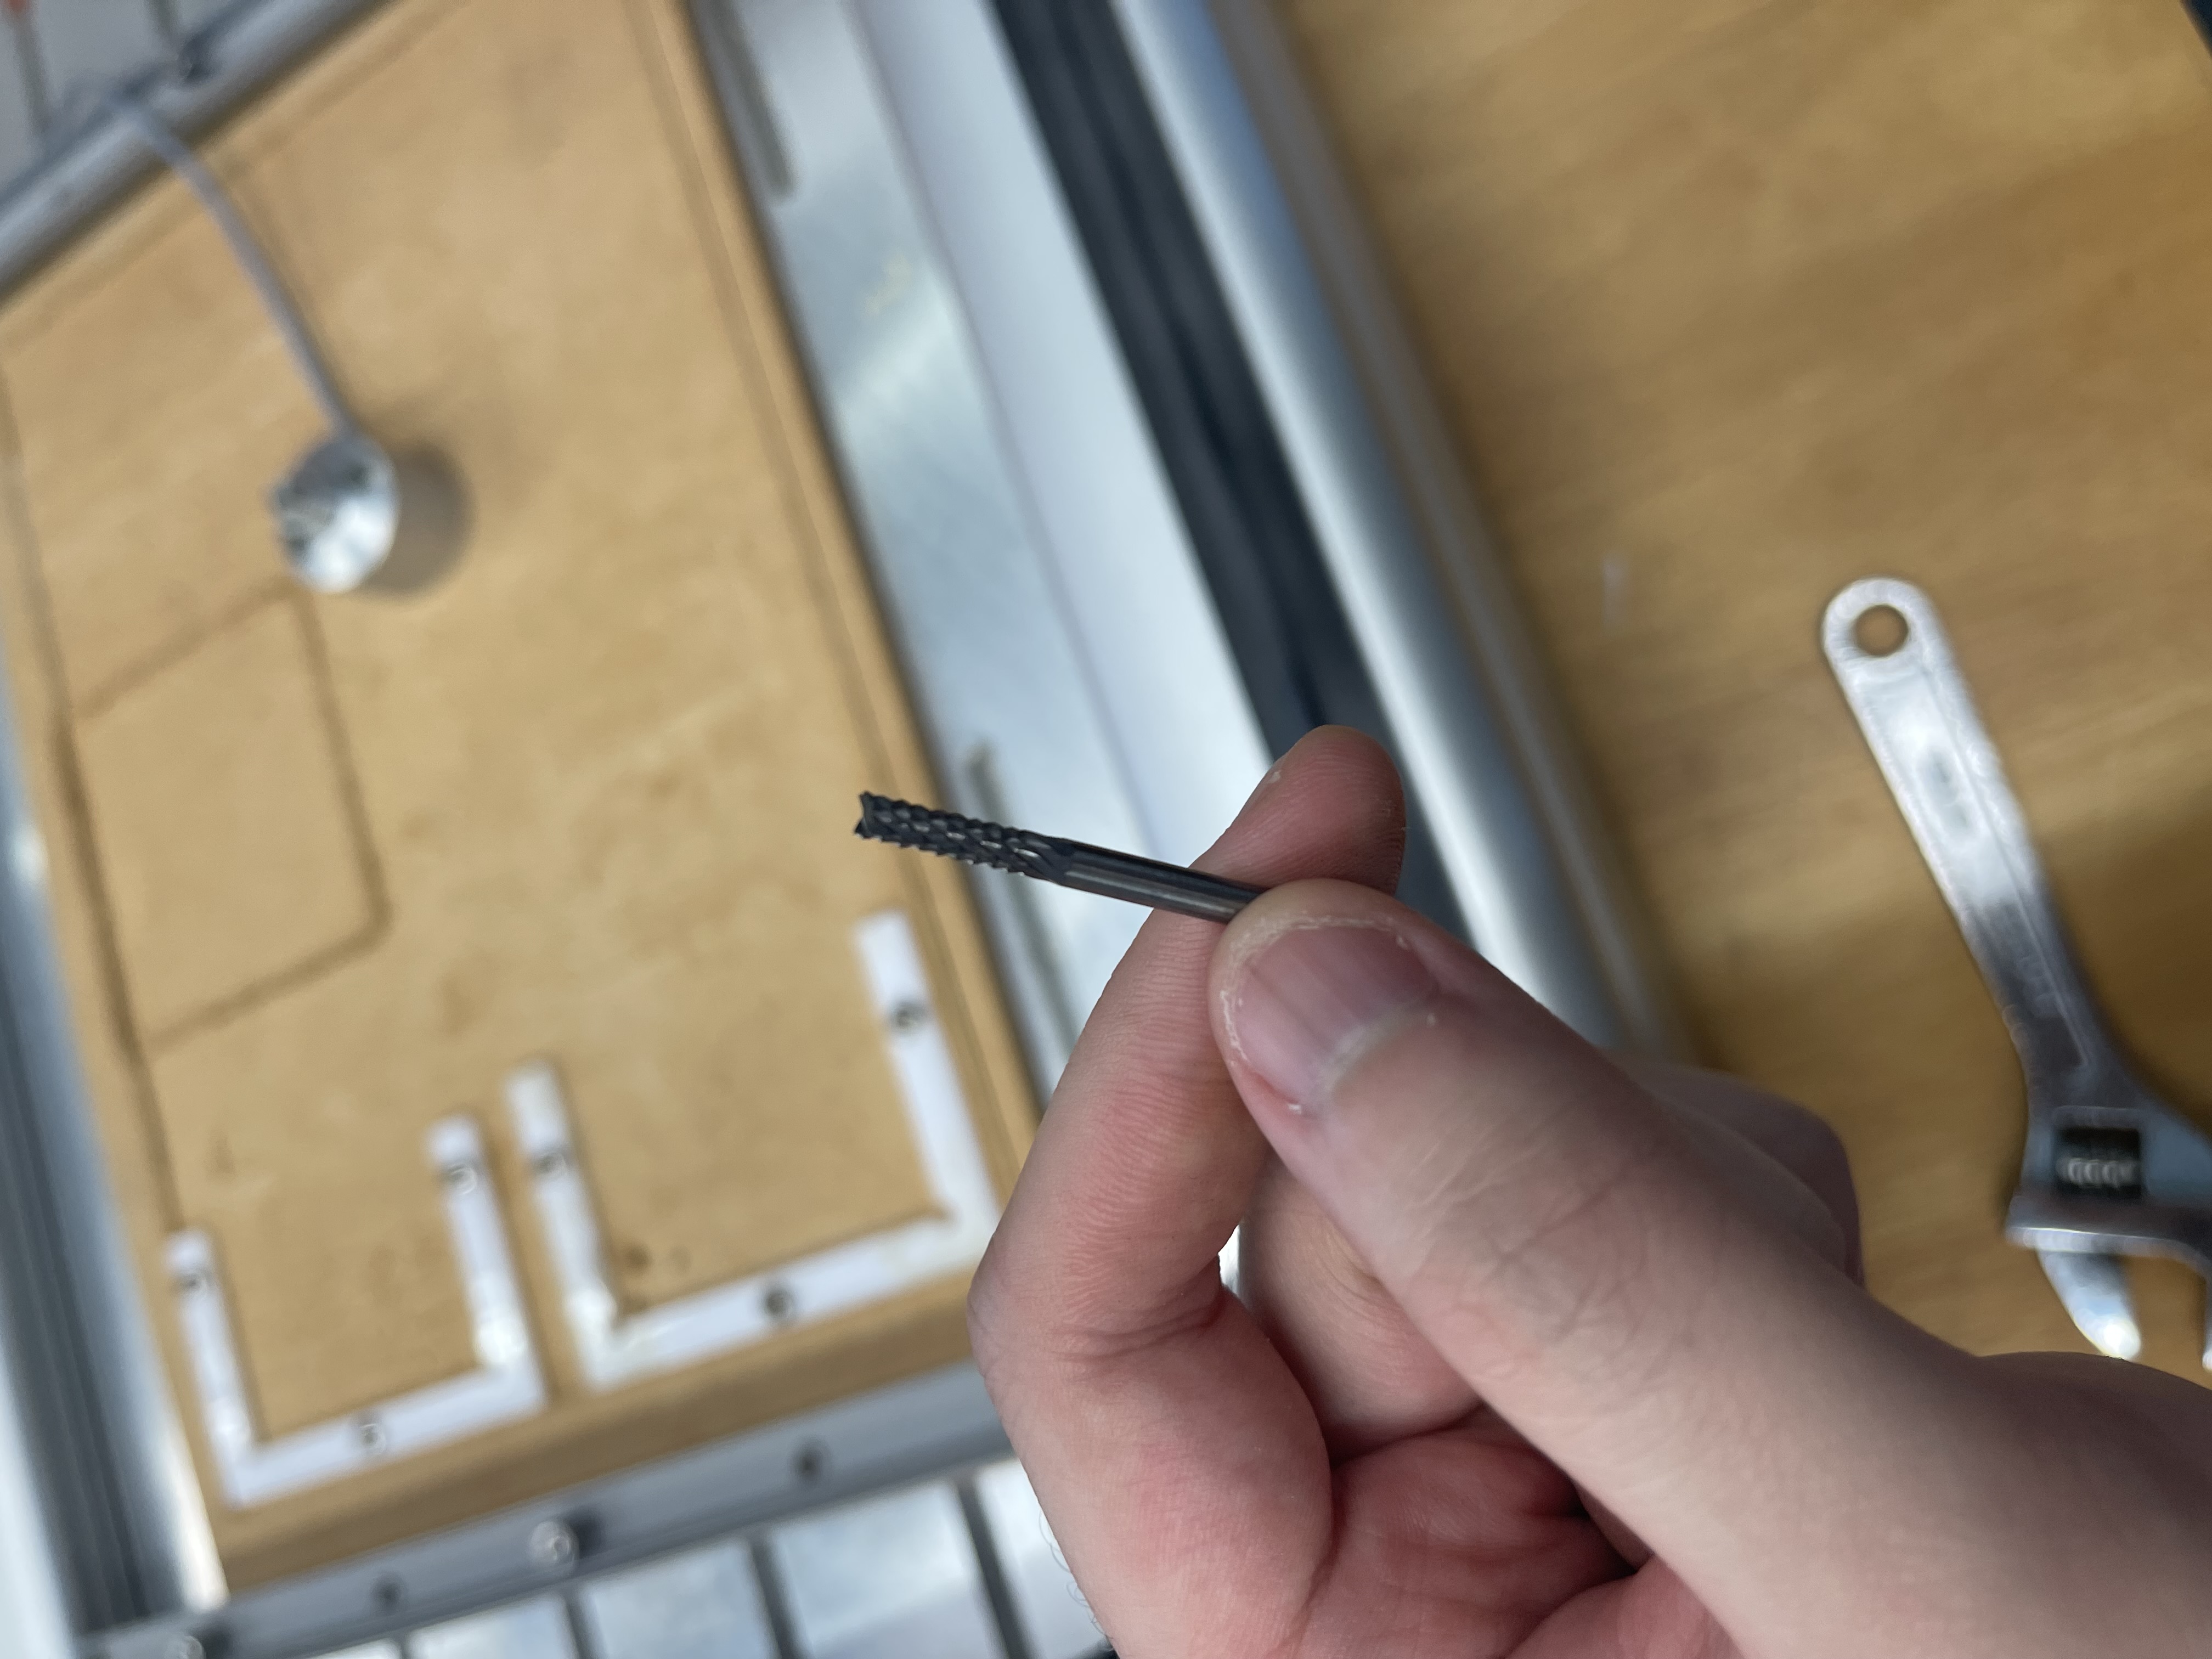
Step 4Before you cut ensure that the router is using the correct end mill before cutting. In Fusion 360, I set the router to use a 6 mm end mill. Thus I have to change the router to use a 6mm end mill. |
|
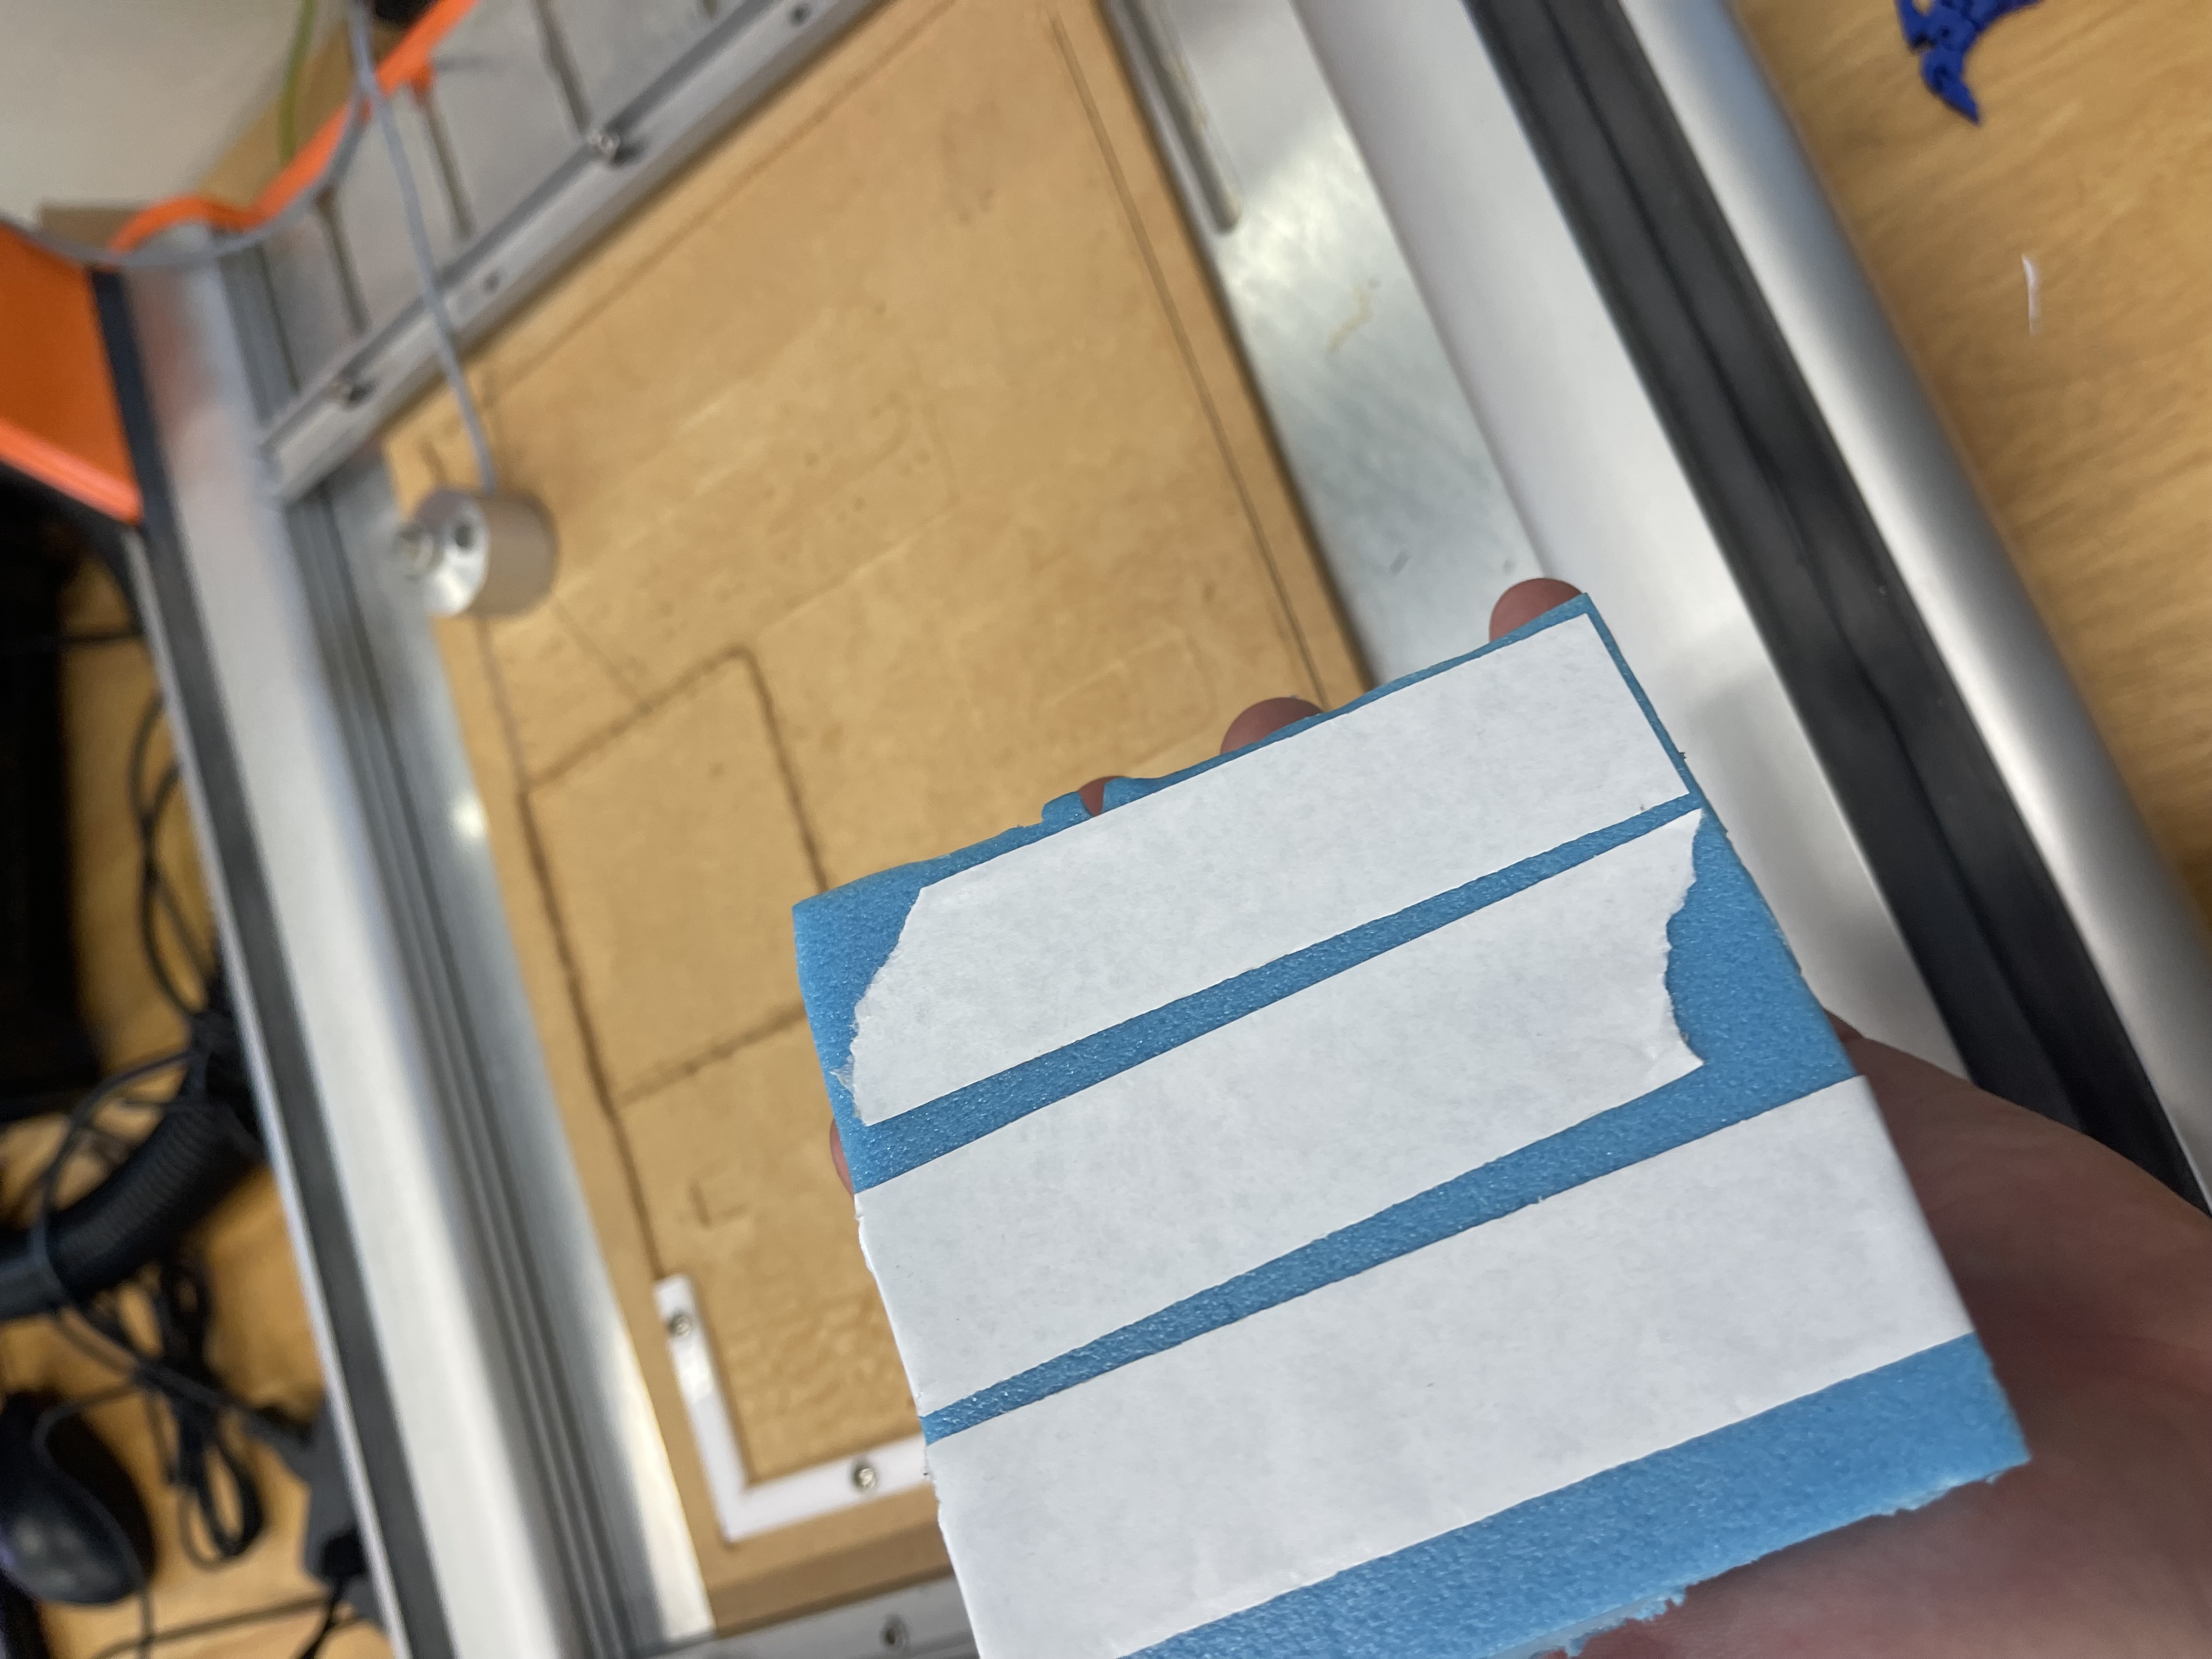
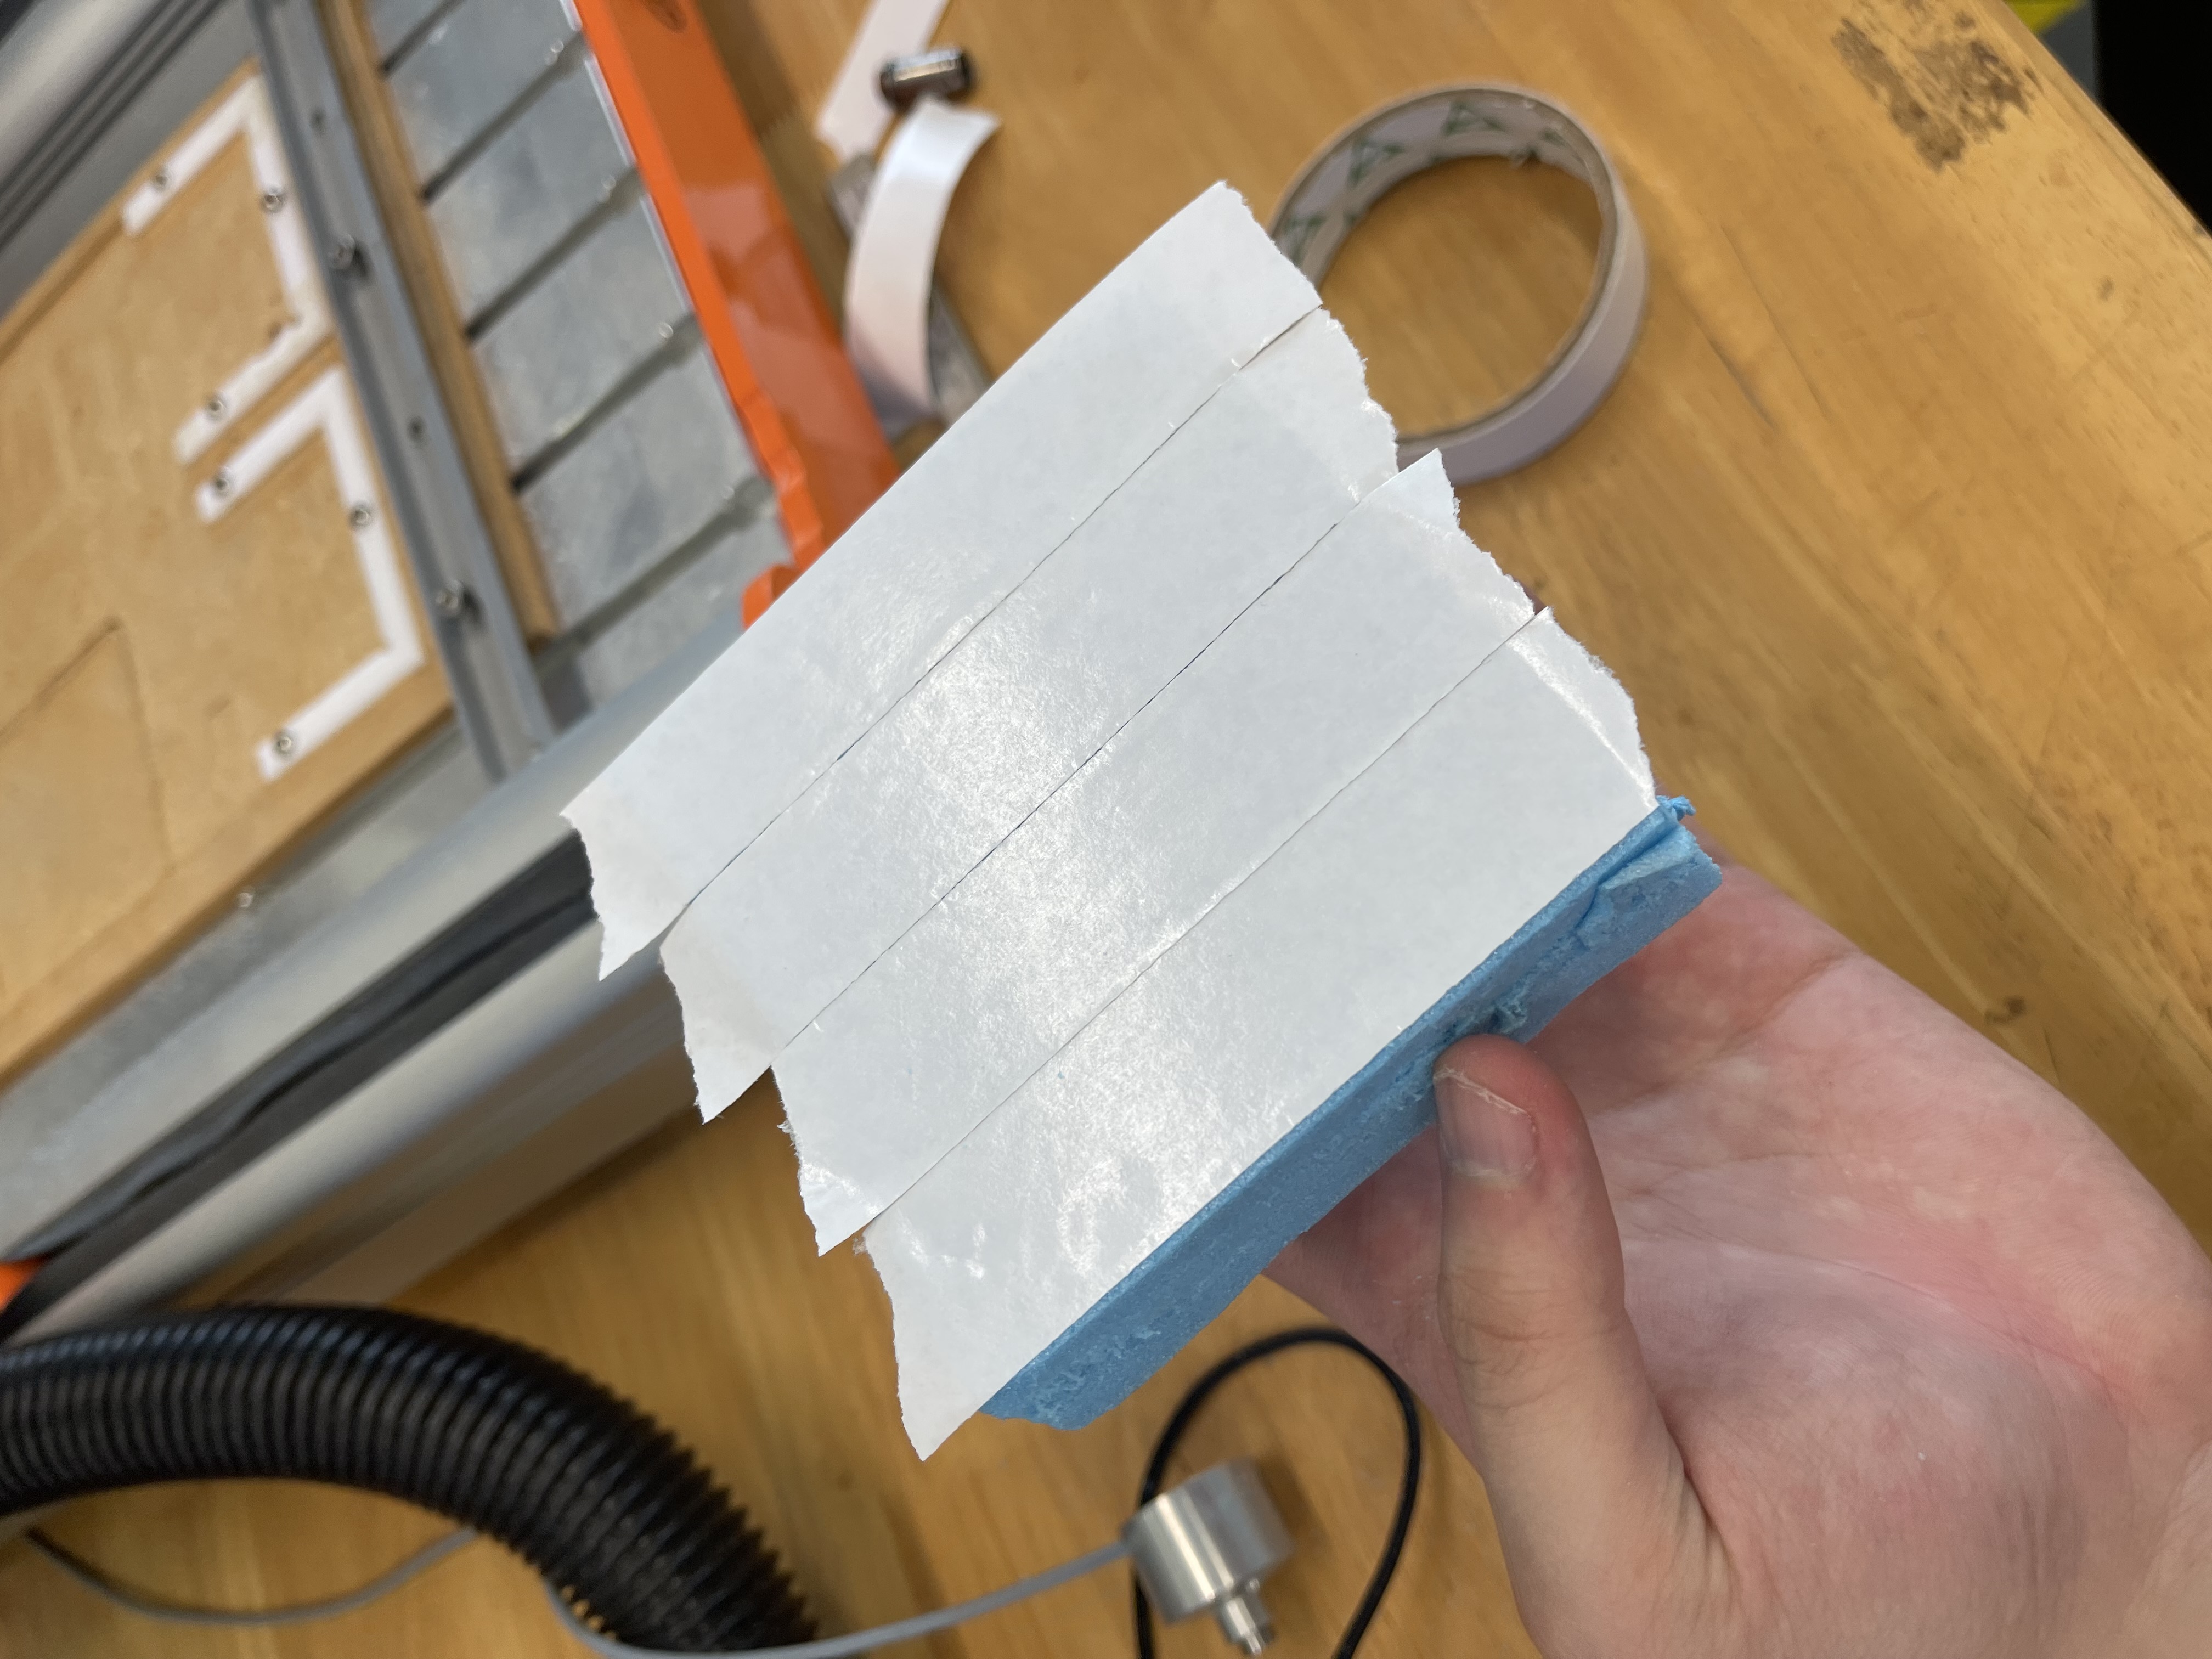
Step 5To secure the foam to the bed of the router, I used double sided tape as it did not need to be secured too tightly since it might damage the foam. |
|
Step 6With that, paste the workpiece onto the bed and set the machine to mill the foam mold. |
Creating the Silicon Mold.
This process details how I created the silicon mold used for my product.
| Steps Taken | Explanation |
|---|---|
|
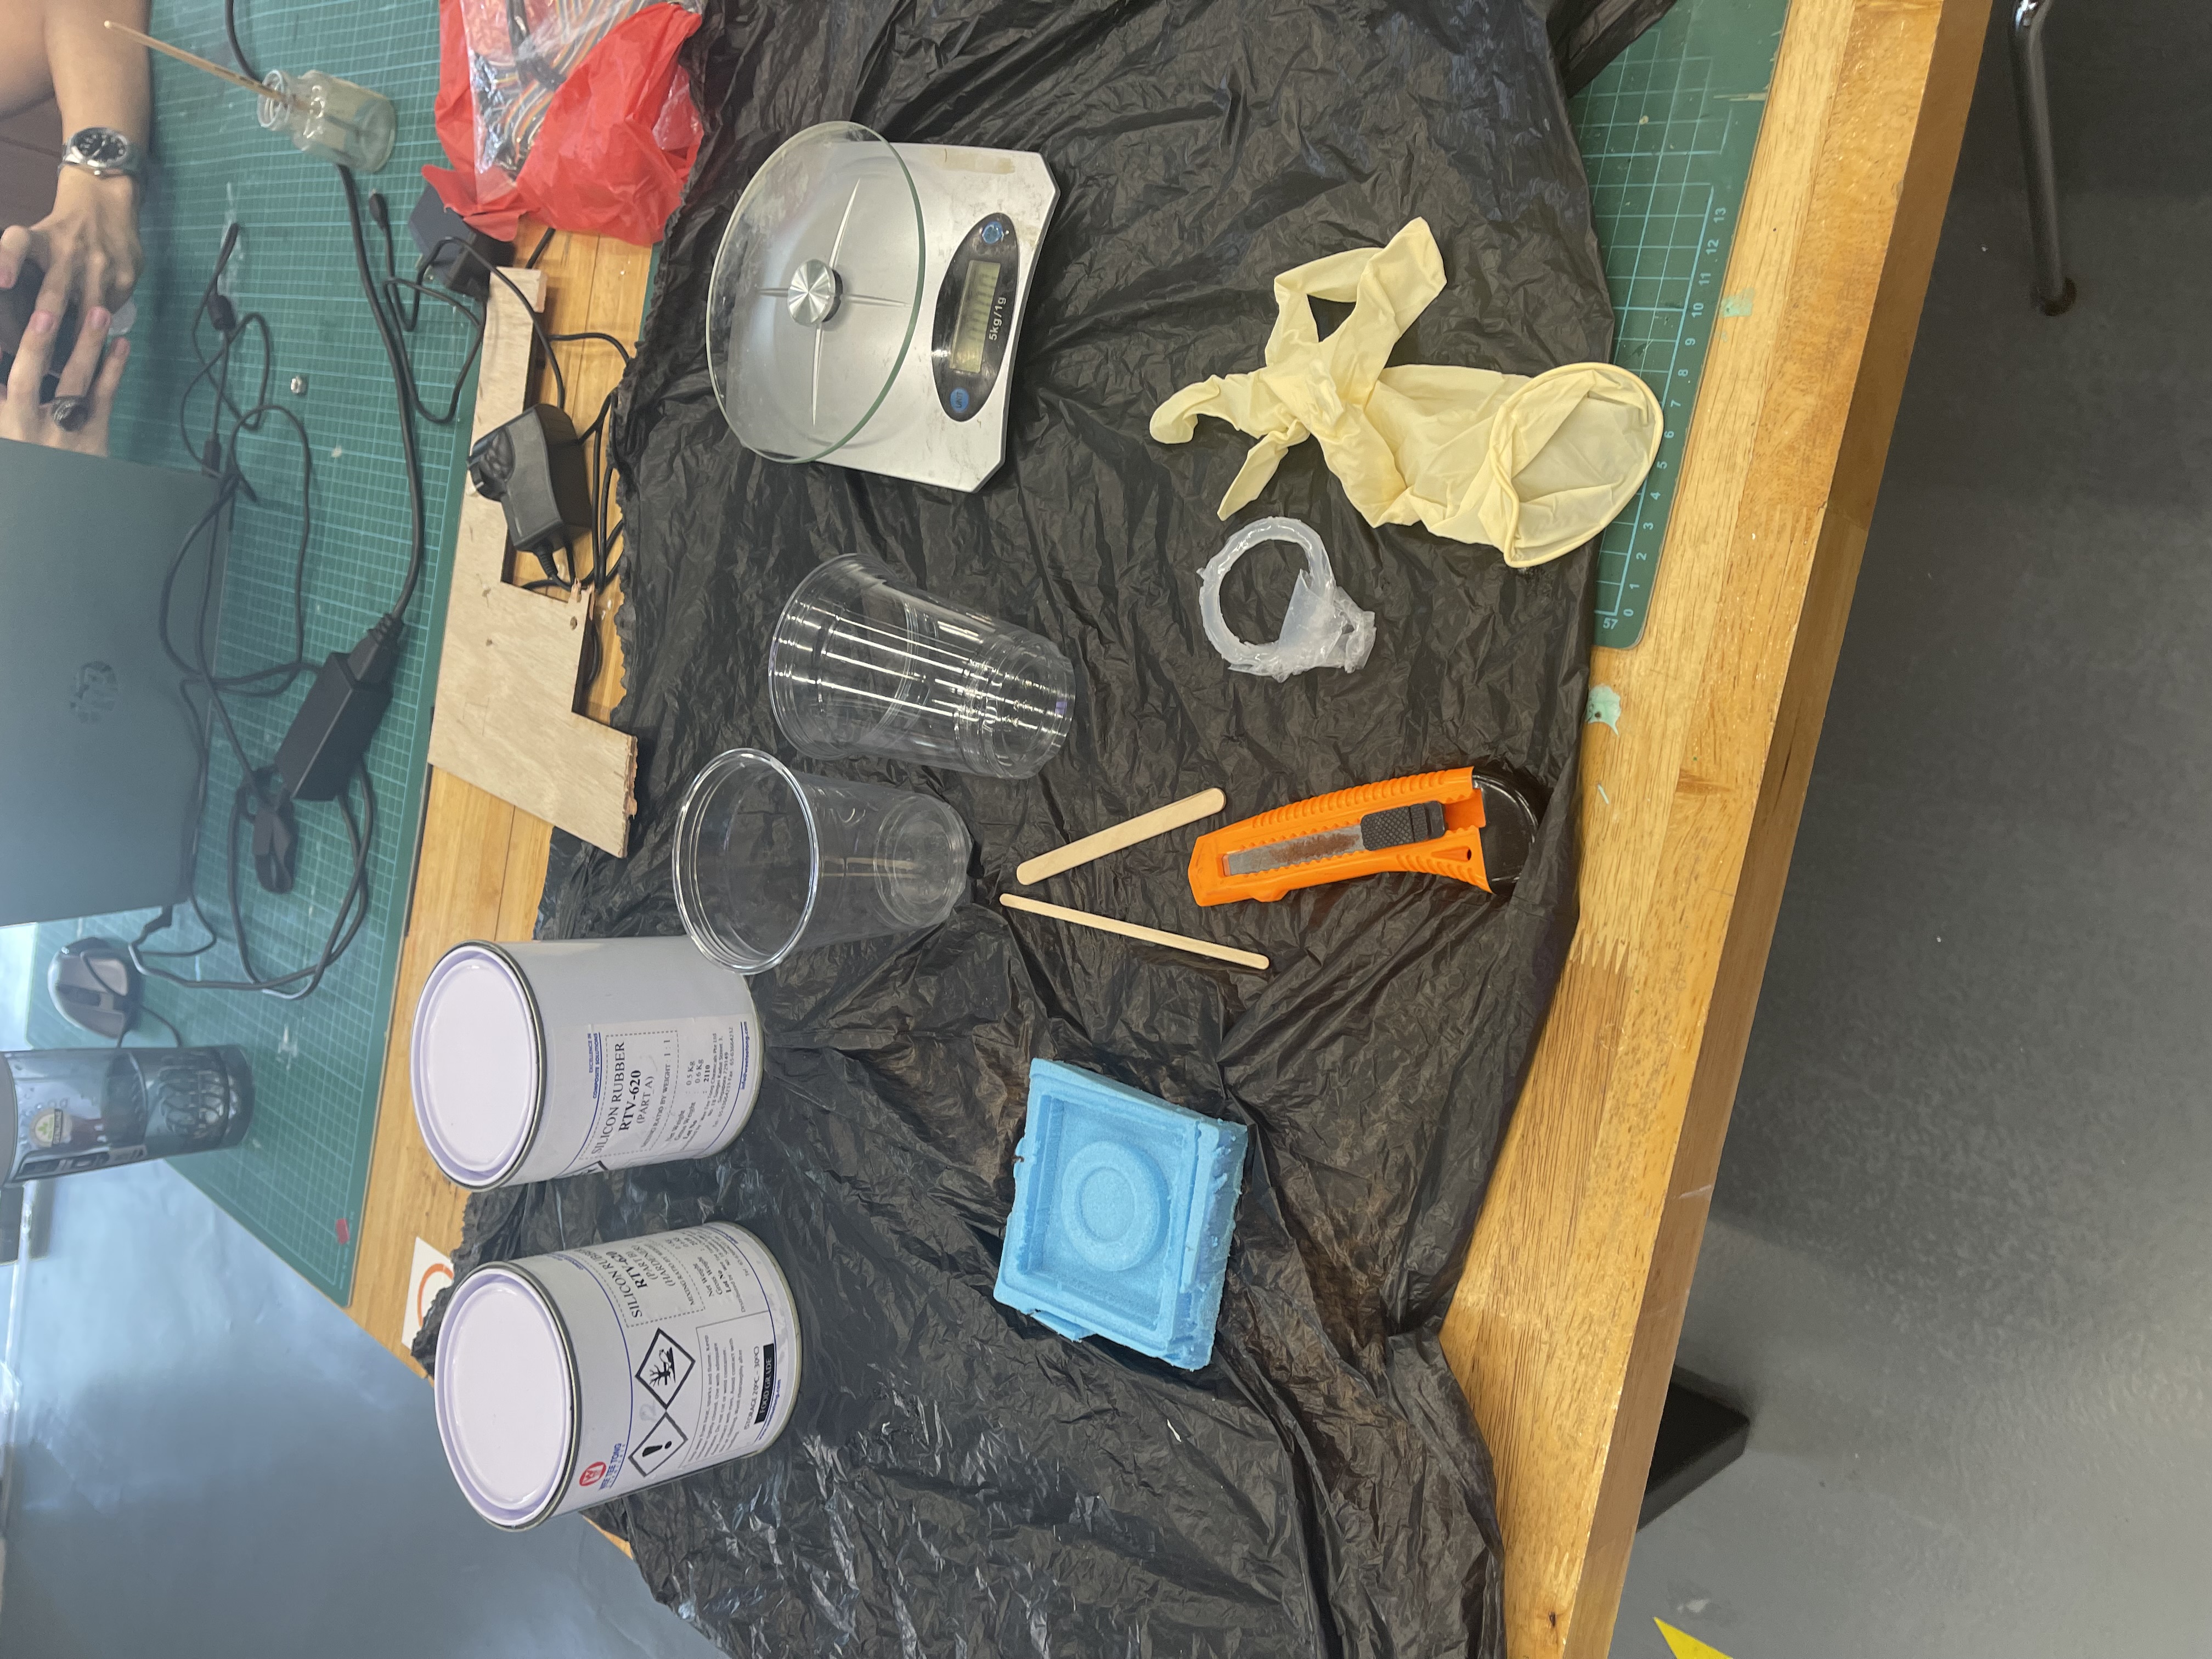
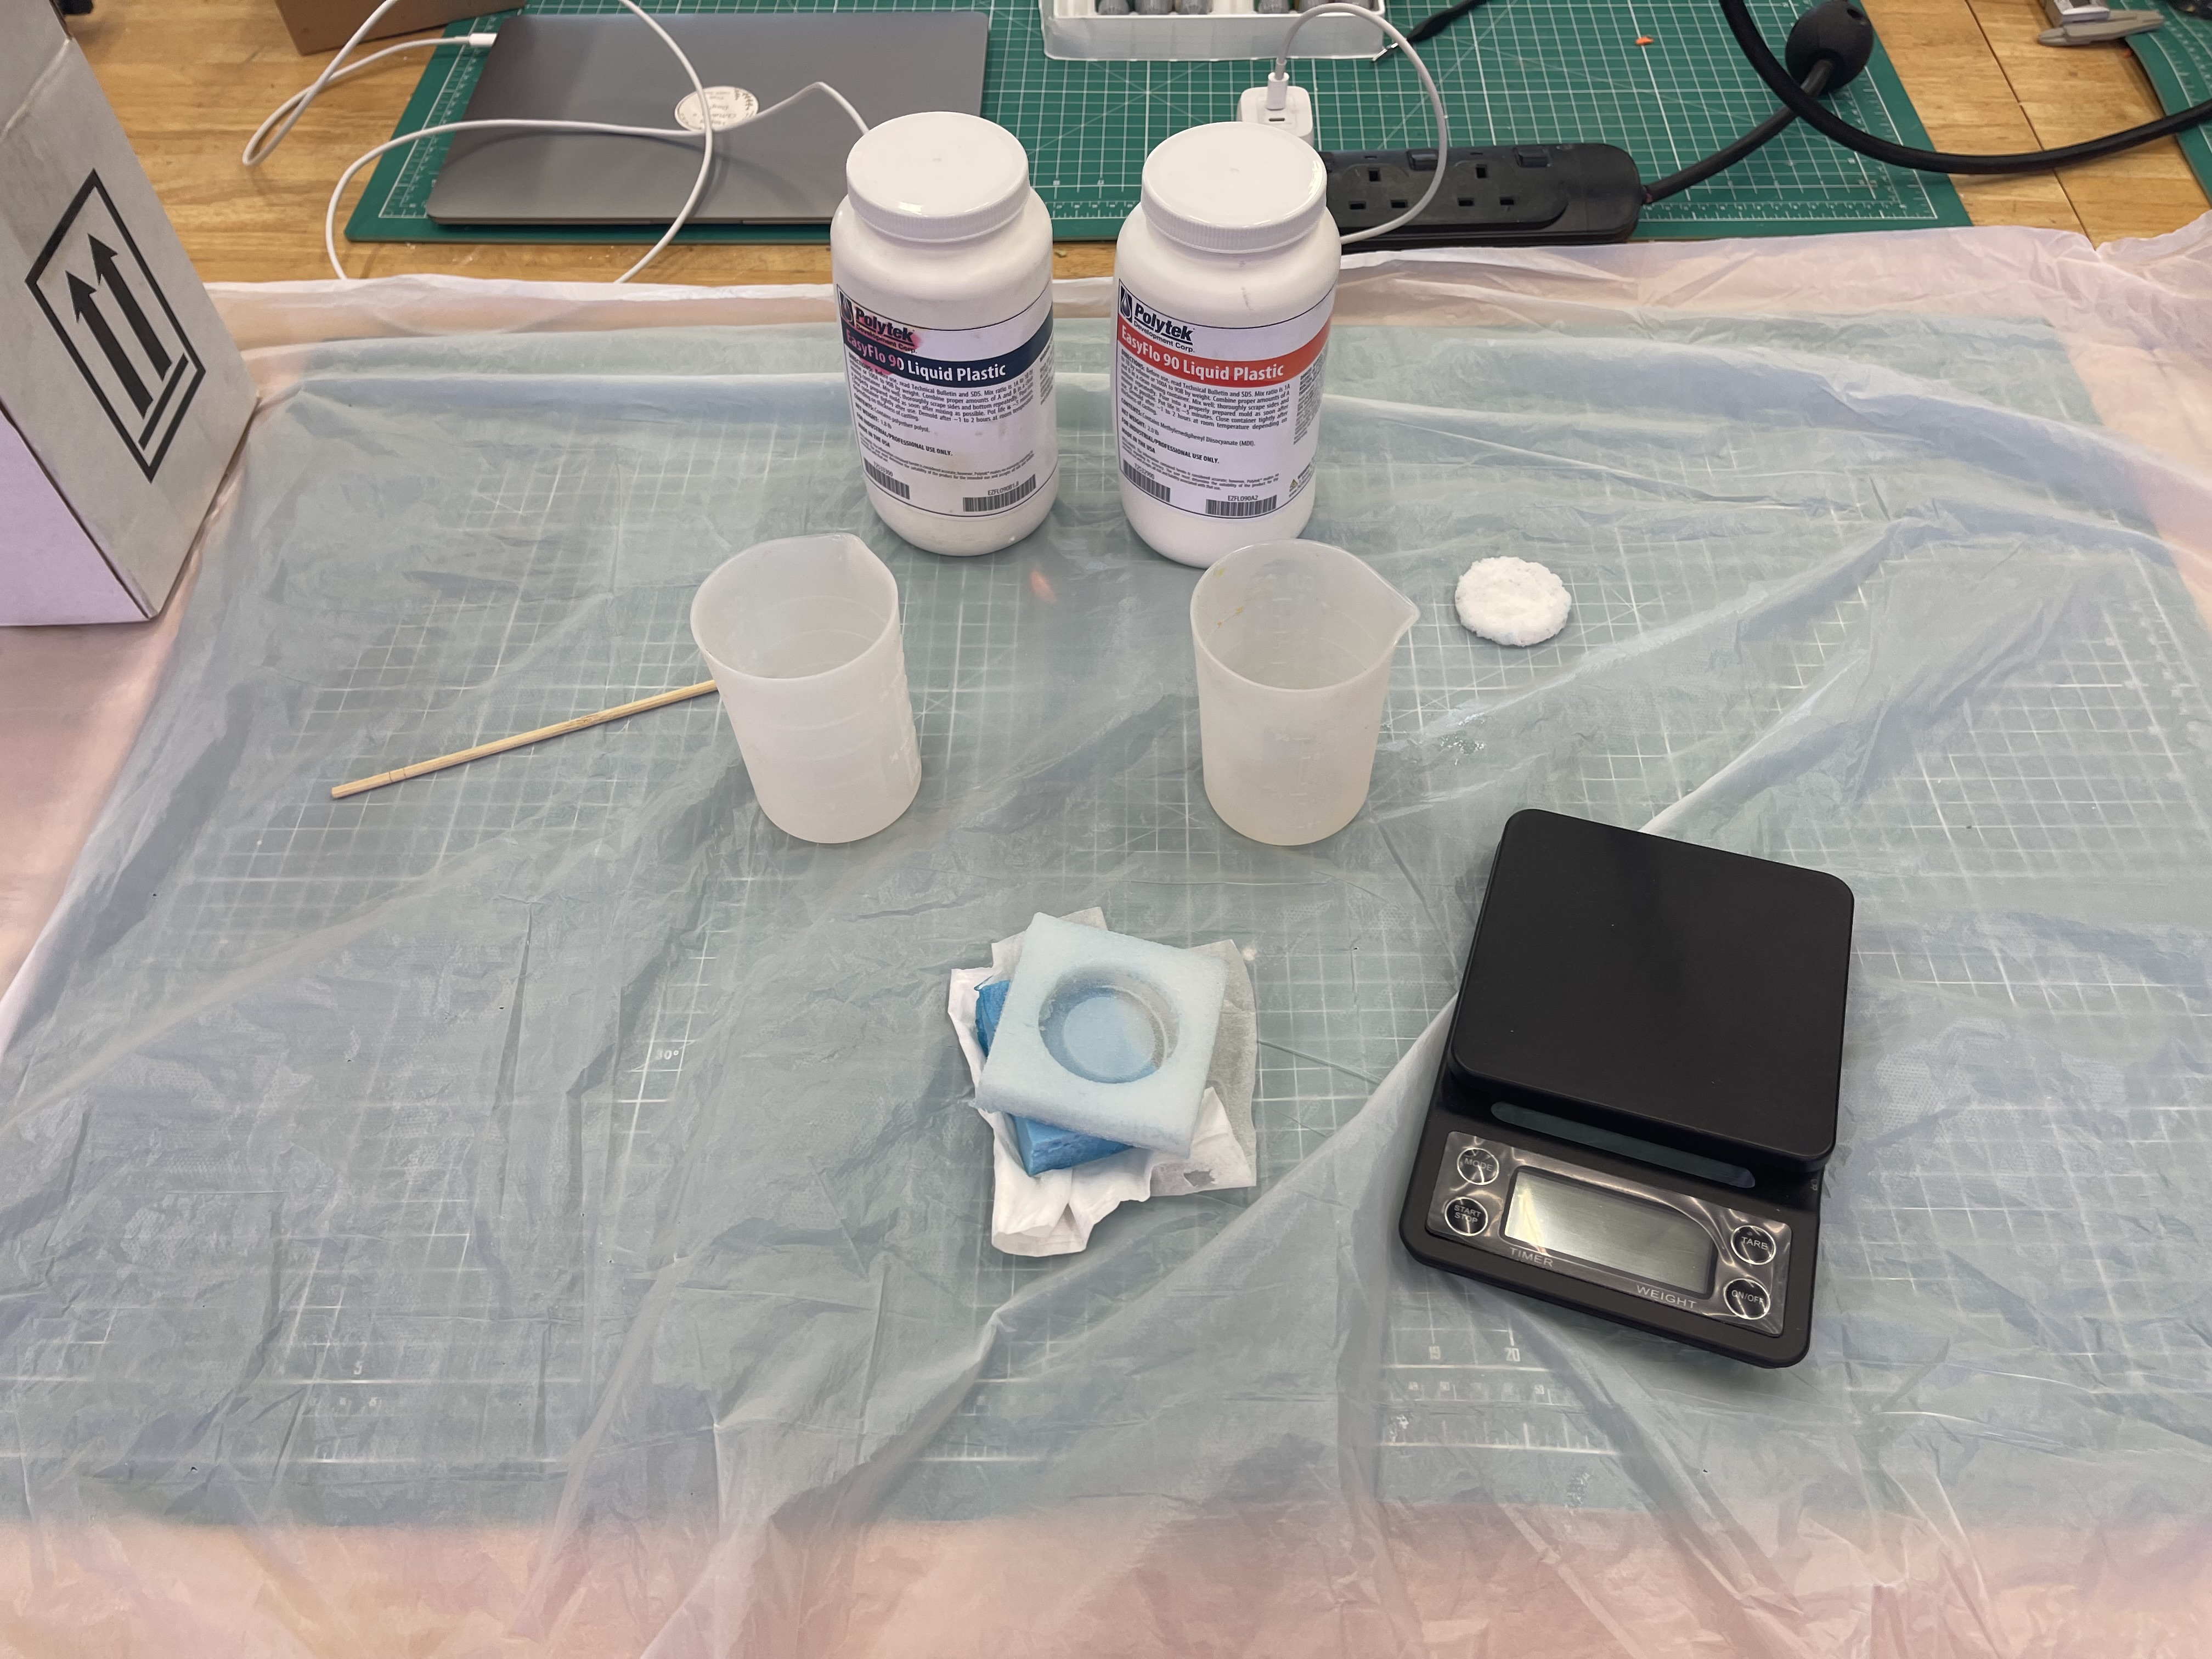
Step 1To begin to create the silicon mold, you would have to prepare a list of materials.
|
|
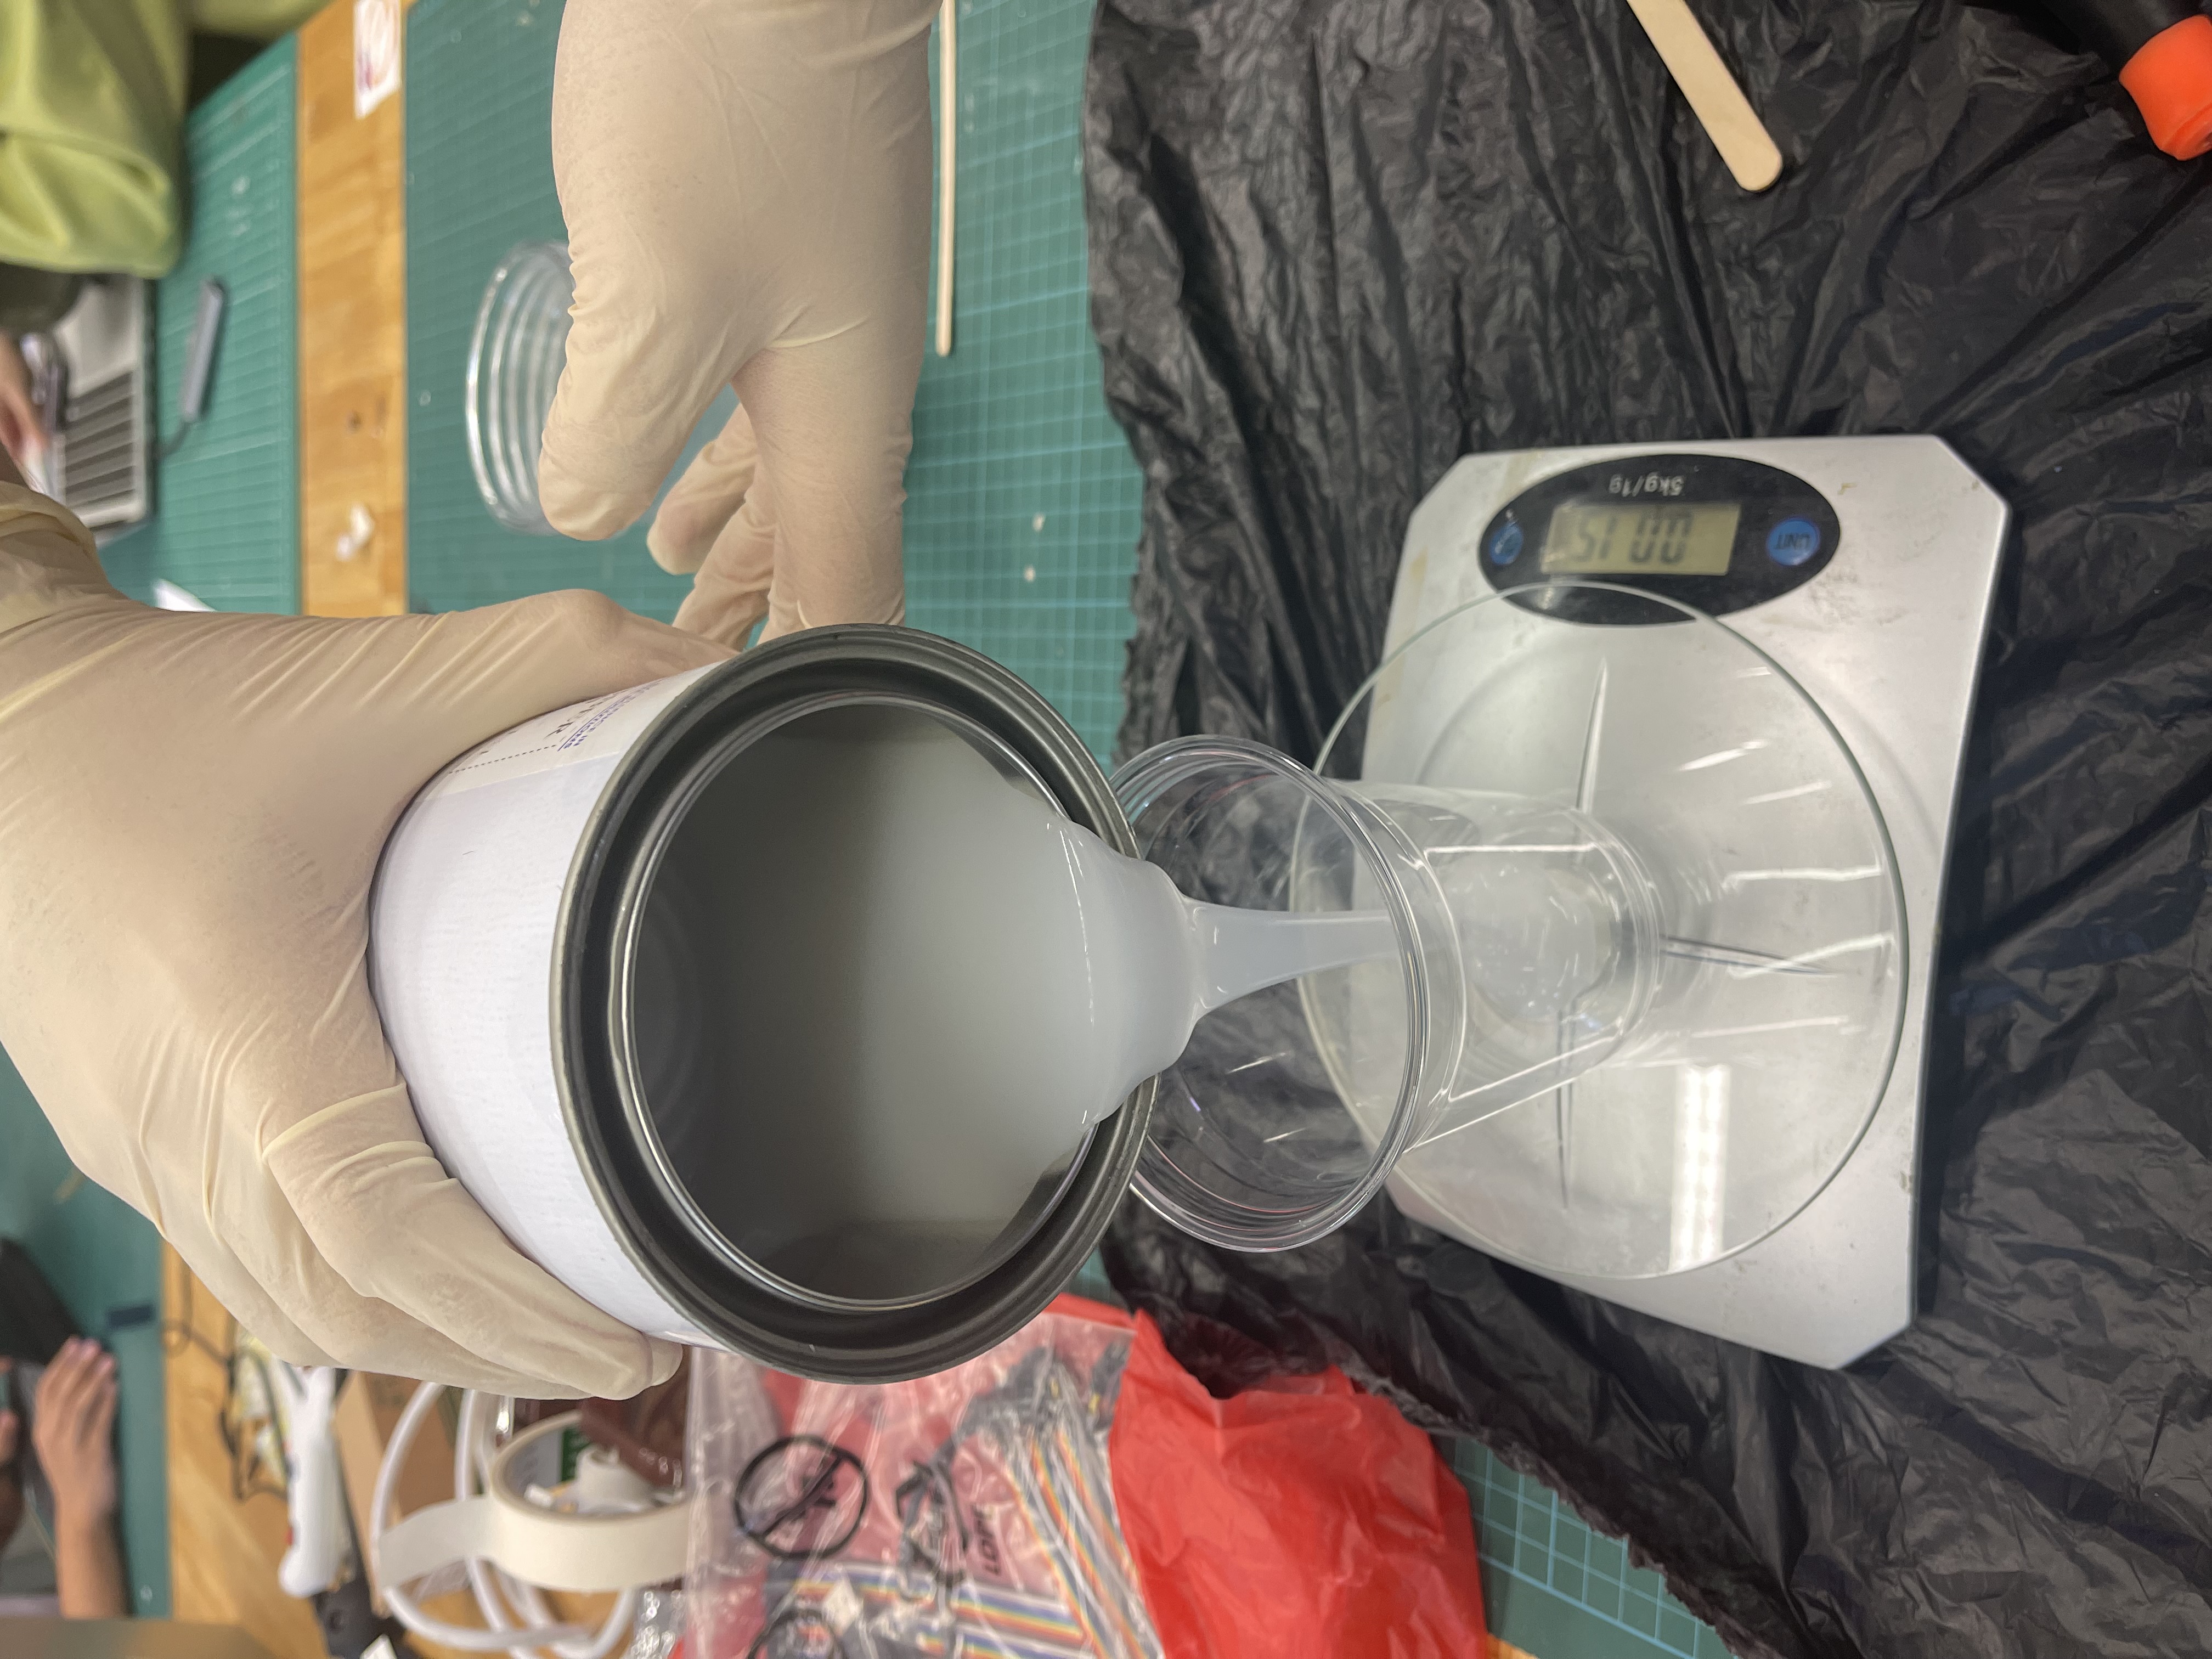
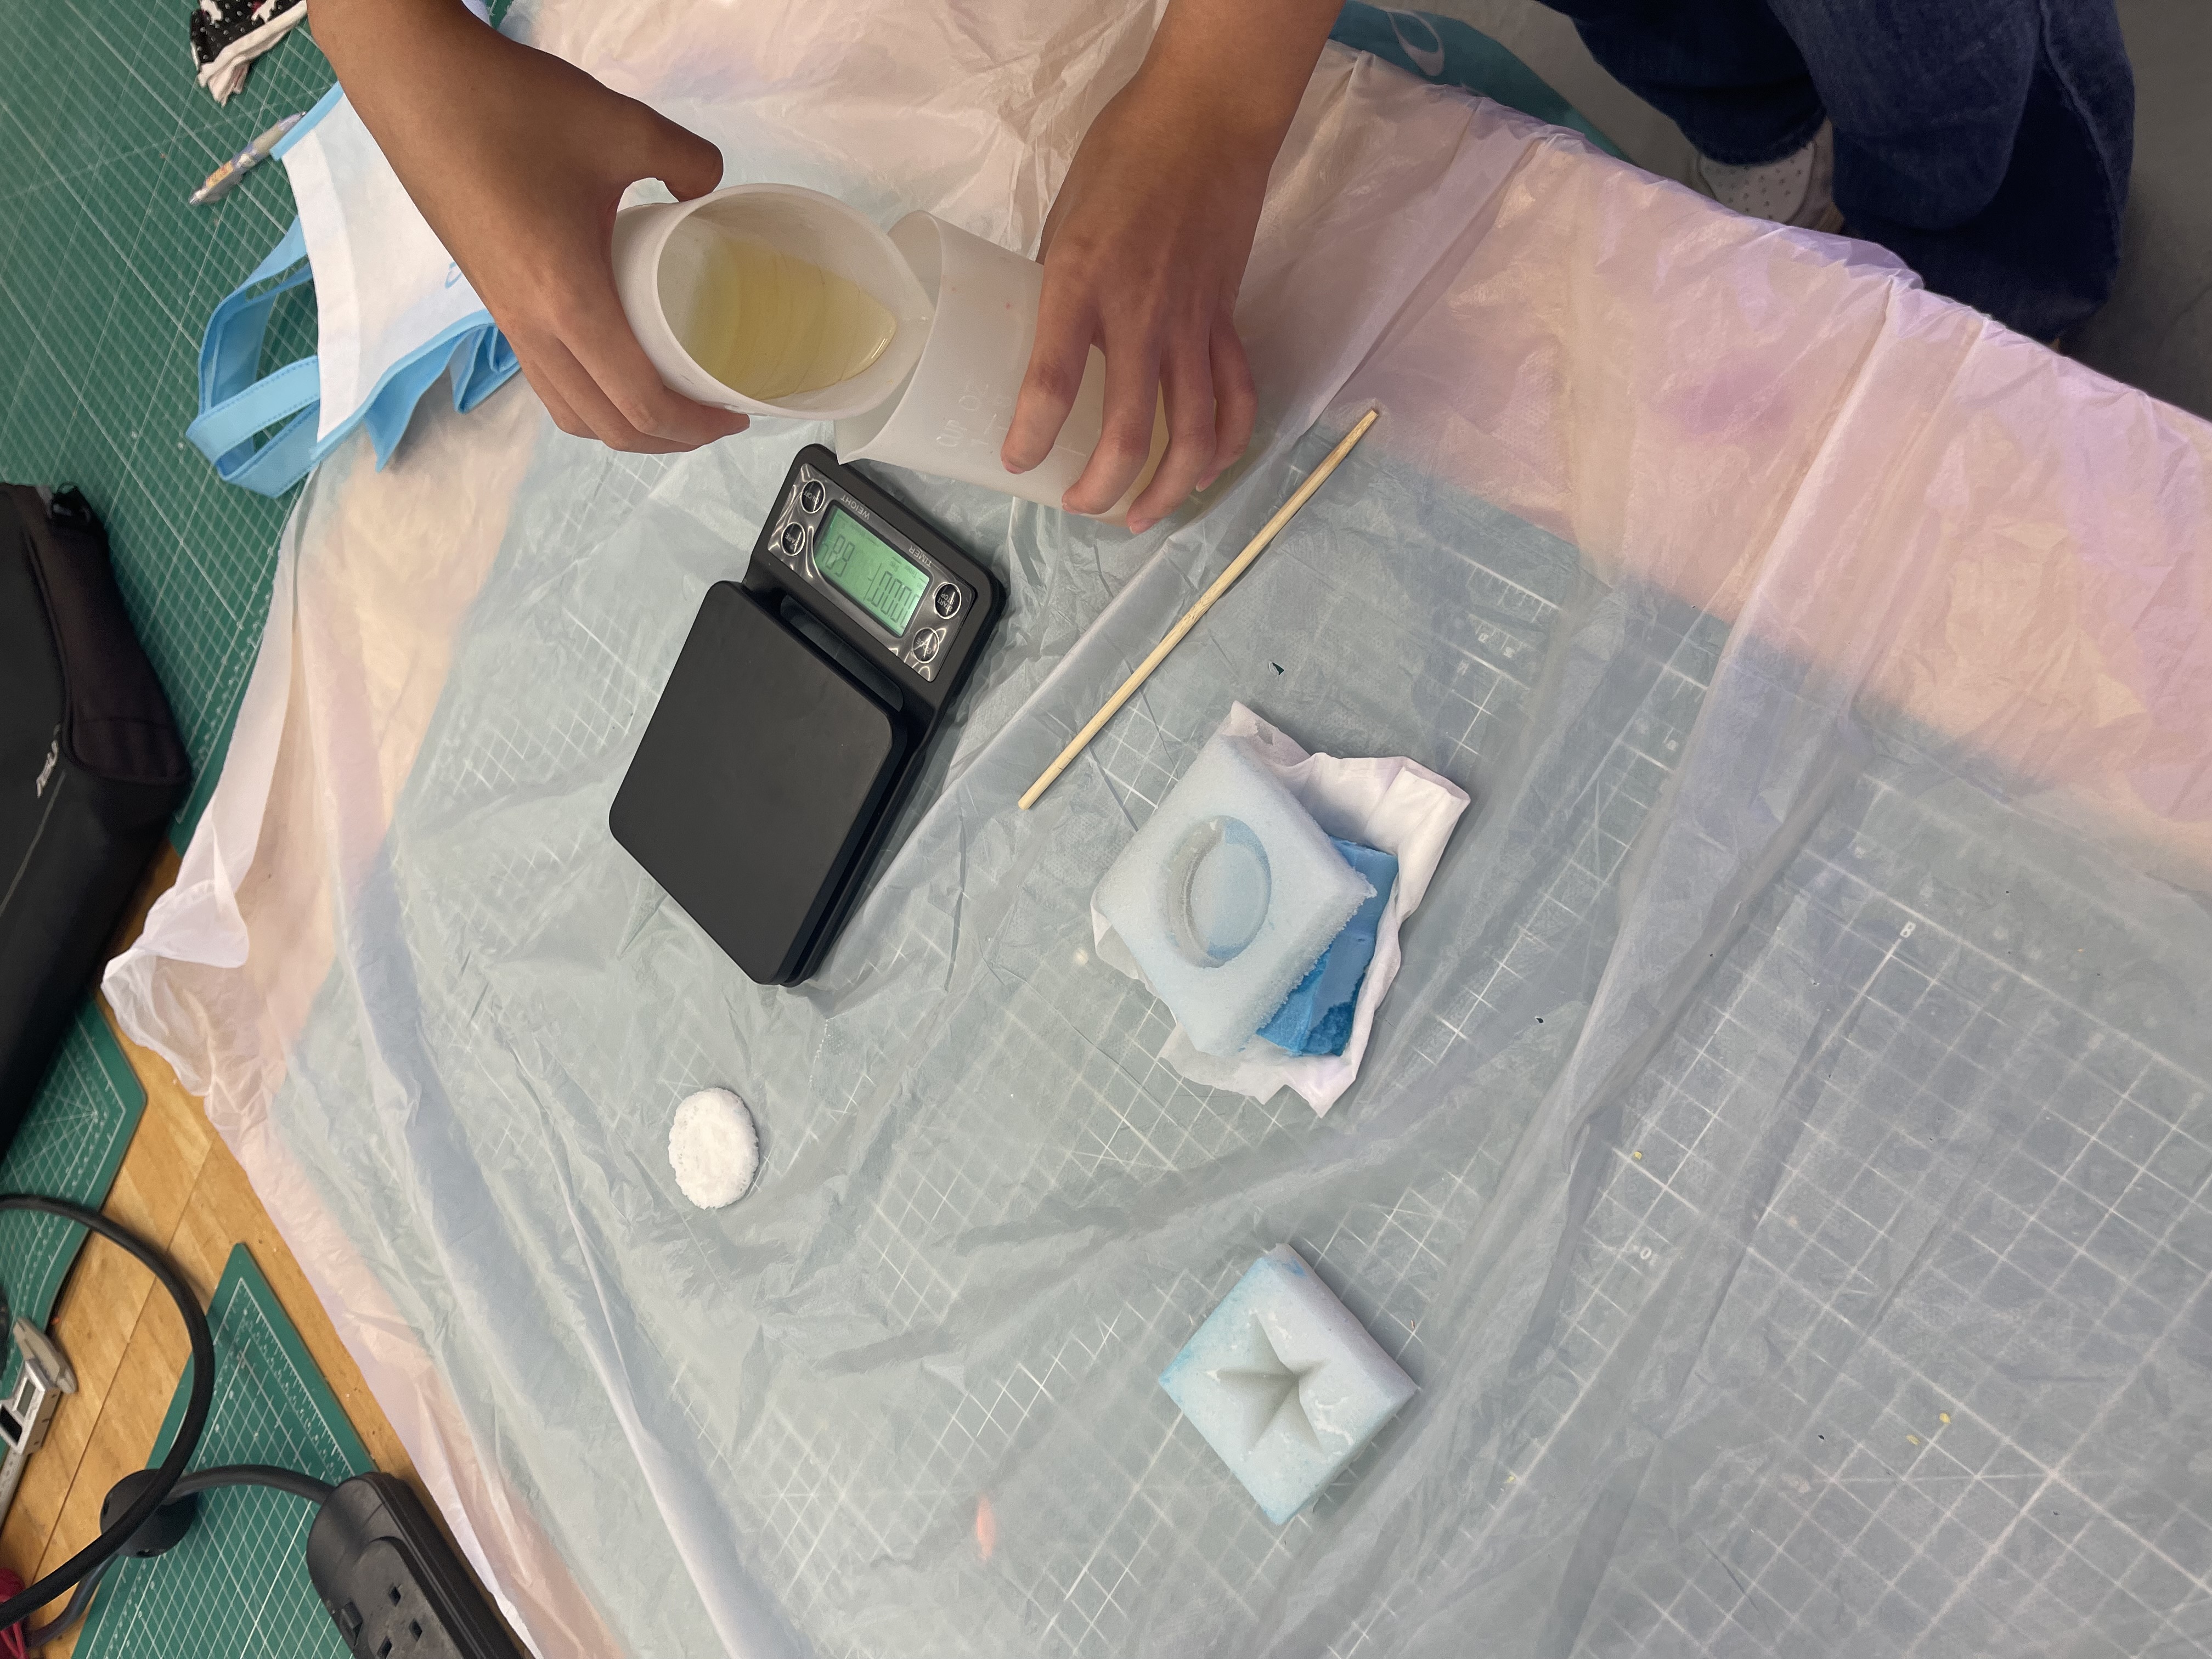
Step 2There are two ways mix the solution. You can either mix them by volume or weight. To mix them by volume, you can get the info from Fusion 360 by measuring your model's volume and subtracting it from your stock's volume. I will be using weight. Since you need equal parts to form the solution, you can pour out Part A and get the weight. |

|
Step 3Next, pour out Part B and get the weight, make sure both are the same as per the instruction. |
|
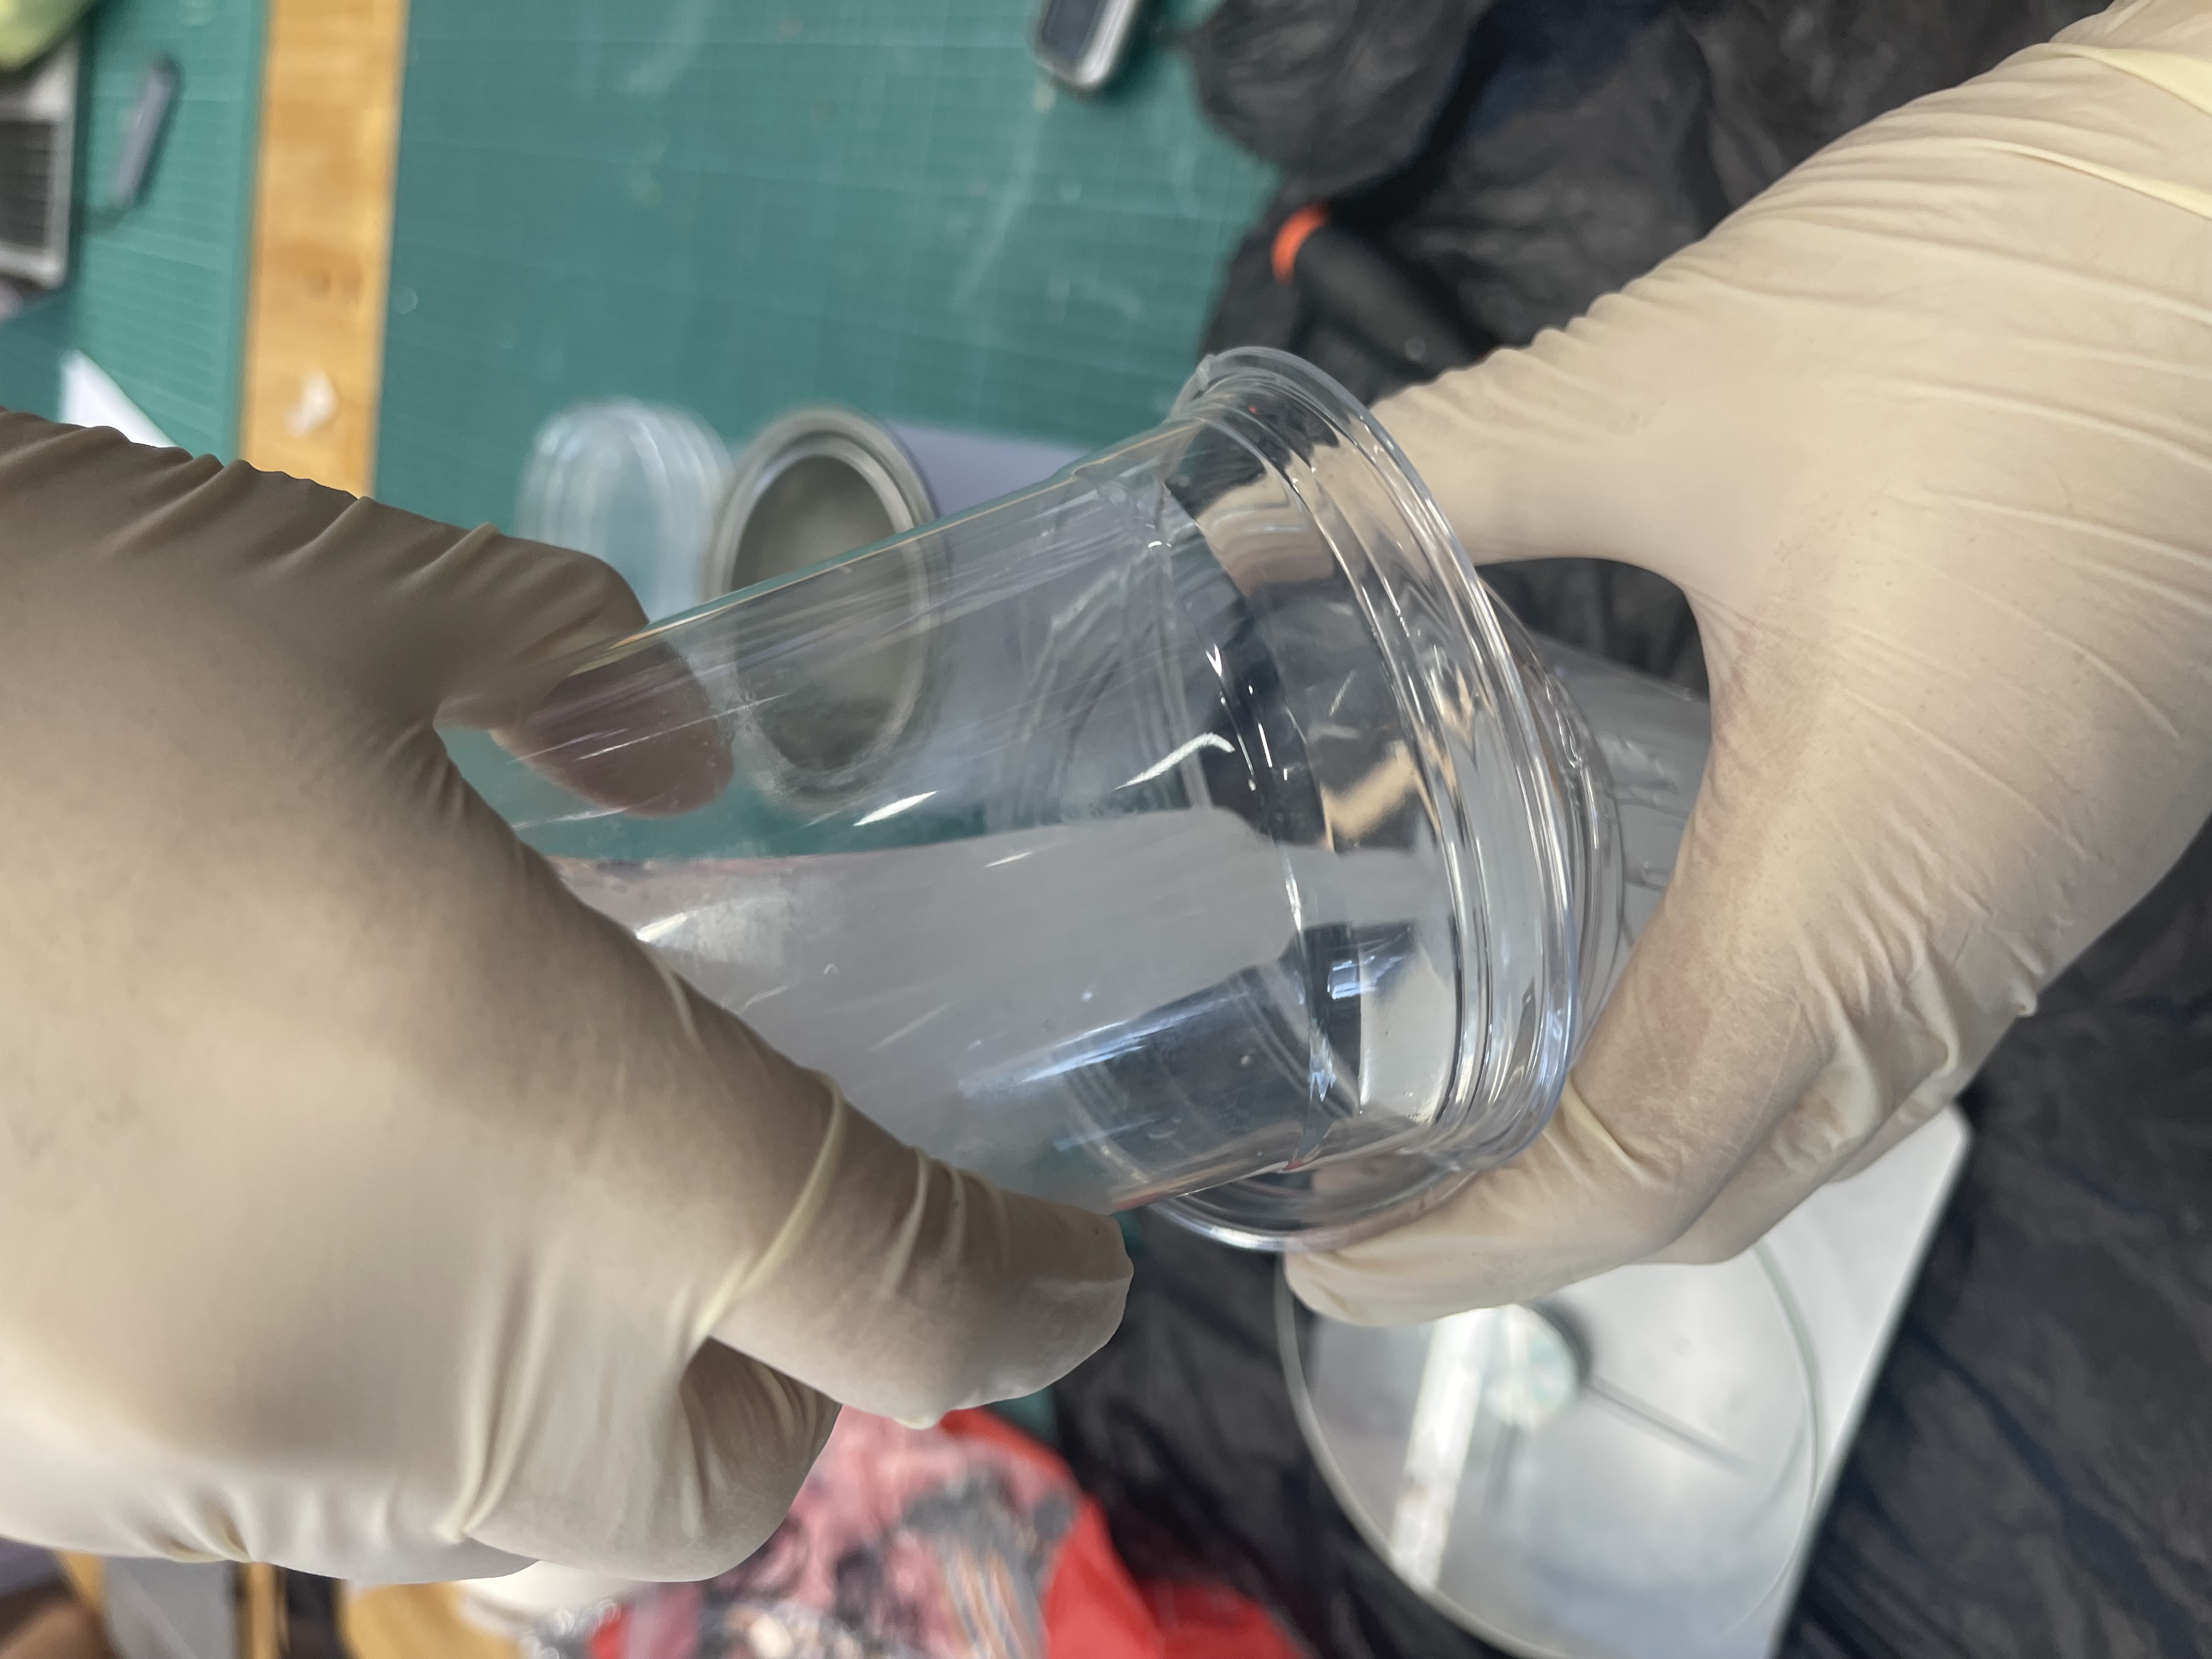
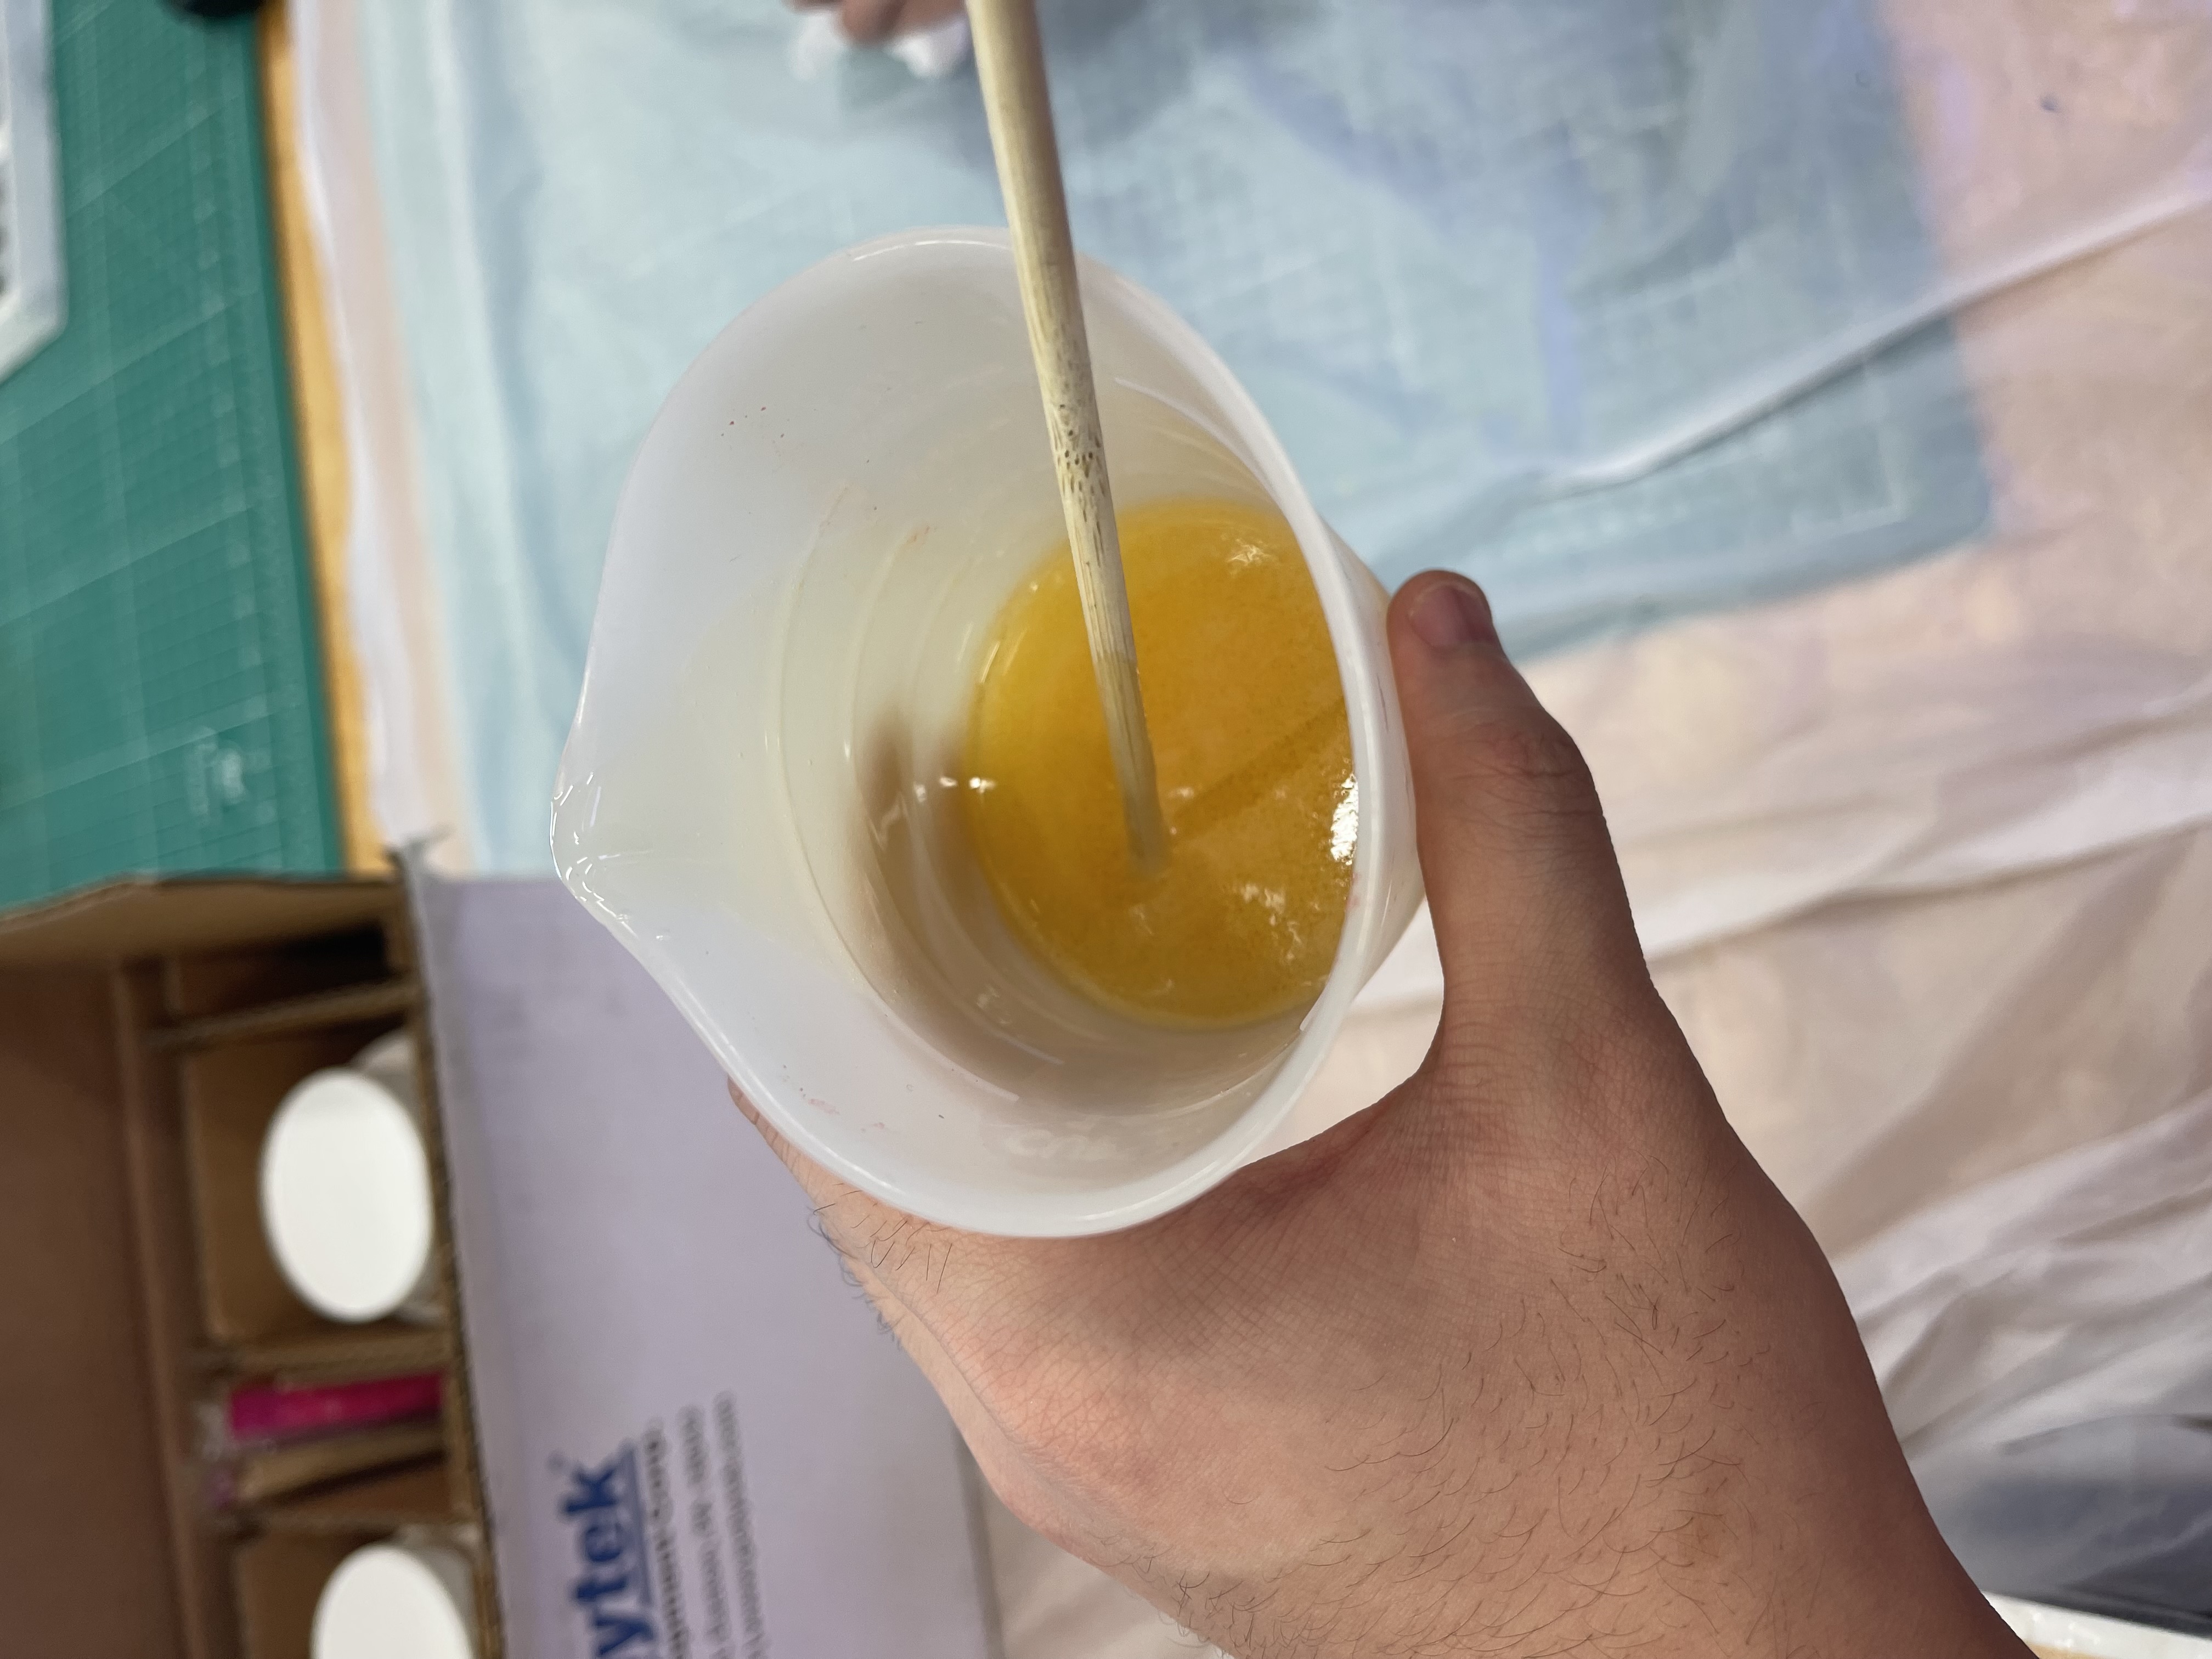
Step 4Combine the two parts and stir them. |
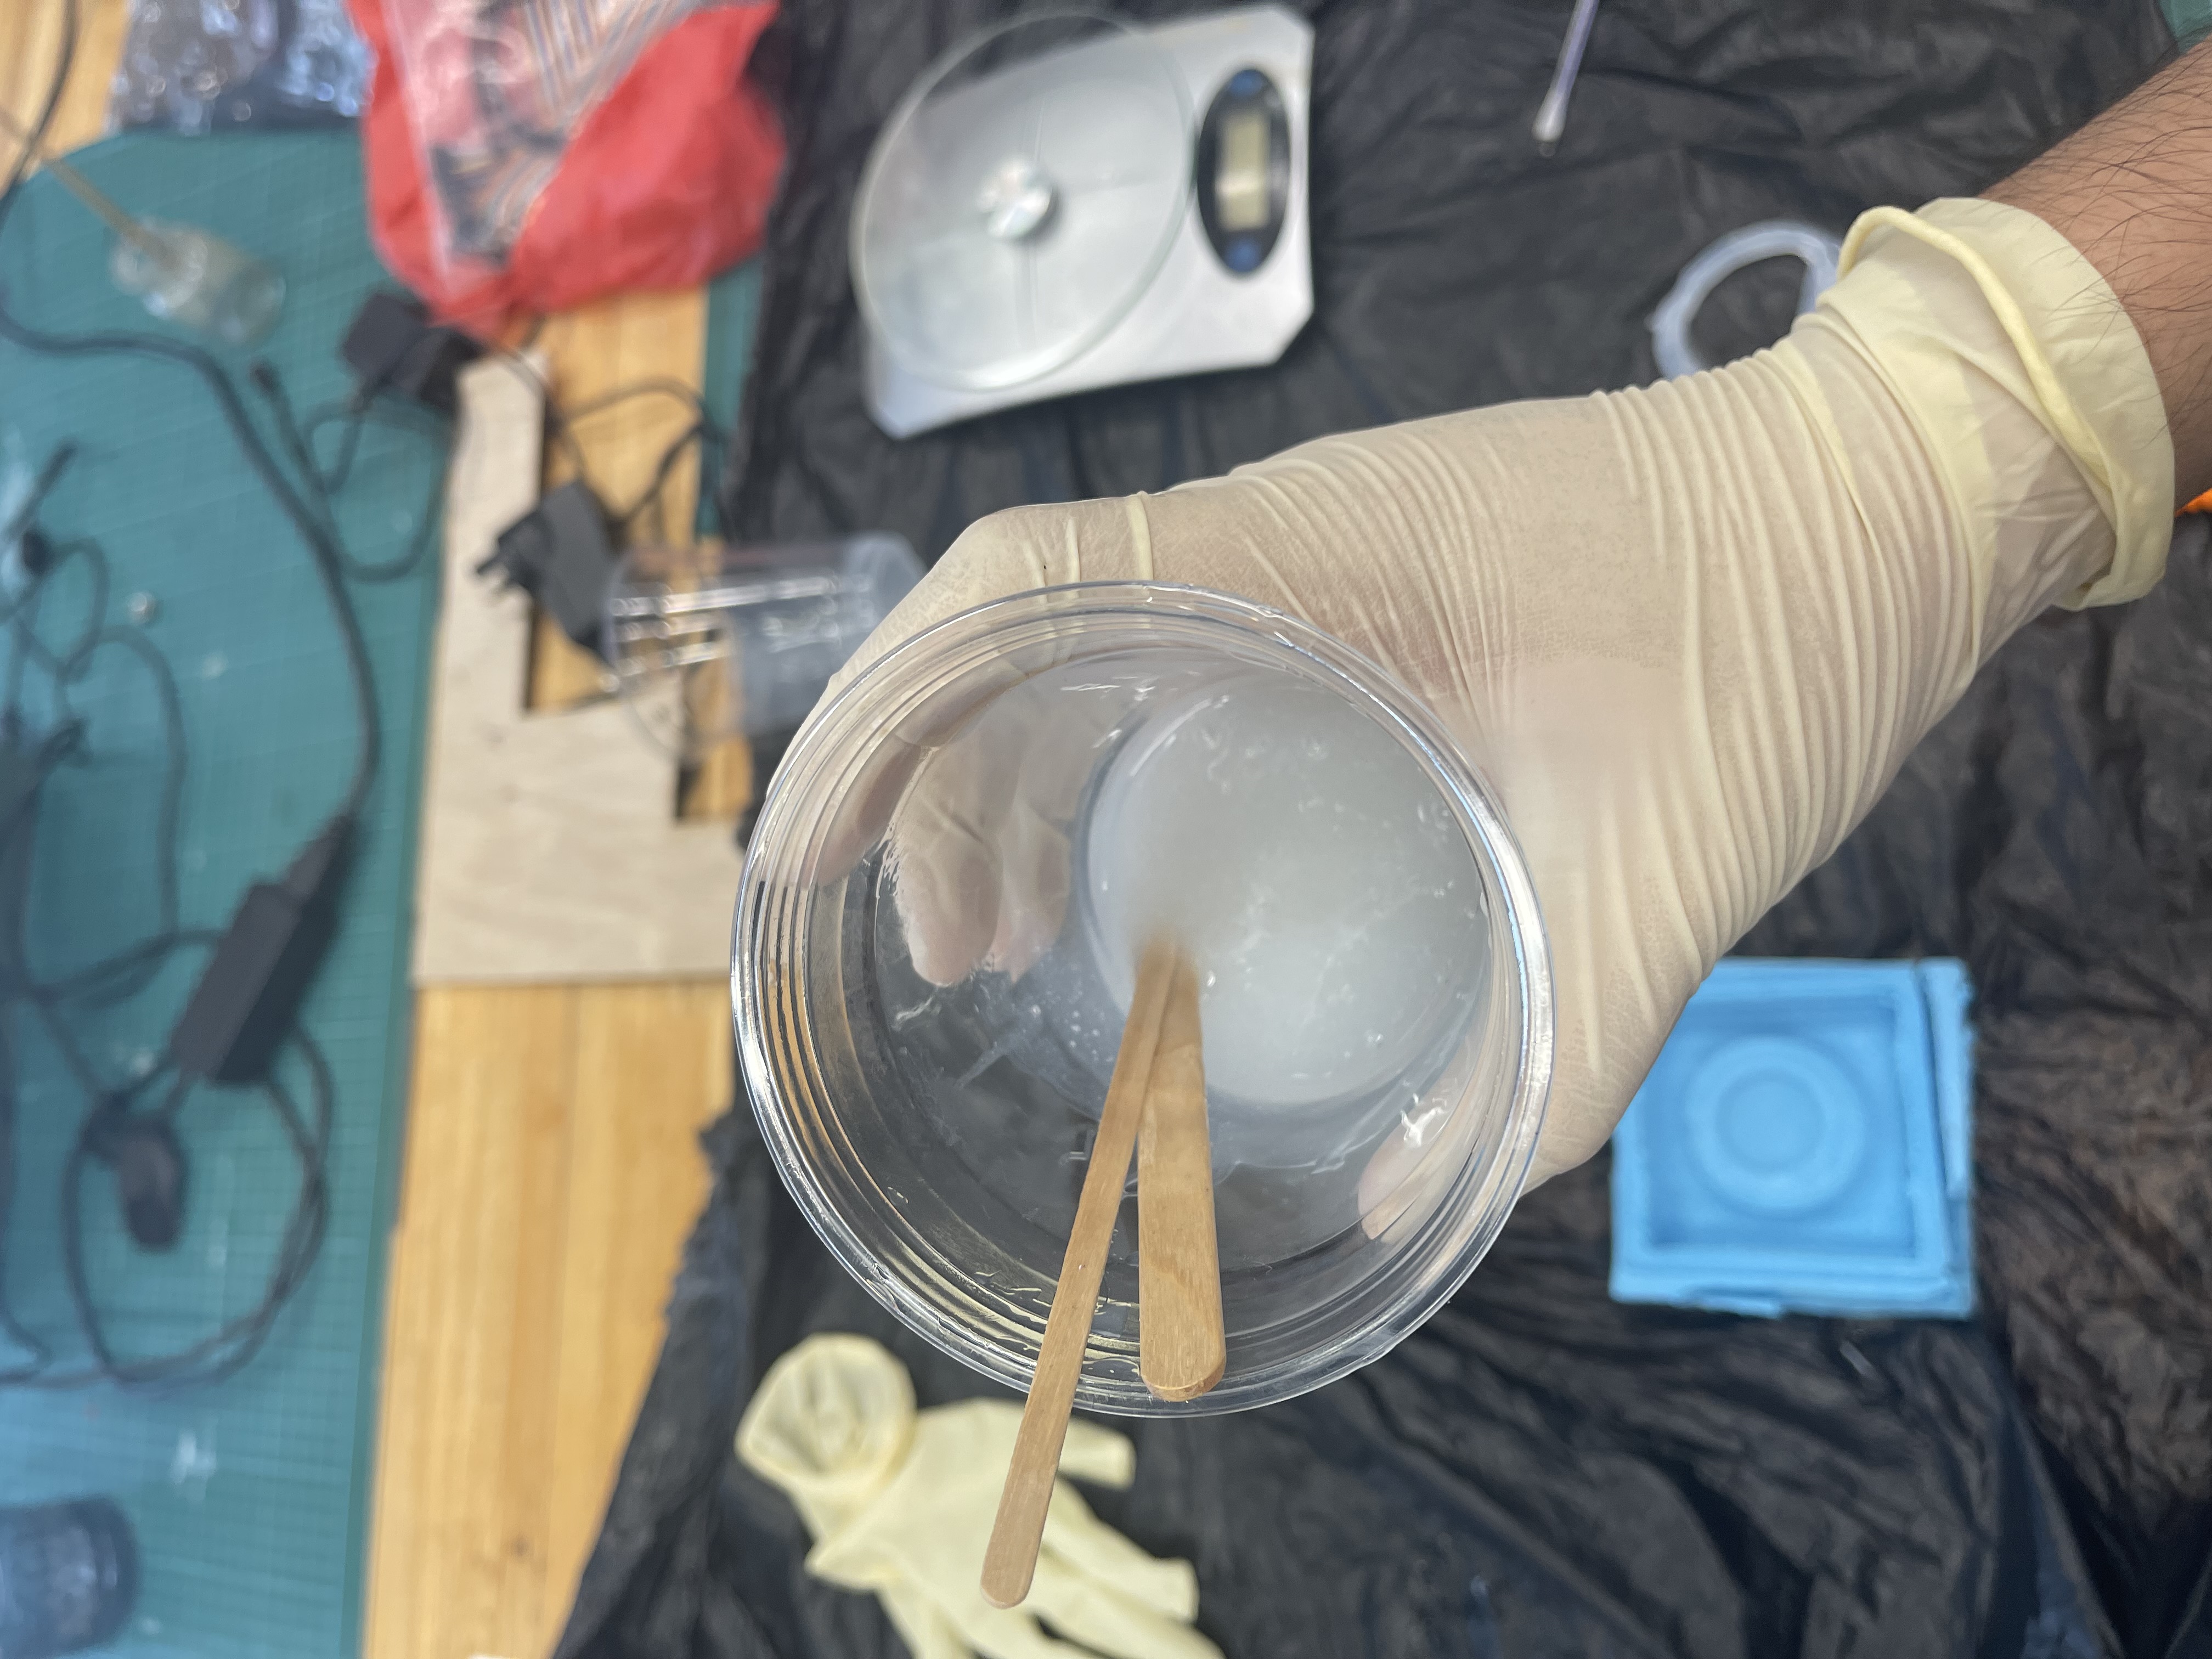
|
Step 5Stir it for as long as the work time will allow. Make the sure not stir it too vigorously or you will trap air bubbles inside it. |
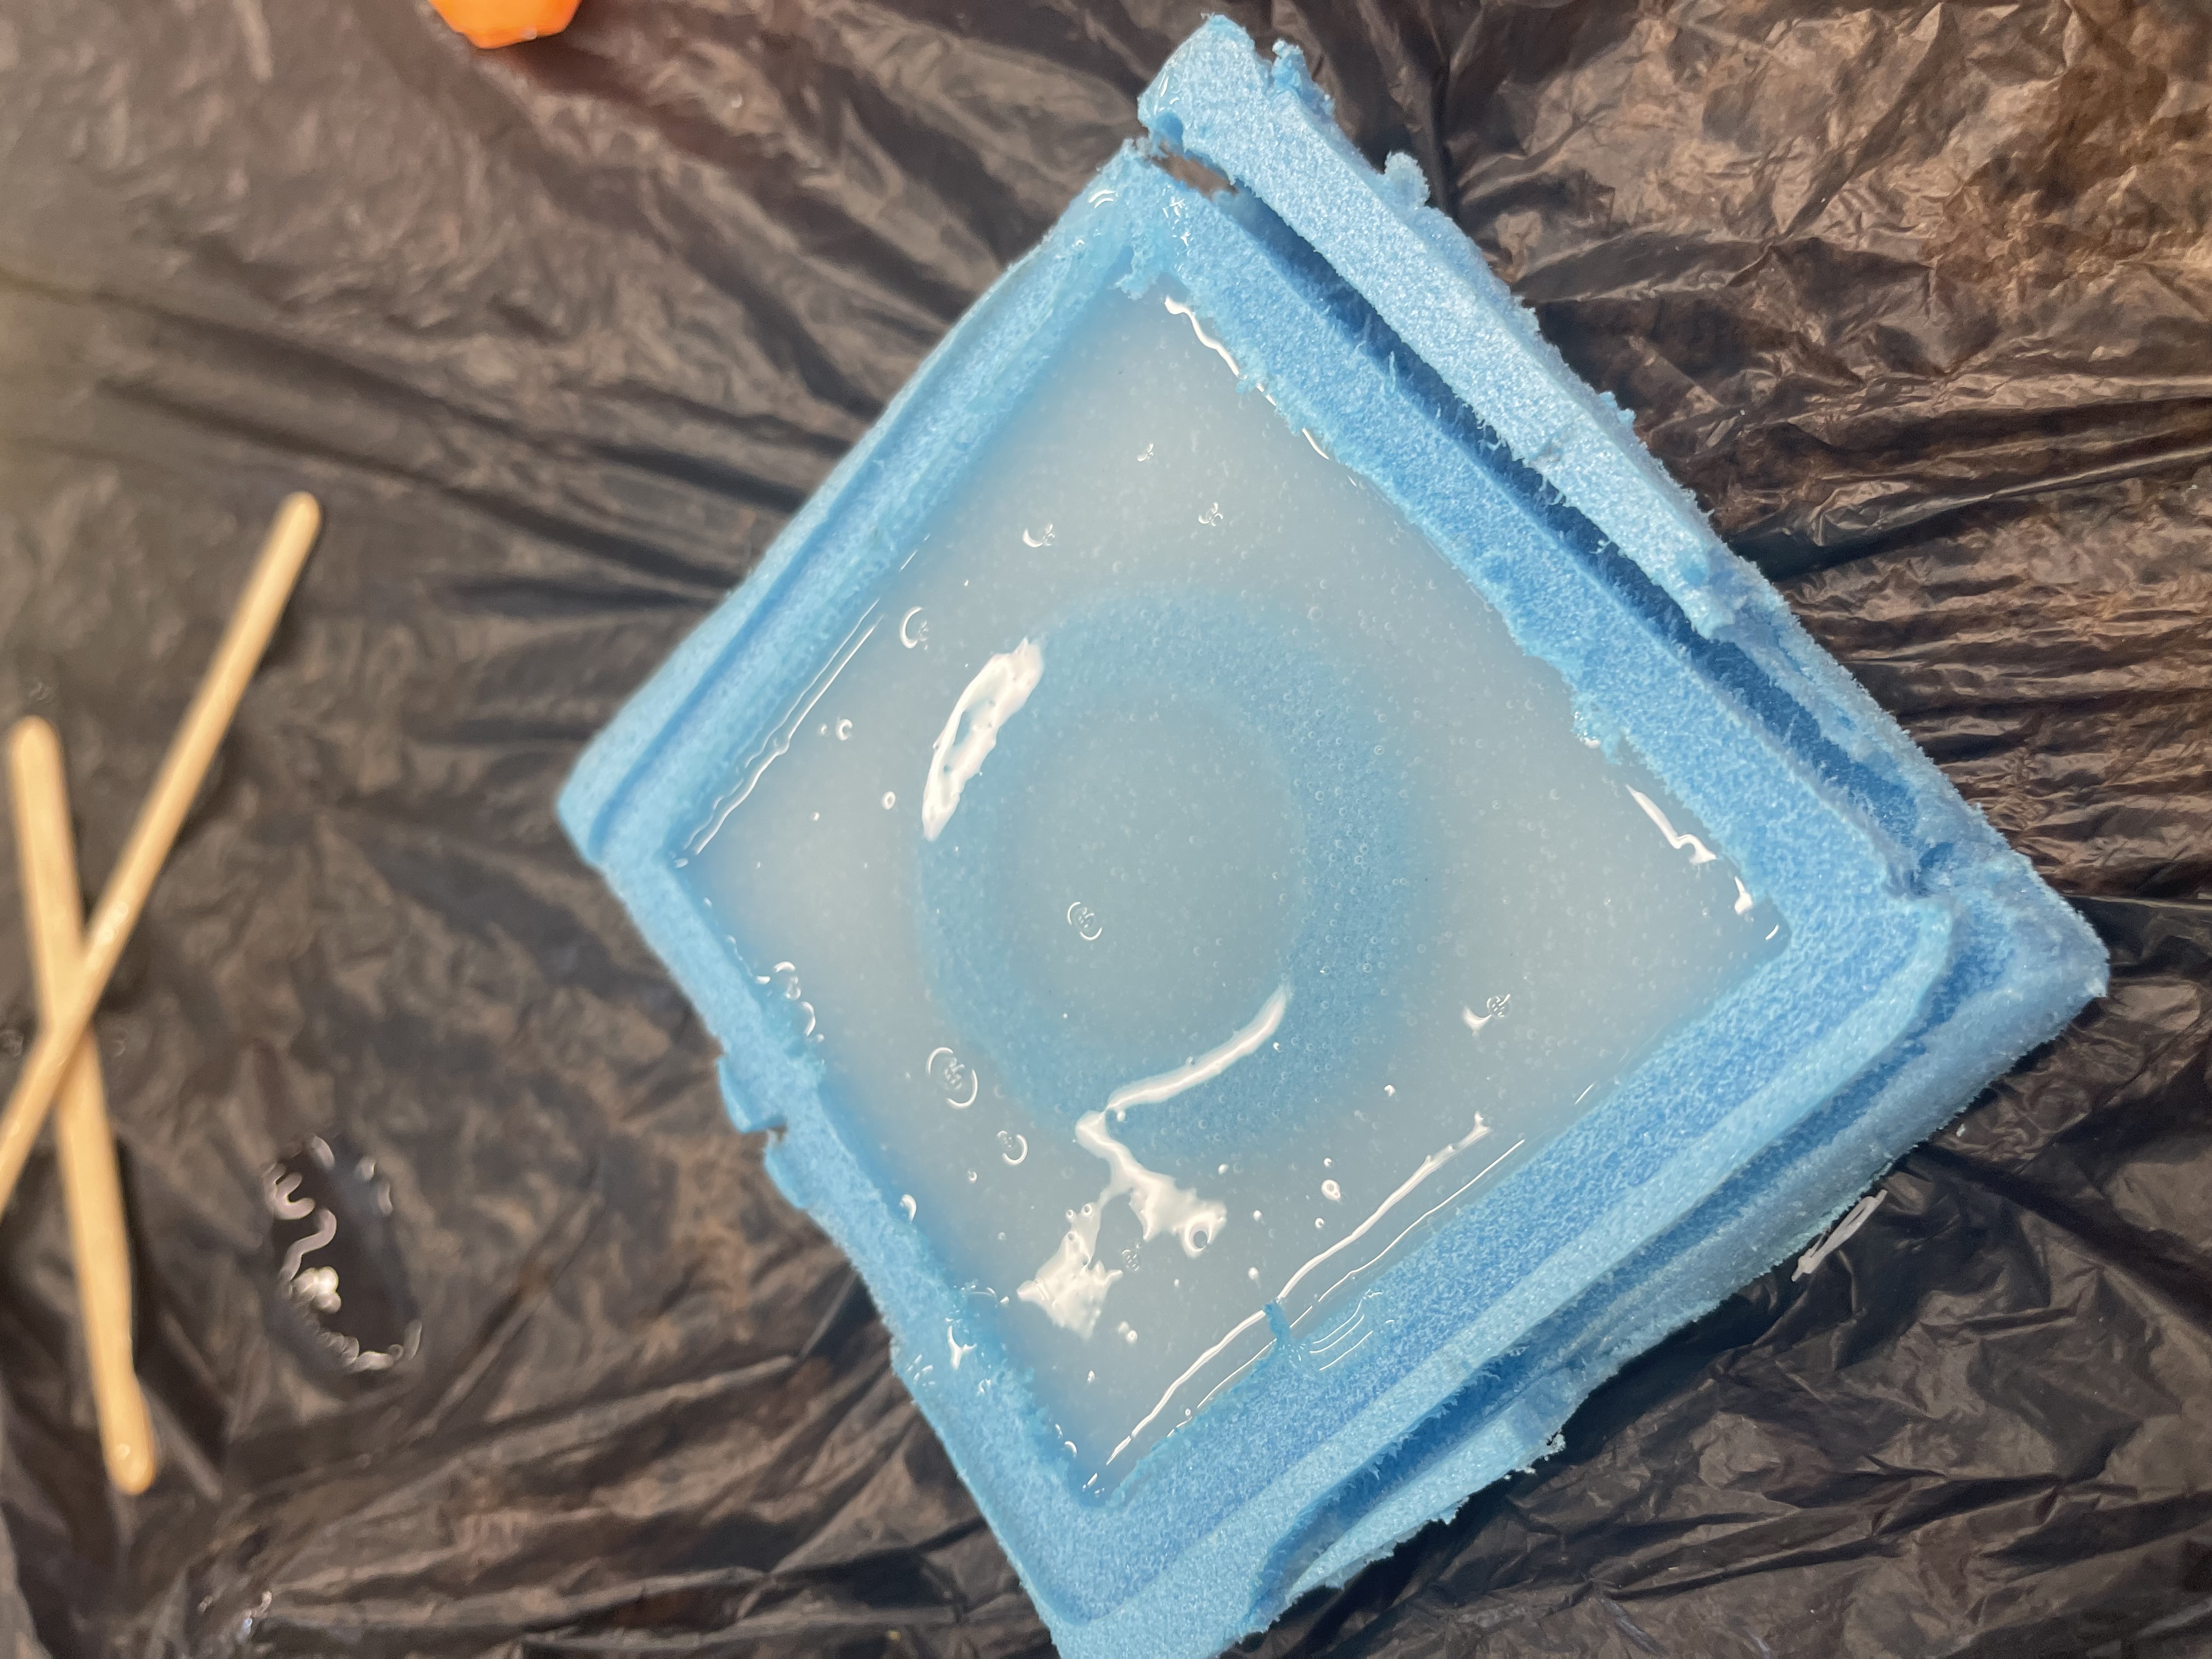
|
Step 6Once done slowly pour it into the mold ensuring you do it slowly as to not trap any air bubbles inside it. Leave it to set somewhere after 24 -48 hours it should be able to be removed. |
Casting the final product.
This process details how I used the silicon mold to cast my final product.
| Steps Taken | Explanation |
|---|---|
|
Step 1Once the silicon mold is done remove it from the foam mold. |
|
Step 2To begin to create the final product, you would have to prepare a list of materials.
|
|
|
Step 3Next, pour out Part B and get the weight, make sure both are the same as per the instruction. |
|
Step 3Combine the two parts and stir them. |
|
Step 4Stir it for as long as the work time will allow. Make the sure not stir it too vigorously or you will trap air bubbles inside it. After stirring it for a short while, you should start to feel it becoming warm this is because the mixing of the Easyflow creats an exothermic reaction. If the solution is not warm it might be expired. |
|
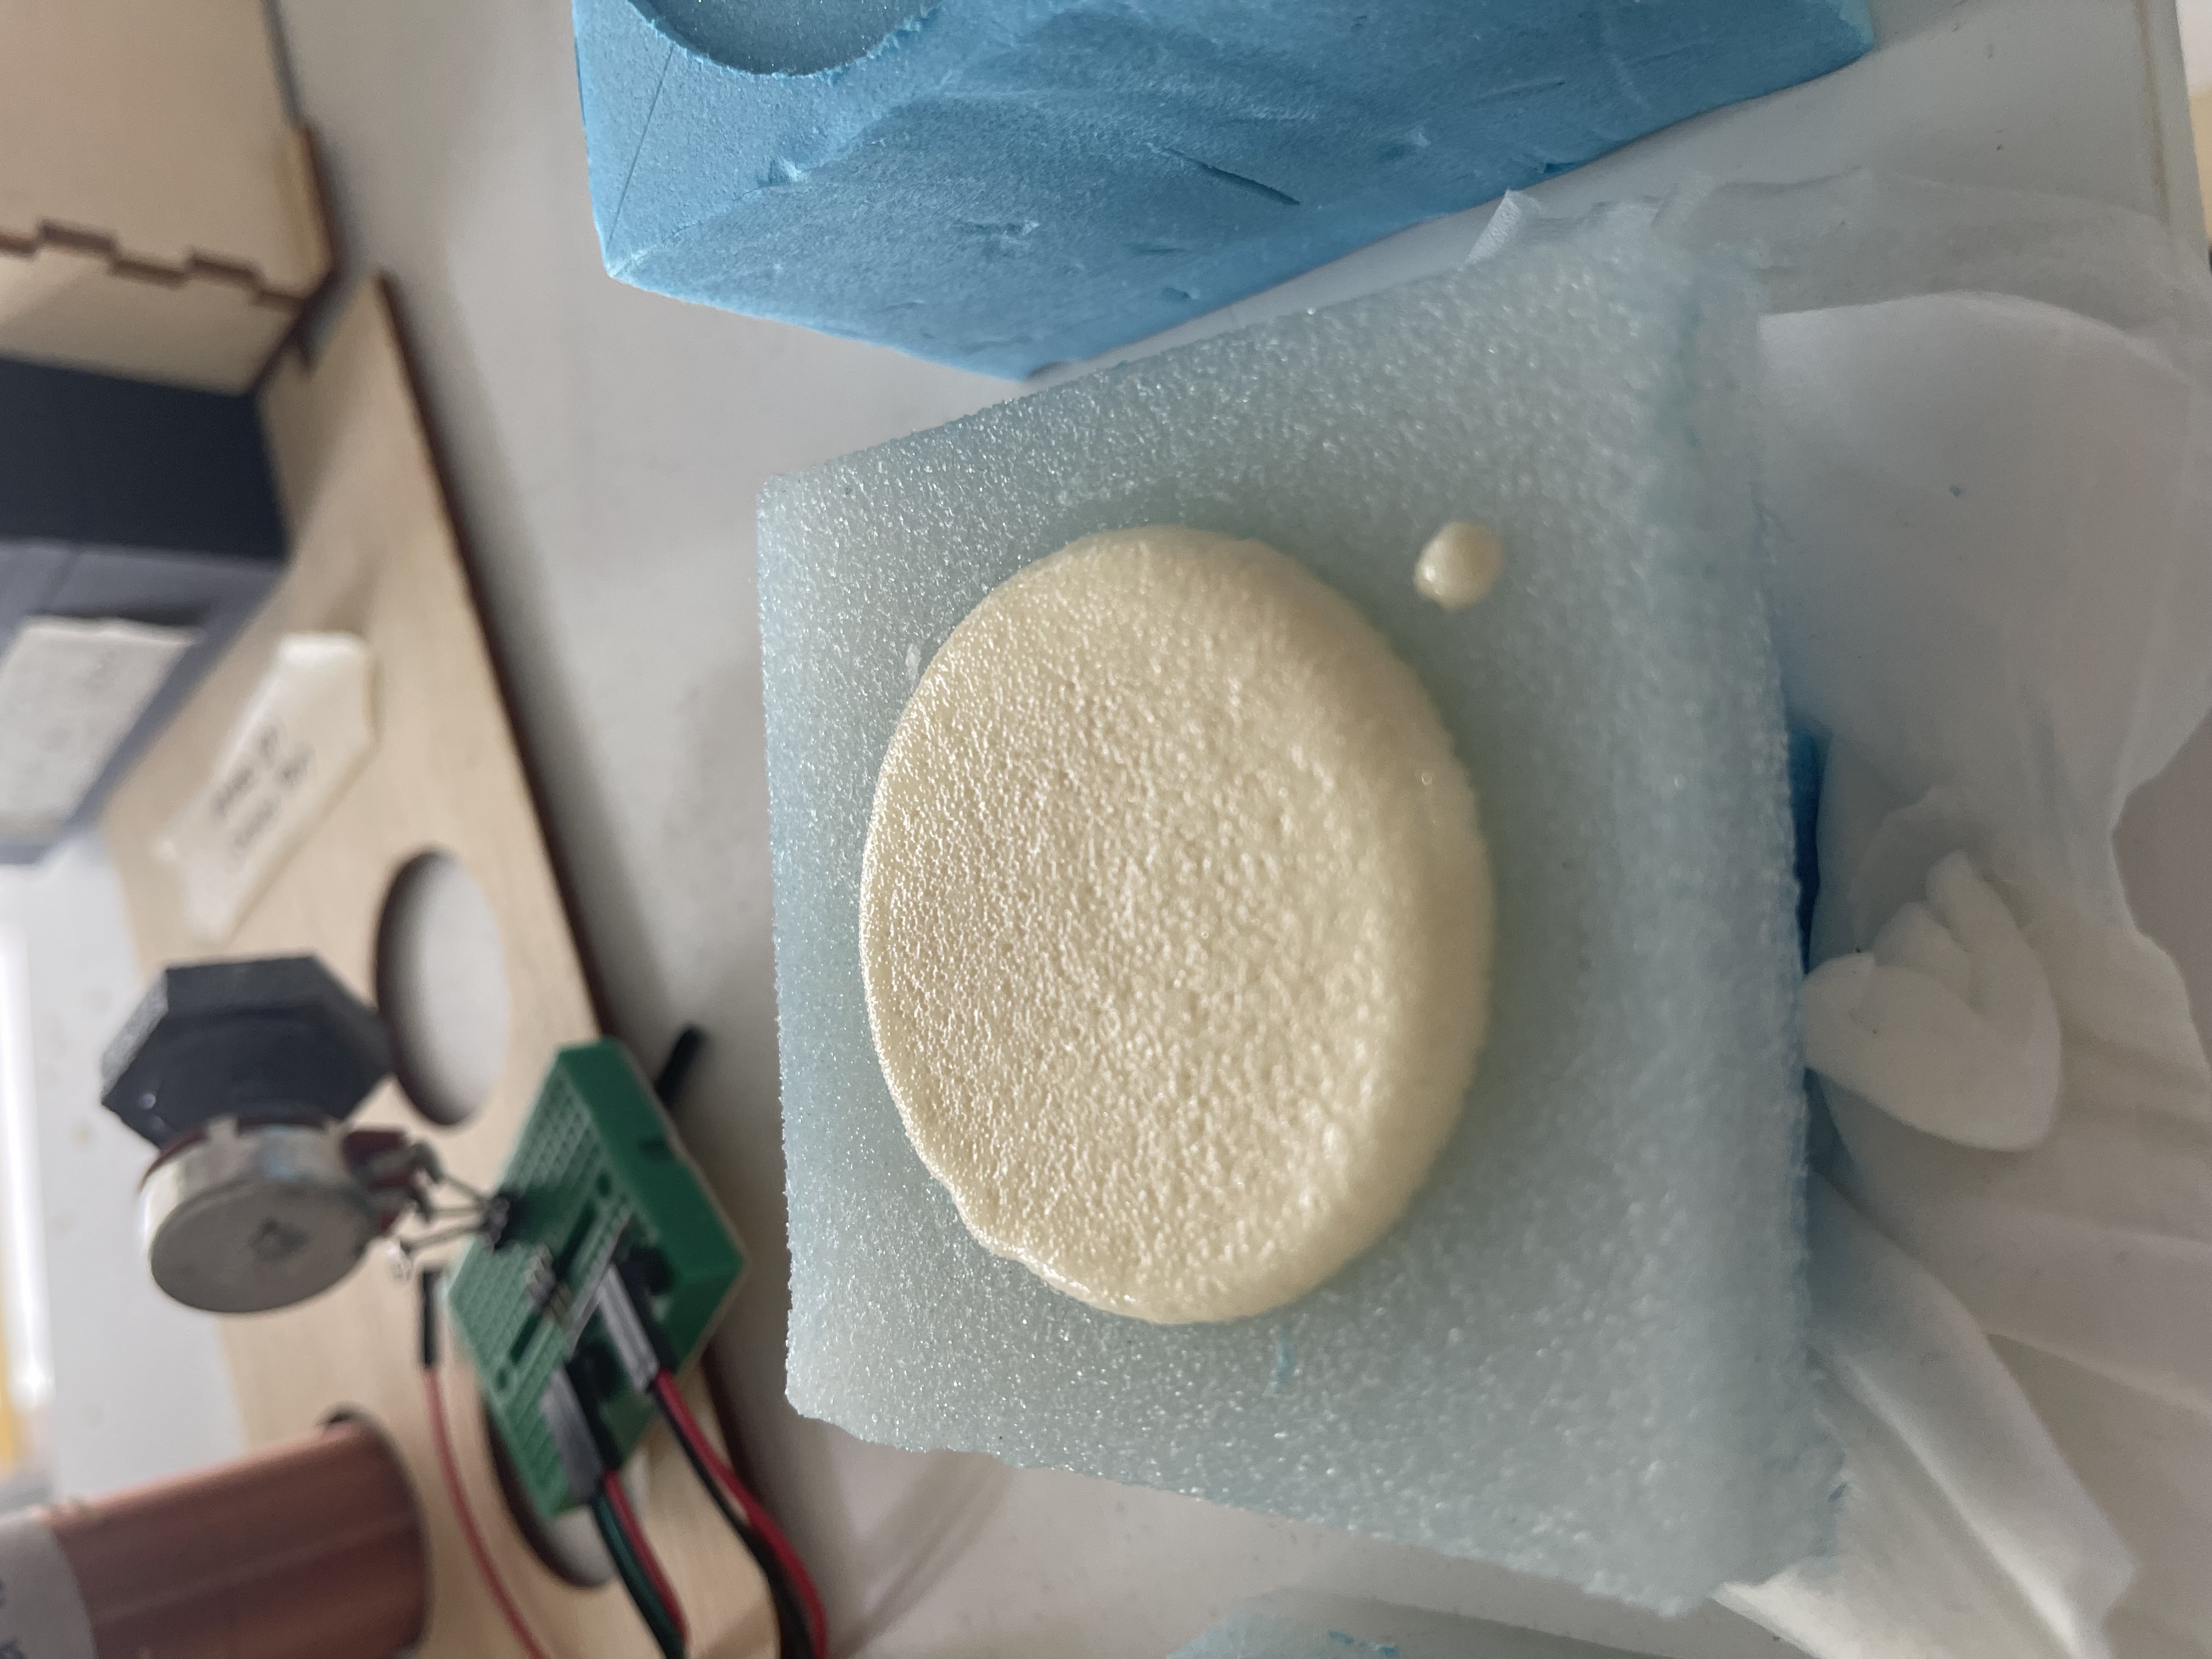
Step 5Once done slowly pour it into the mold ensuring you do it slowly as to not trap any air bubbles inside it. After the cure time of (1hour), you can check again. If it is not solid wait an addtional few hours. Once done it should some like this in the picture. |
This was how the final product turn out!
Although that is all the steps that are needed to create a mold for your silicon mold, I encountered some errors while doing the entire process.
Production Errors
Milling Errors
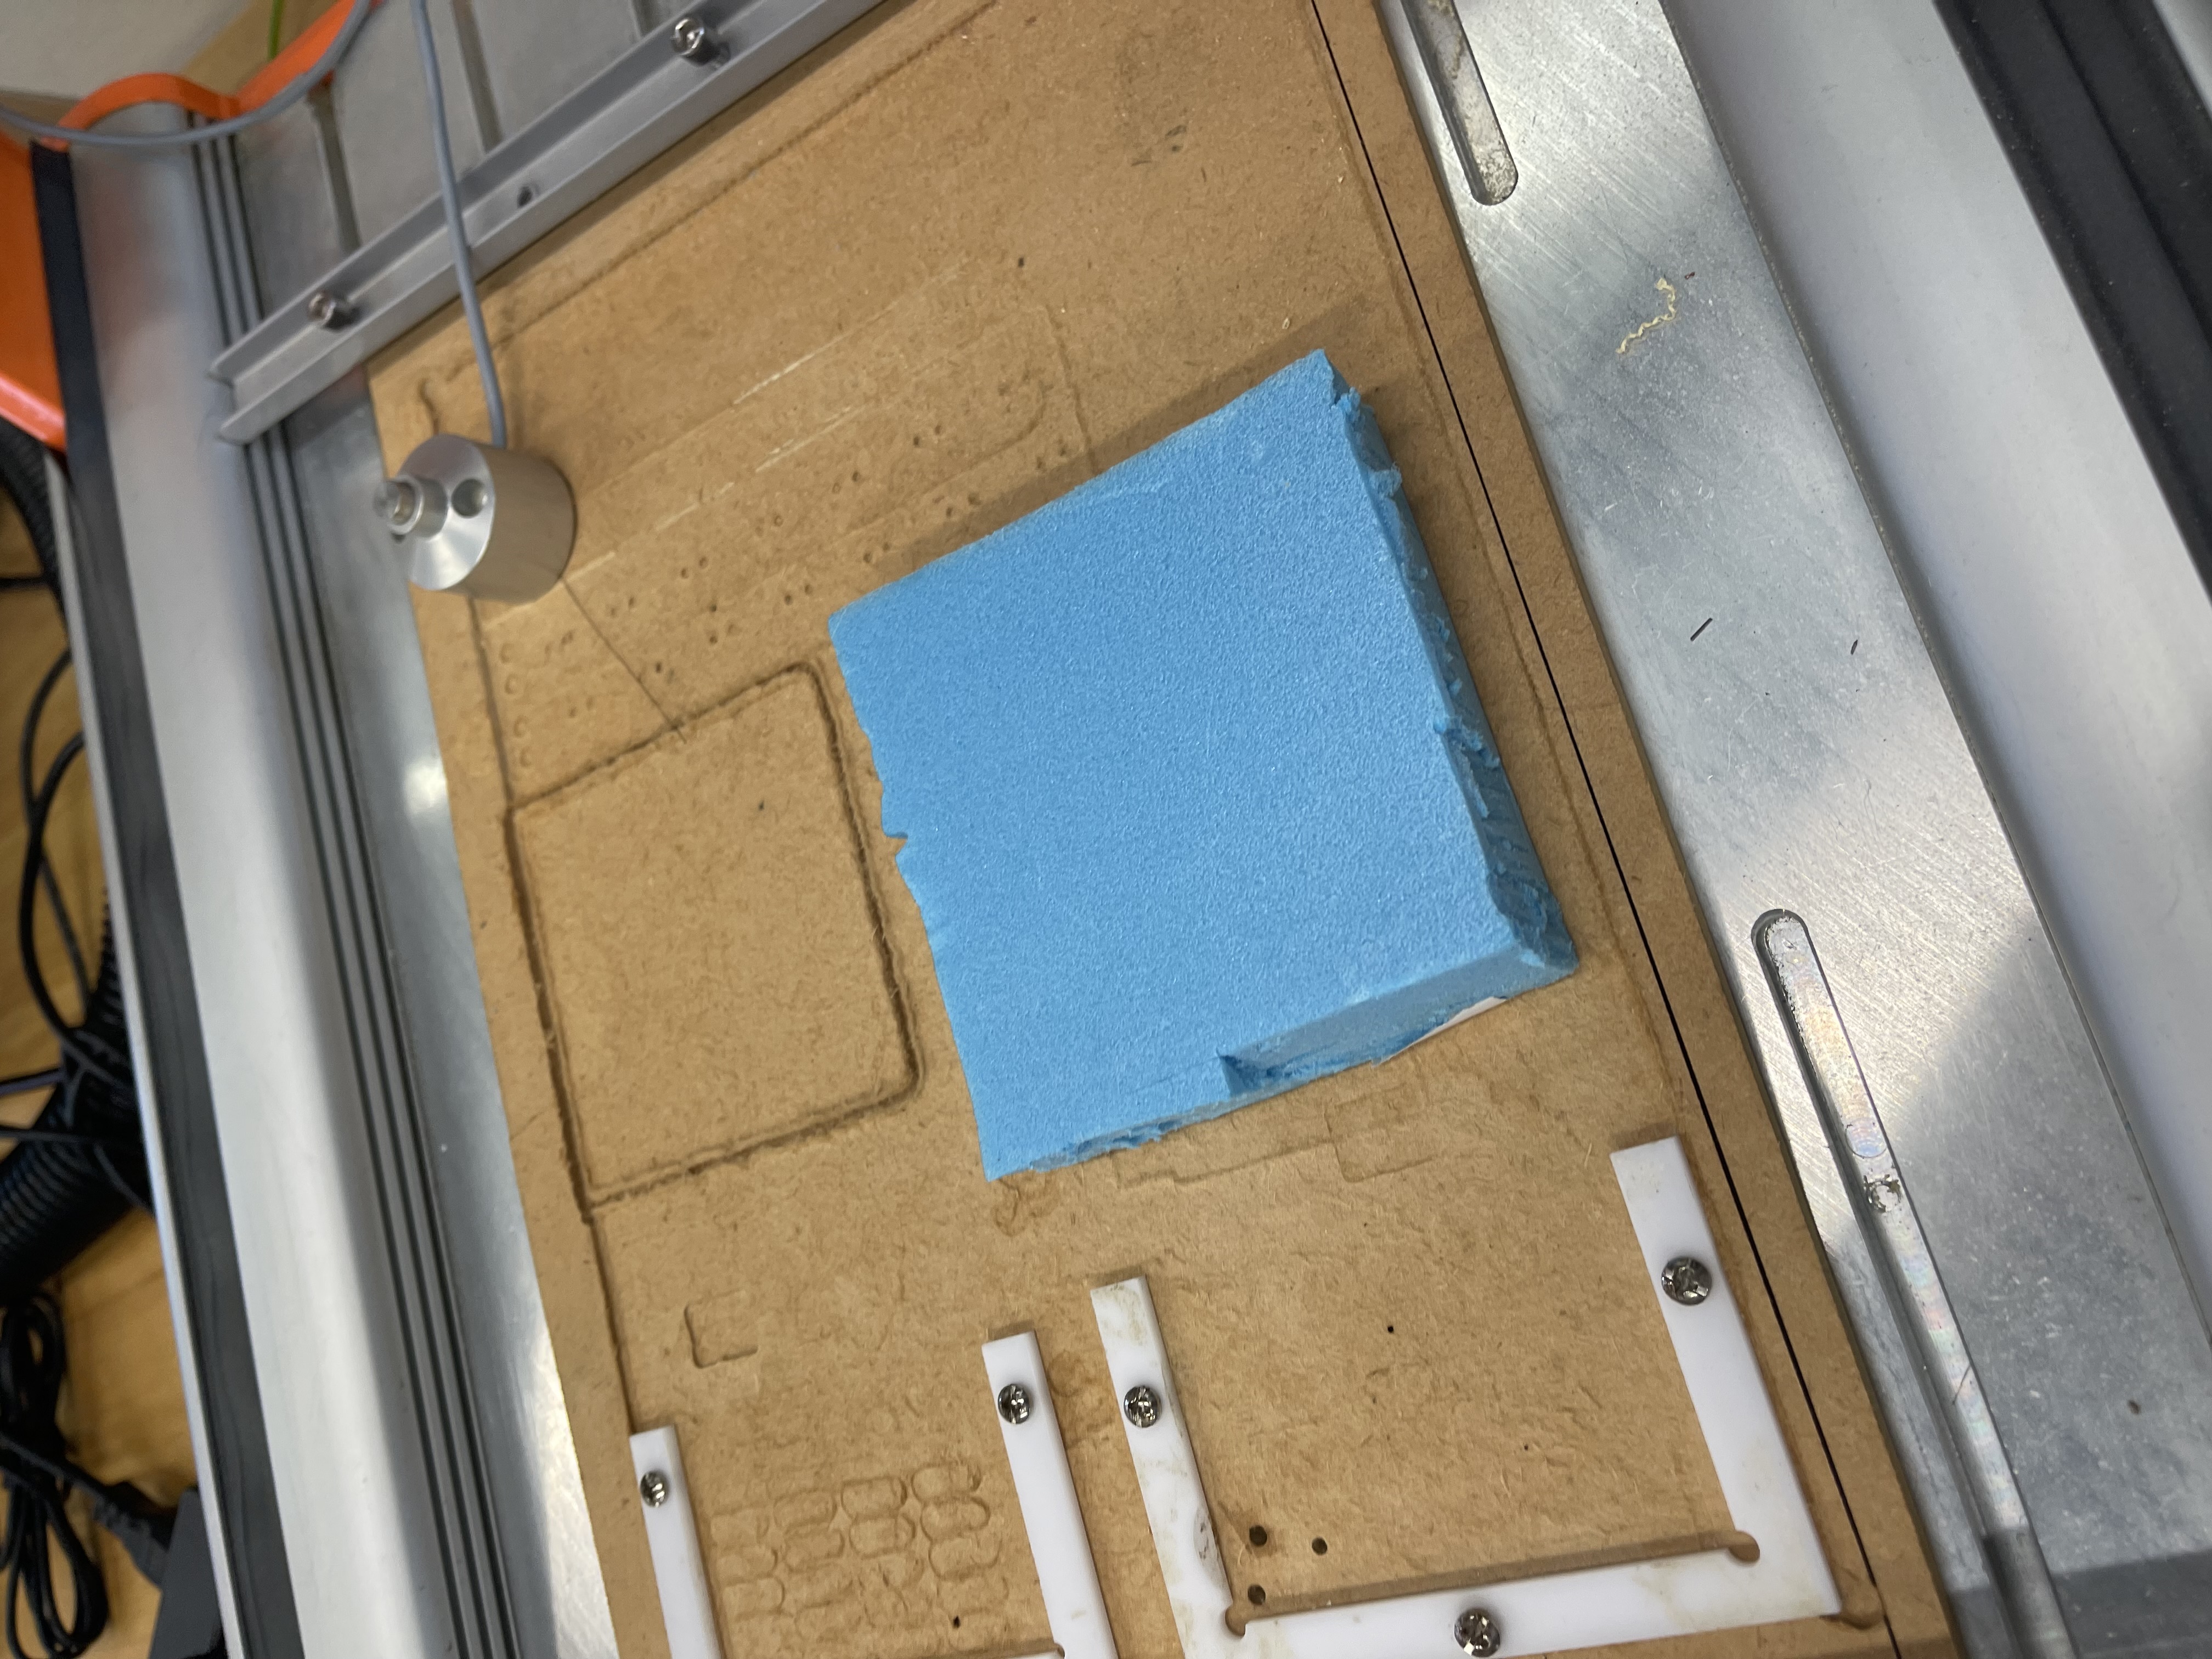
The image below shows the errors that I encountered while milling the mold. I used too little tape and the foam did not managed to stick well to the surface. This resulted in the foam bits that were being removed to stick under the mold causing it to become lose. Thankfully, I noticed it in time and stopped the router.

|
|
I added more tape to secure the foam and made sure to really hammer it onto the board. The rest of the process was fine allowing me to finish my mold sucessfully.
|
|
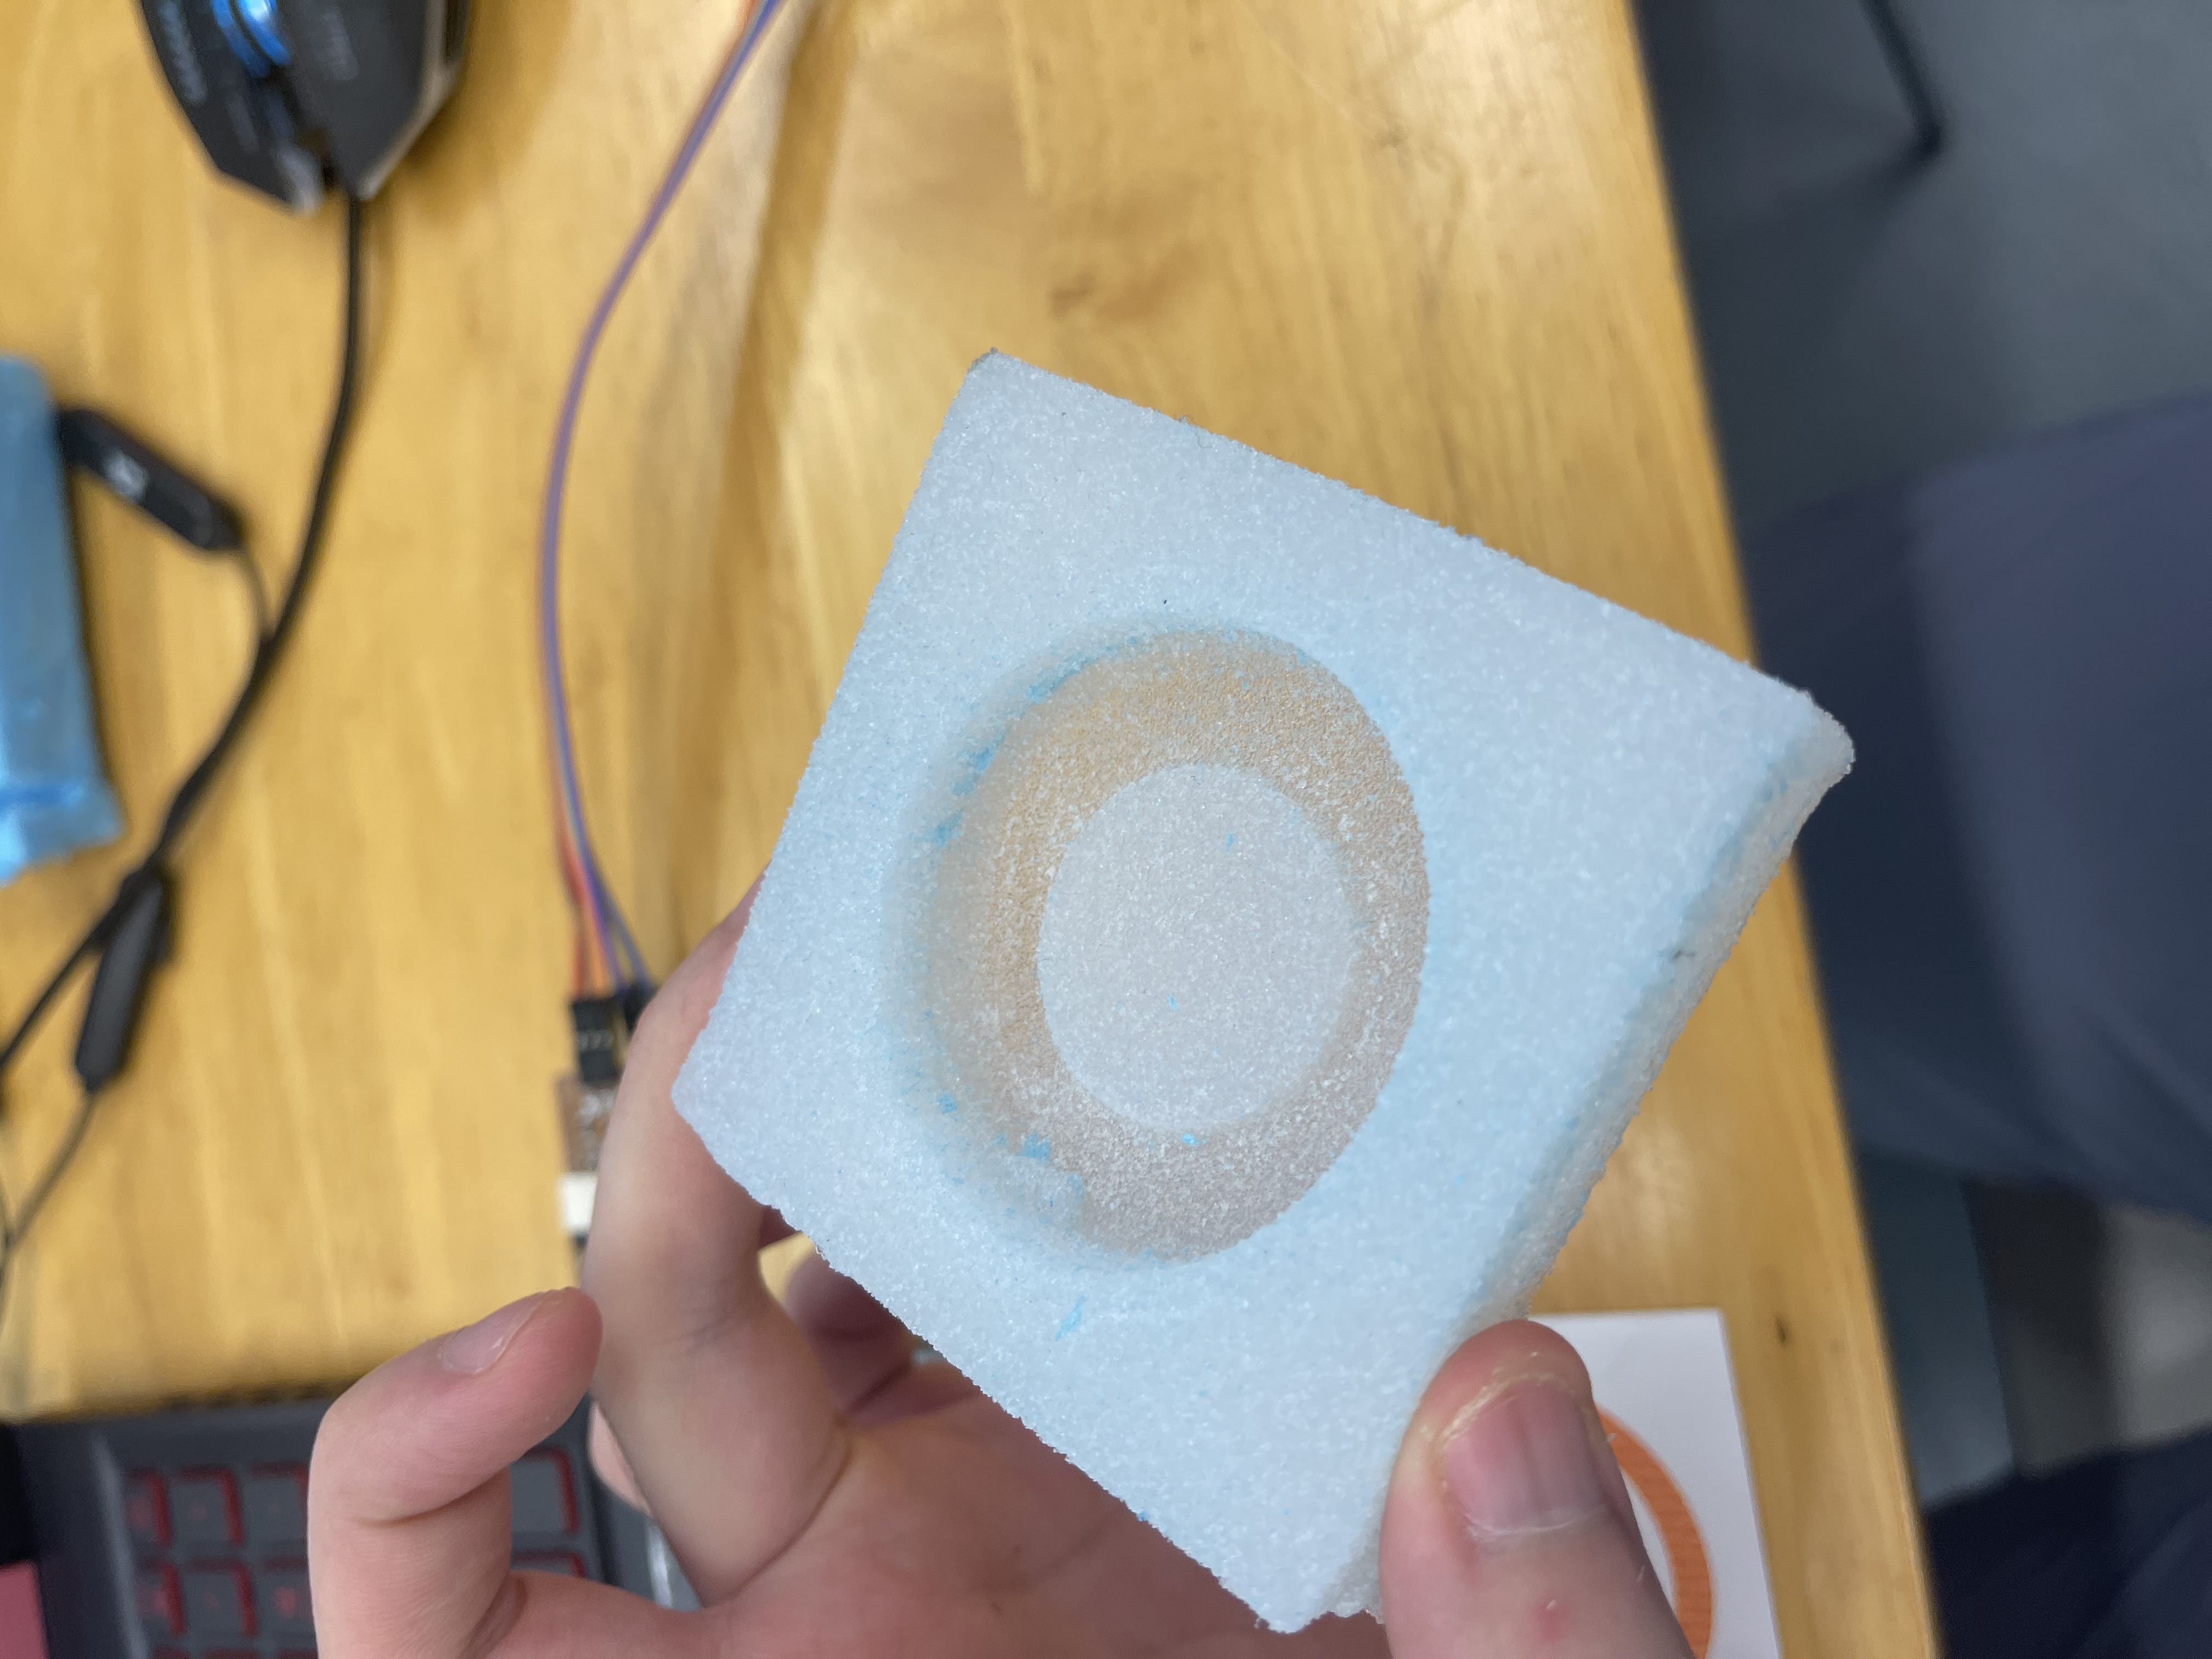
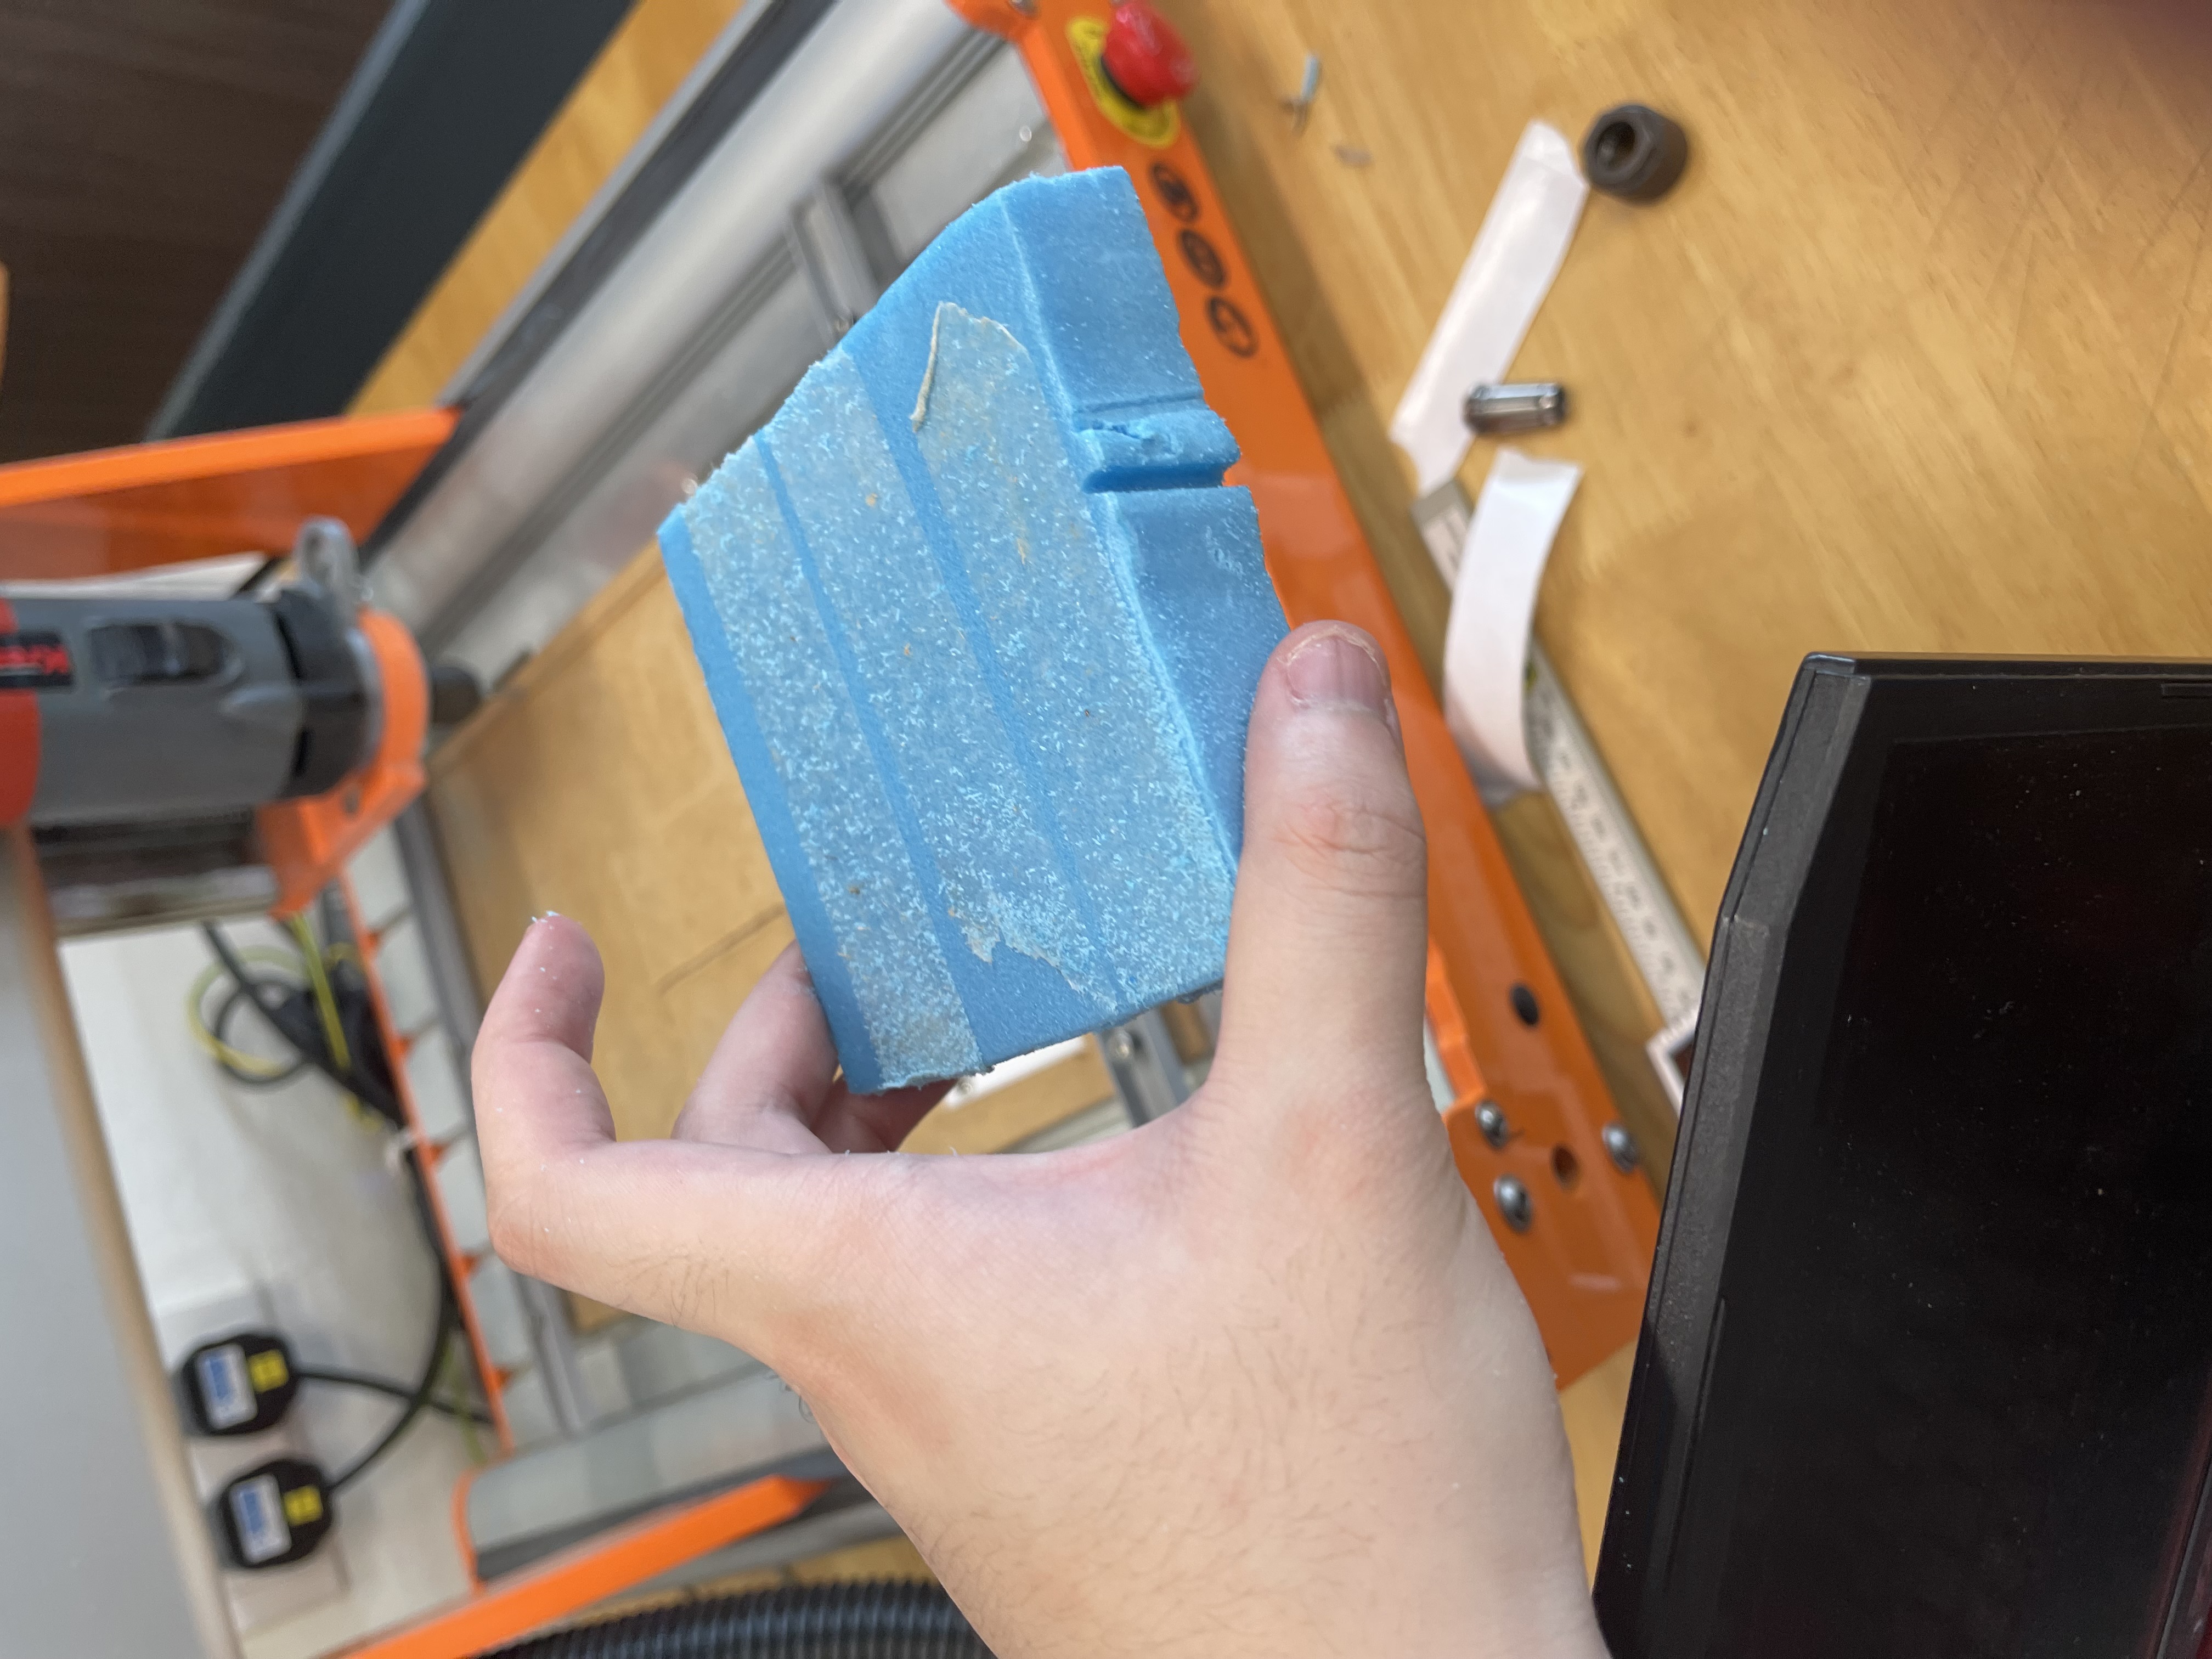
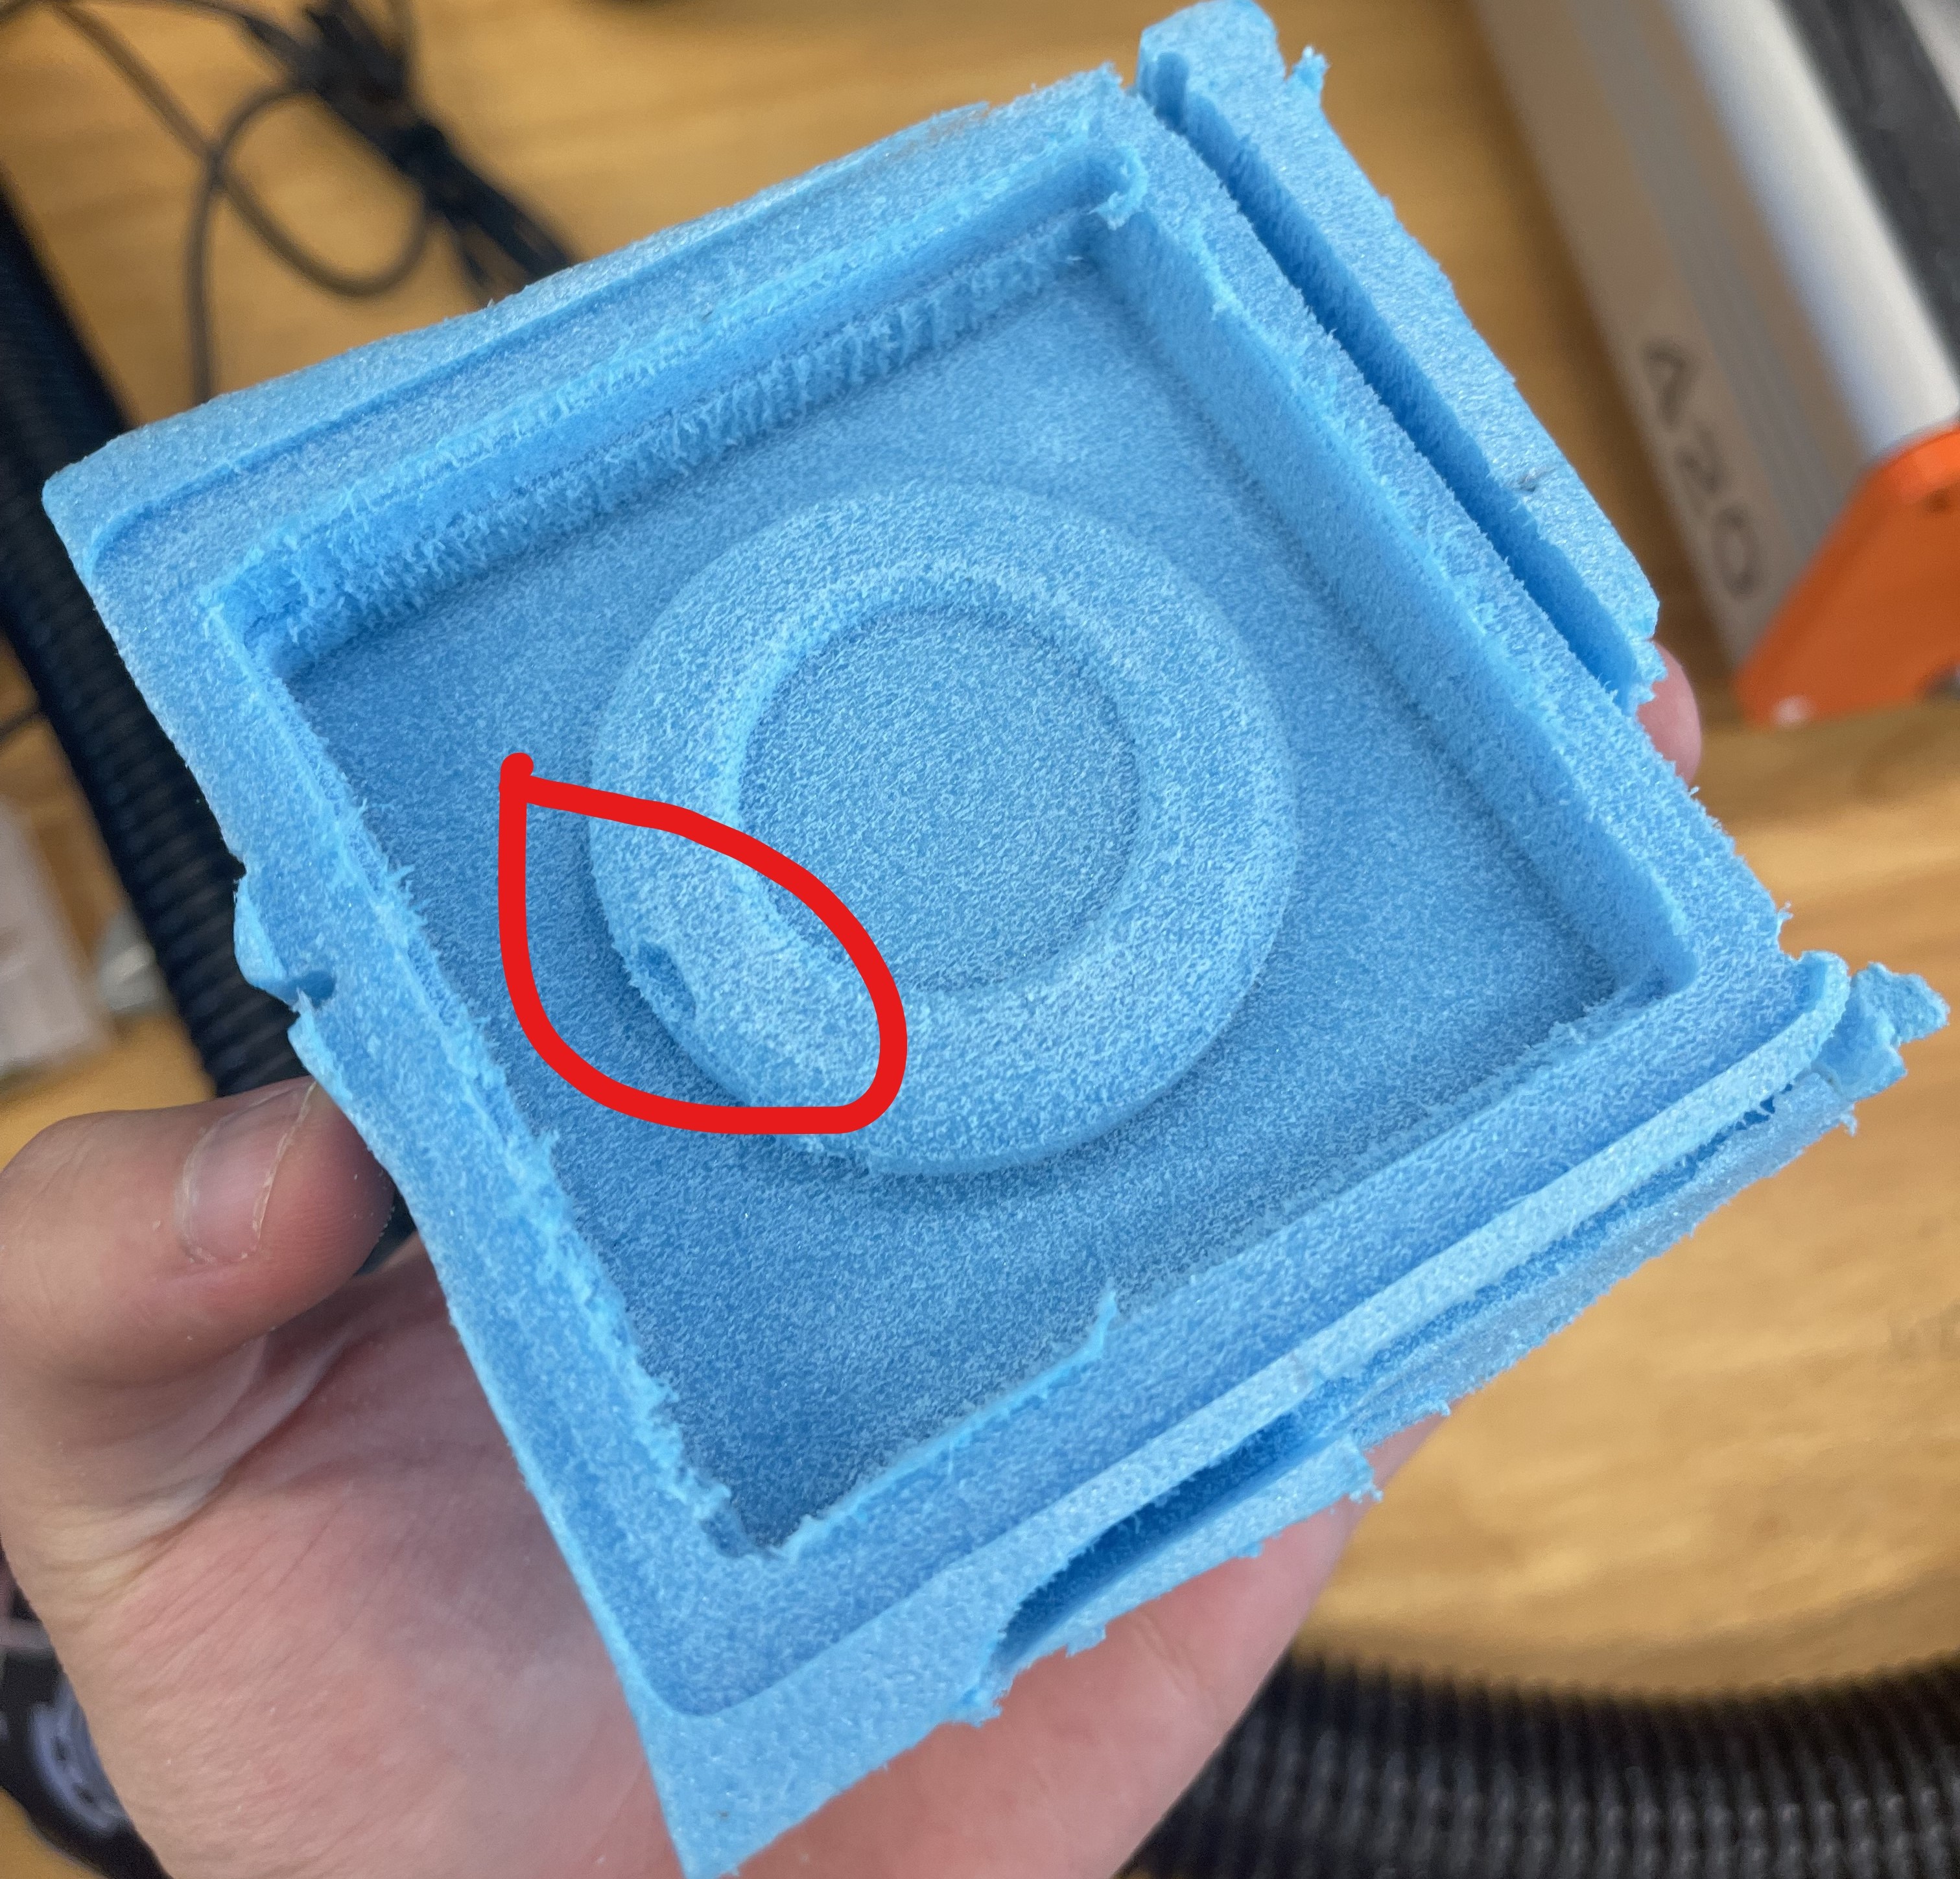
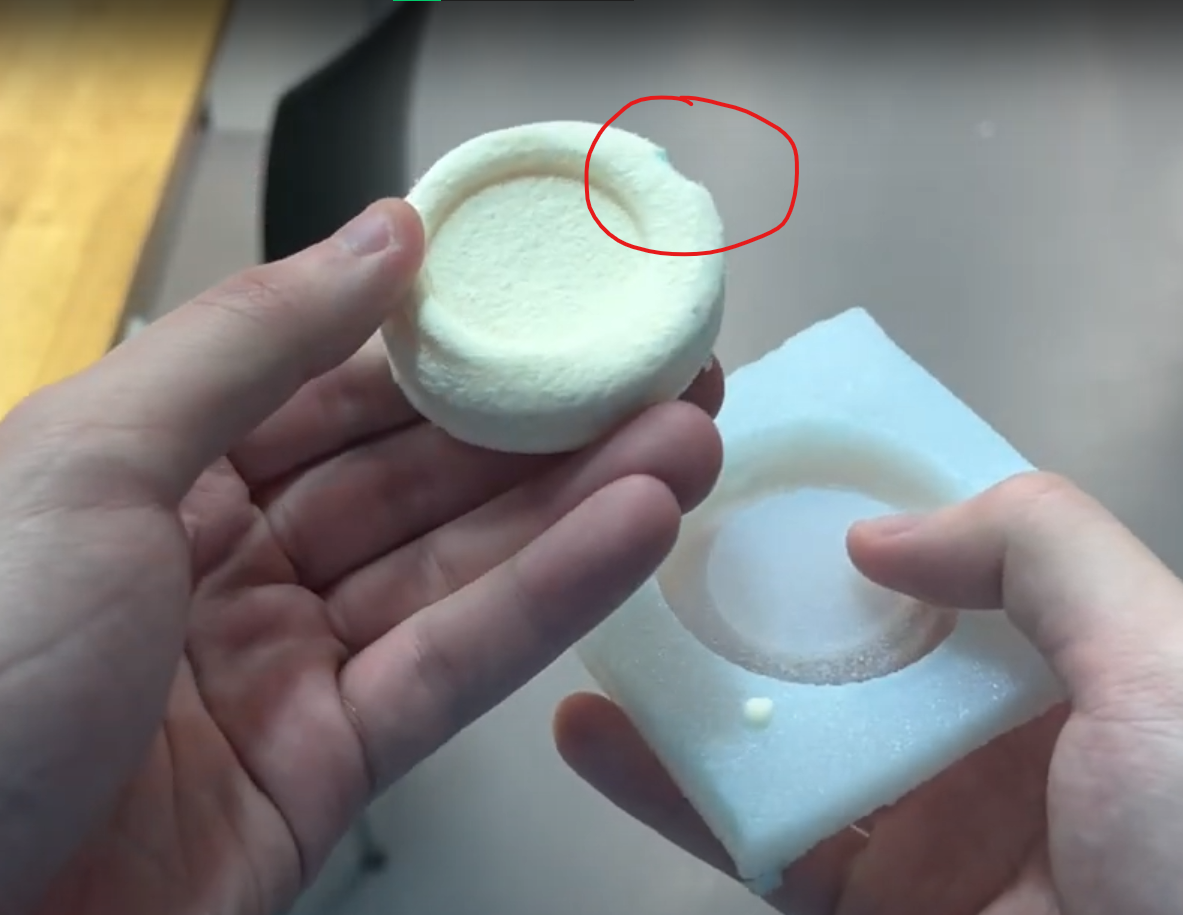
The image below shows the errors that I made when I was milling the mold. A piece of foam fell out leaving a dent when I was milling the foam. I did not think much of it at first until I created the final cast where the dent also appeared in the final product.
|
|
Casting Errors
|
|
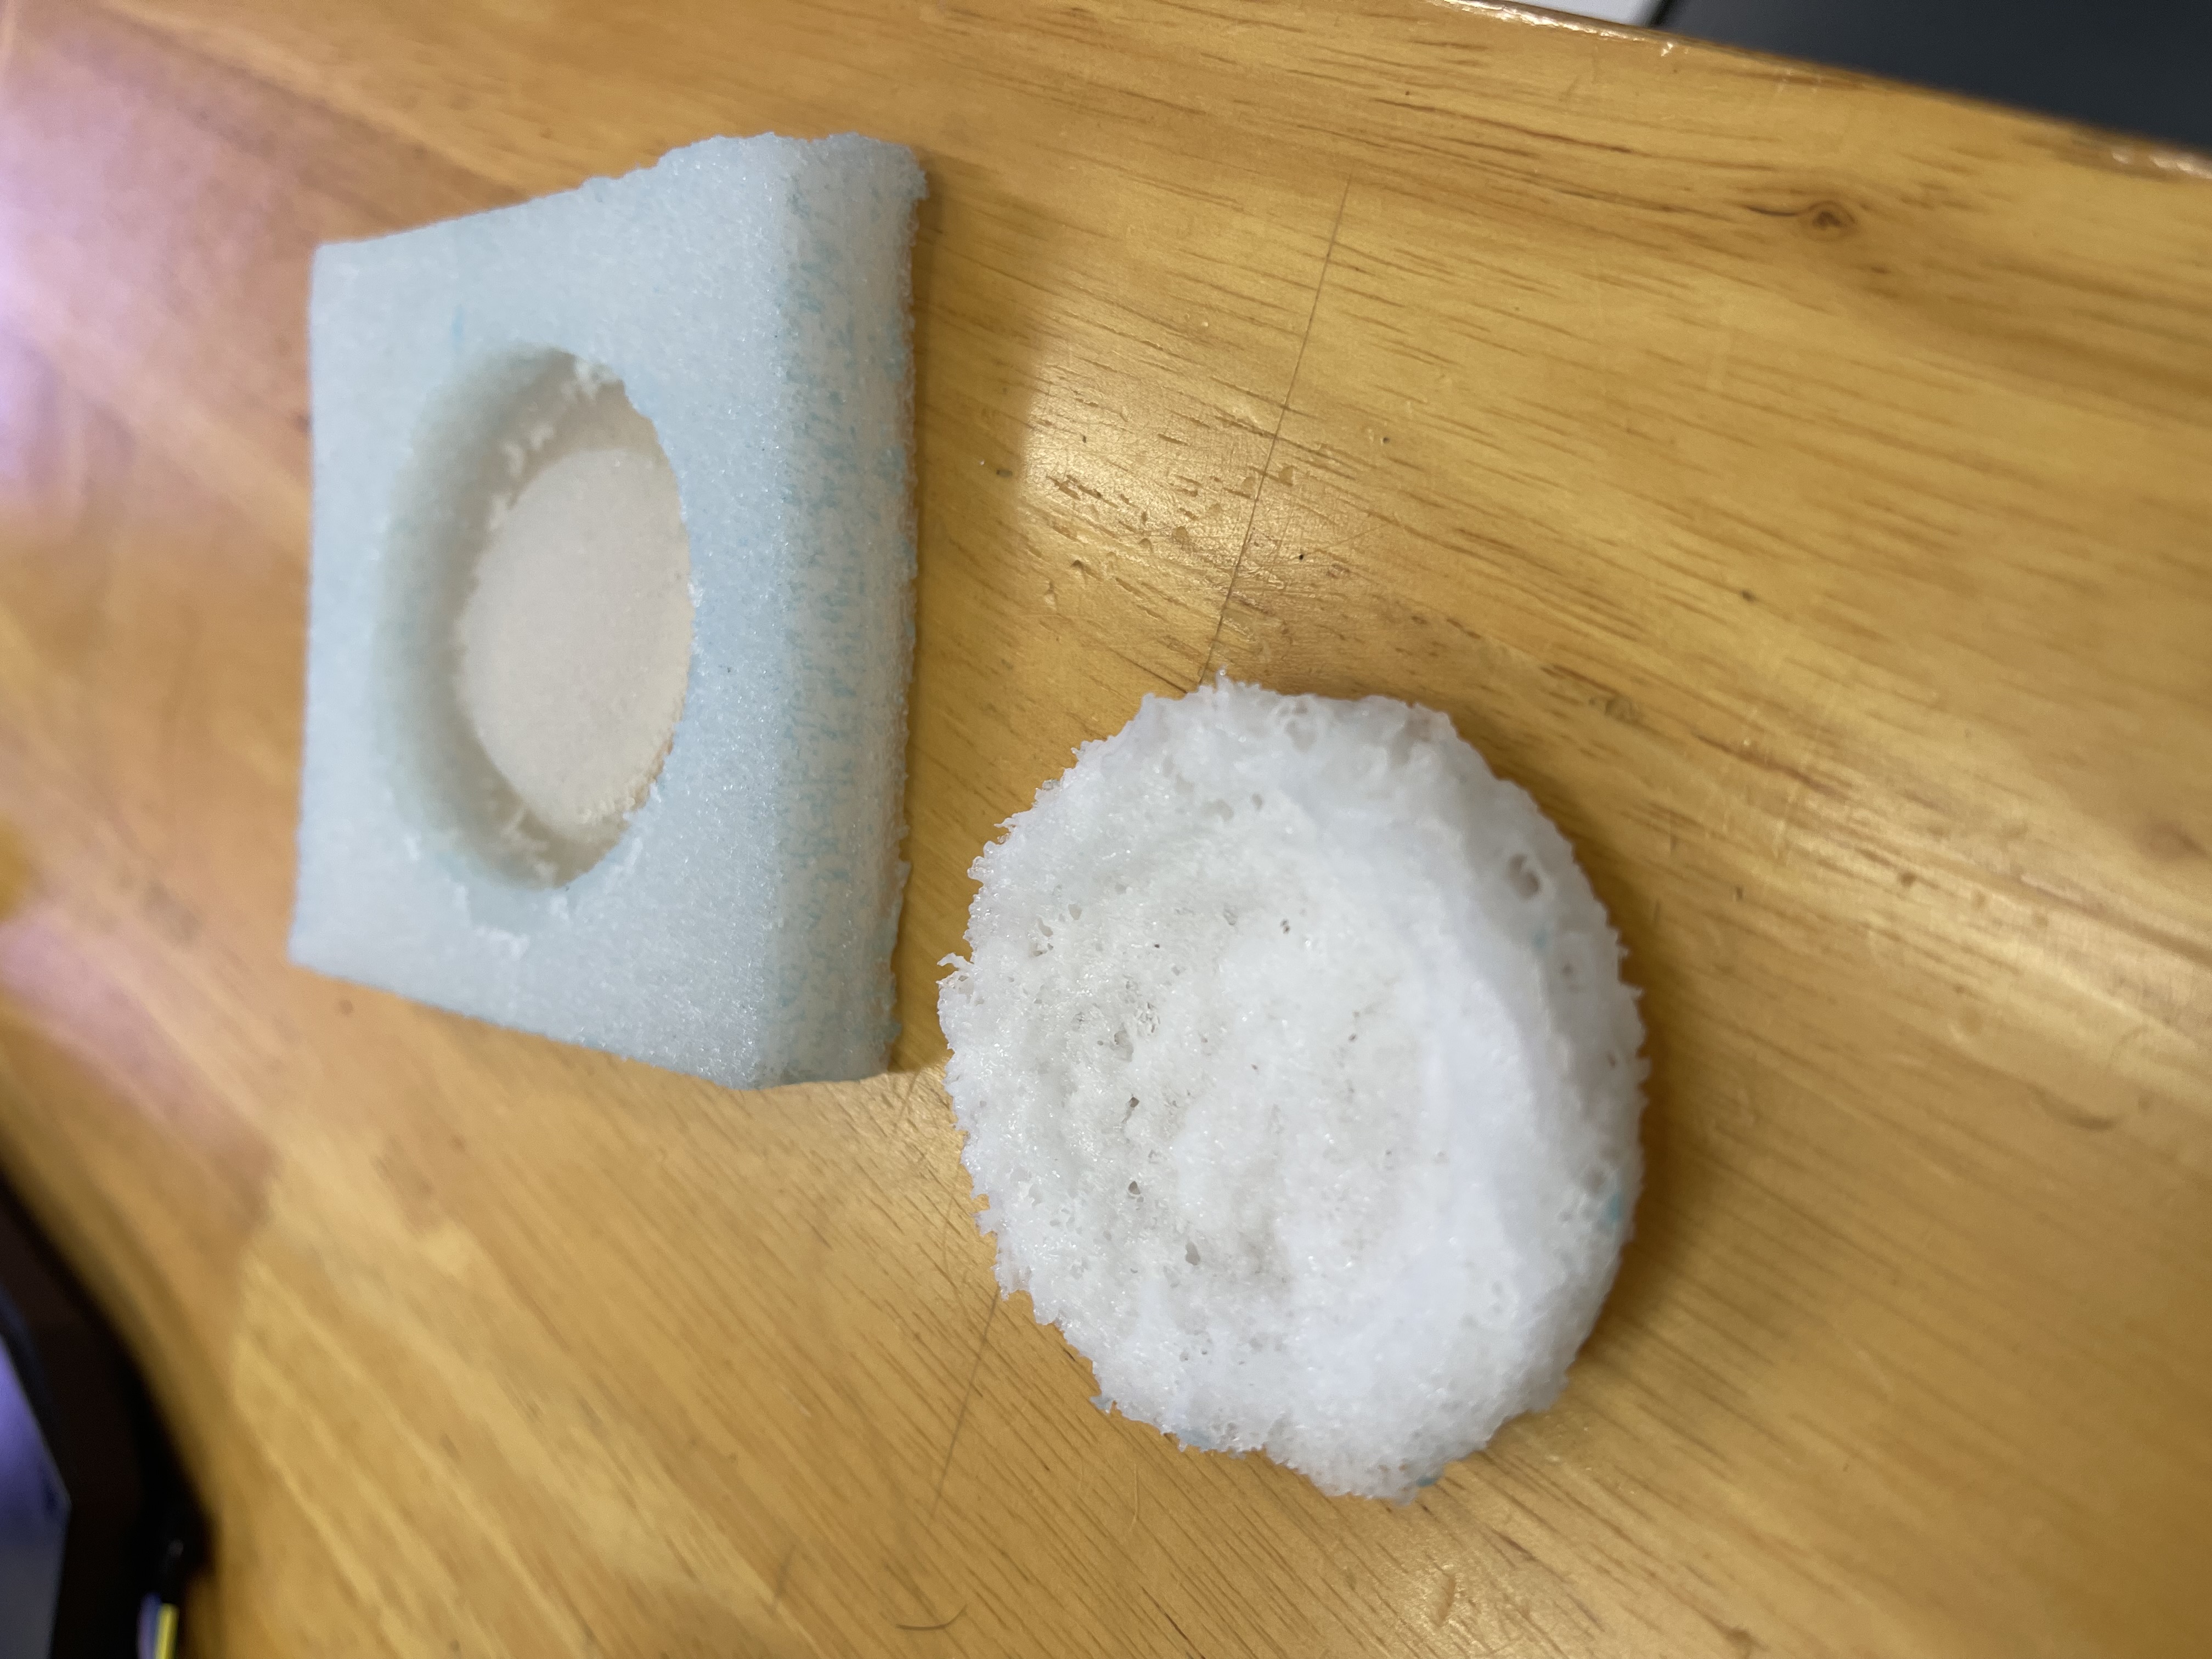
During the mixing process for the silicon mold, I mixed the mixture too vigorously this resulted in a ton of bubbles being trapped and form within the solution. This is not ideal as the bubbles in the mixture will cause the mold to have a sponge like texture. Although this does not affect my end product, it is something I need to note when mixing the second solution. |
|
This was my first attmept at casting. The item appears too sponge like and it still had residue after leaving it set for a week. This is because I may have lightly stirred the mixtures which resulted in the two chemicals not combining as well as it should. The result is shown in the picture. |