MY ATTEMPTS AT 3D PRINTING
After Making my Knight Chess Piece, I have to learn how to use a Ultimaker Cura to 3D Print it.
ATTEMPT 1: Mbot 3D Grid IV
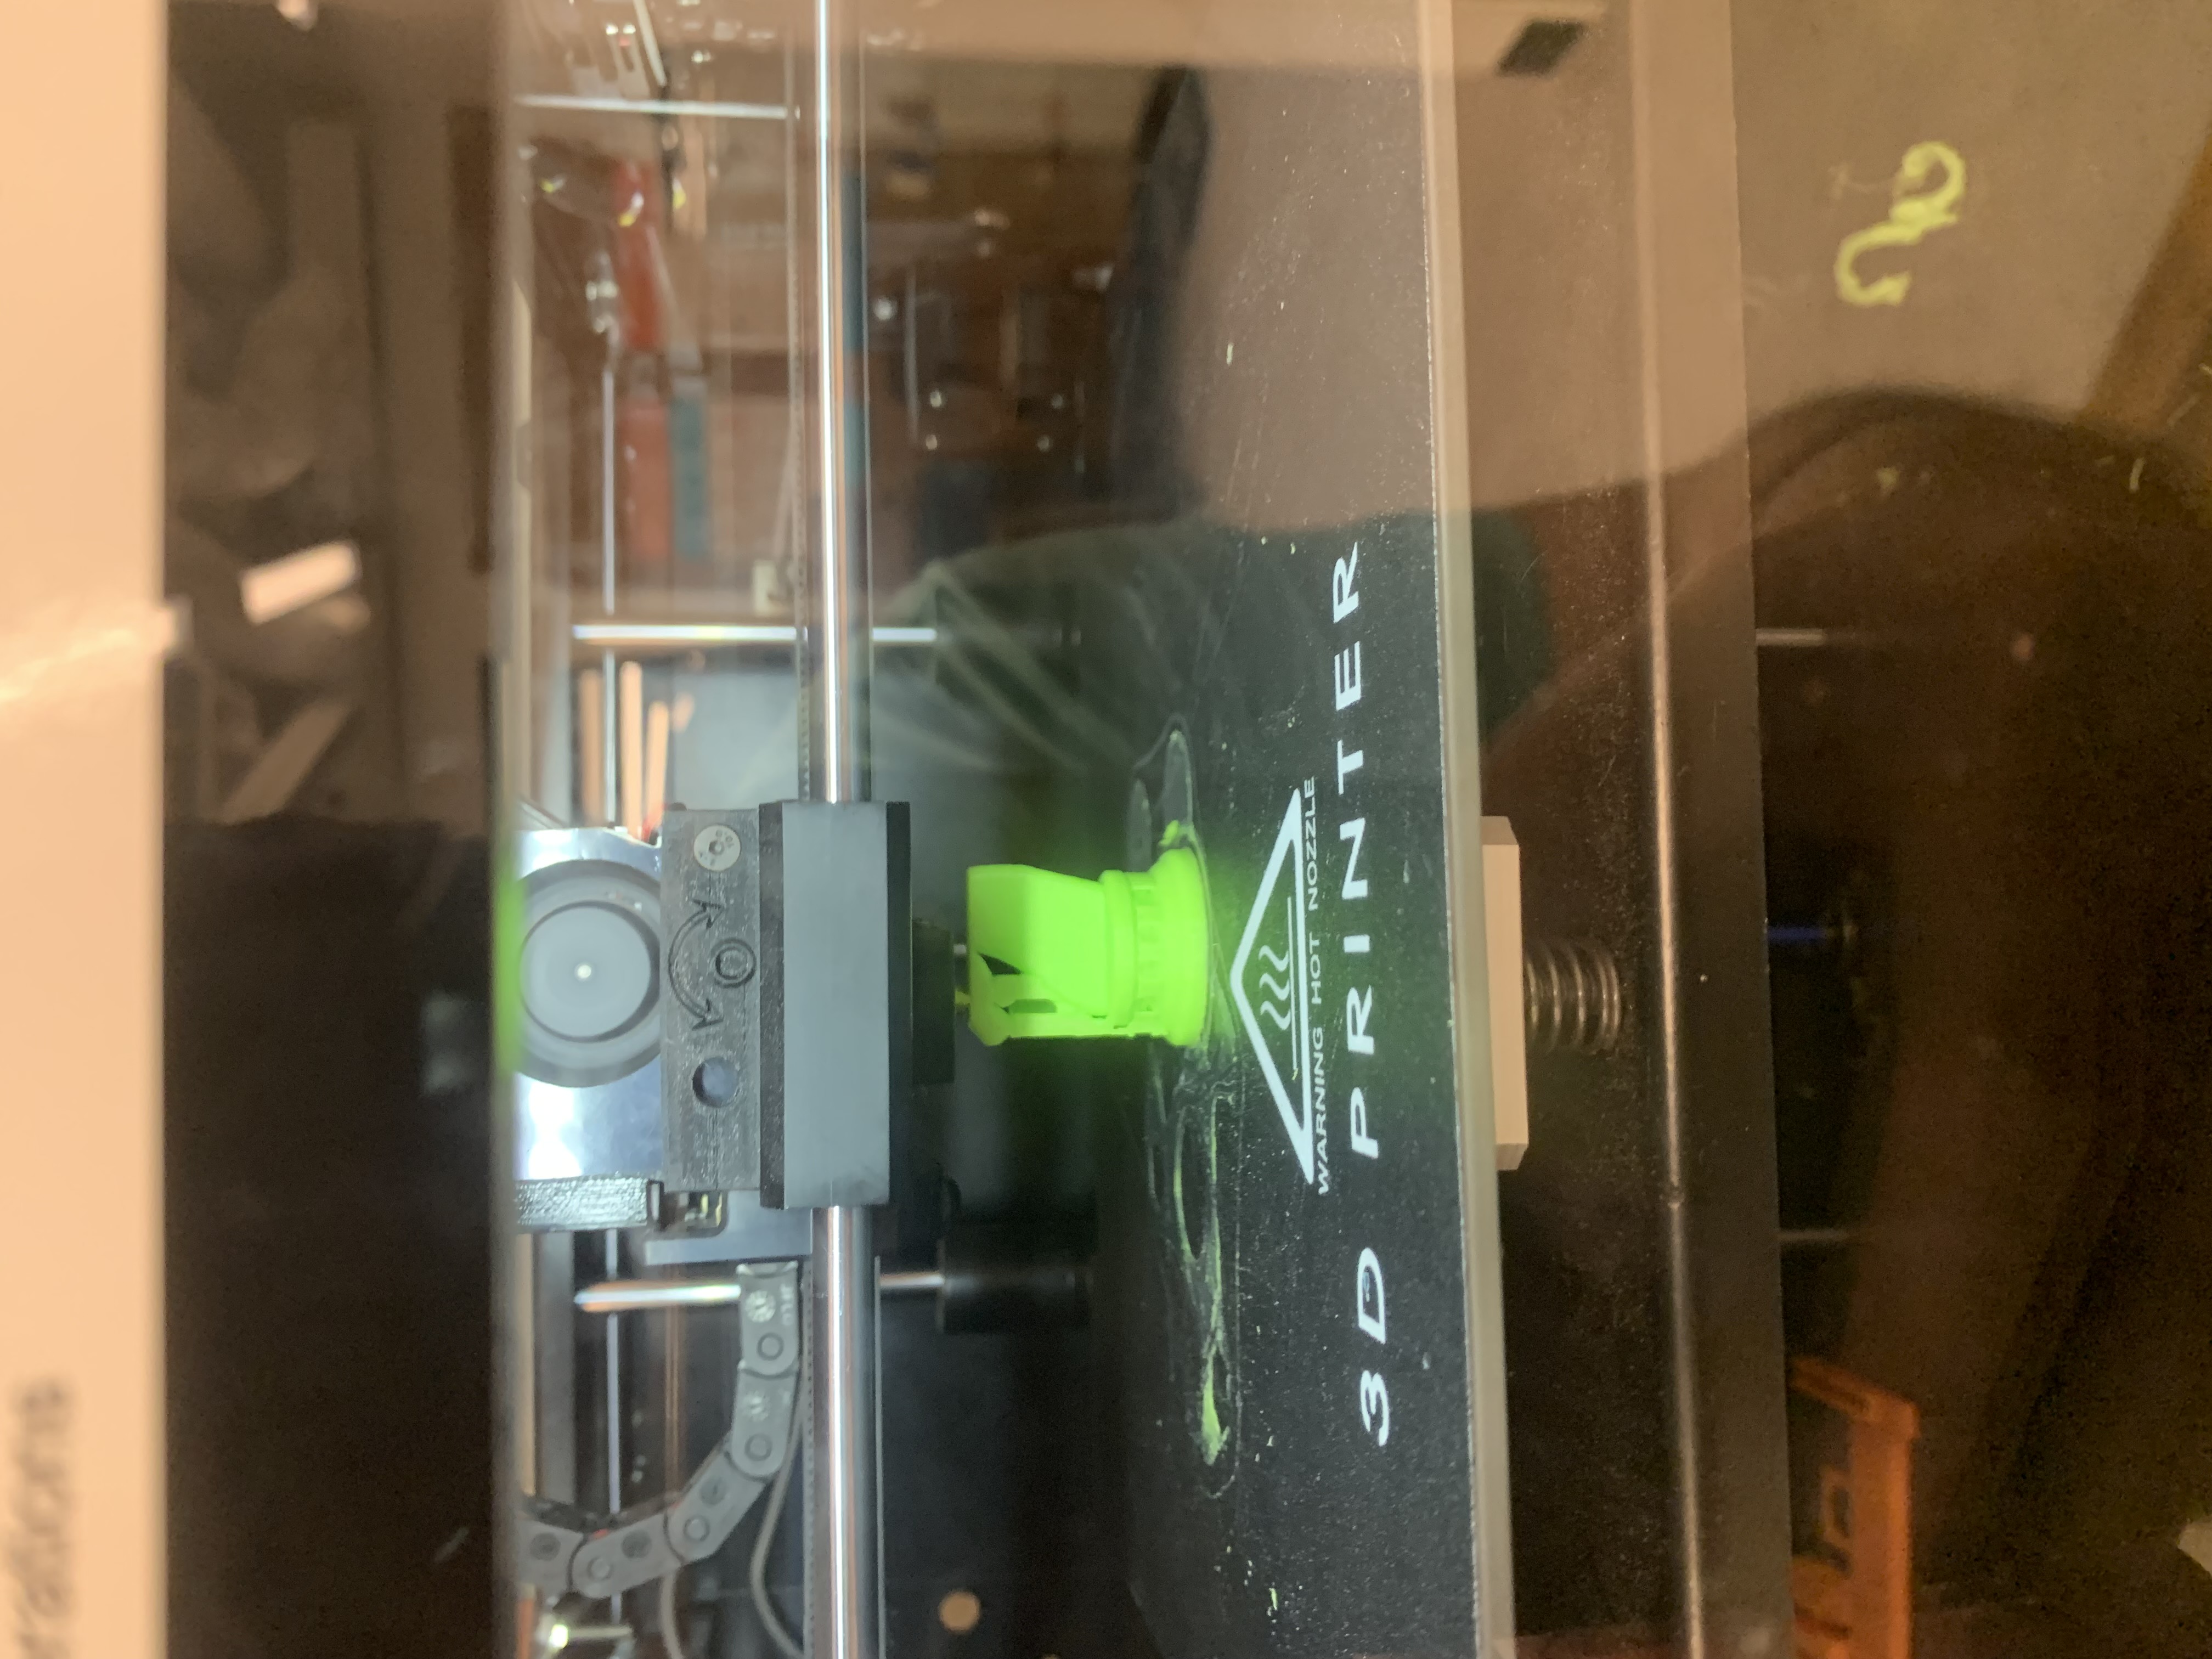
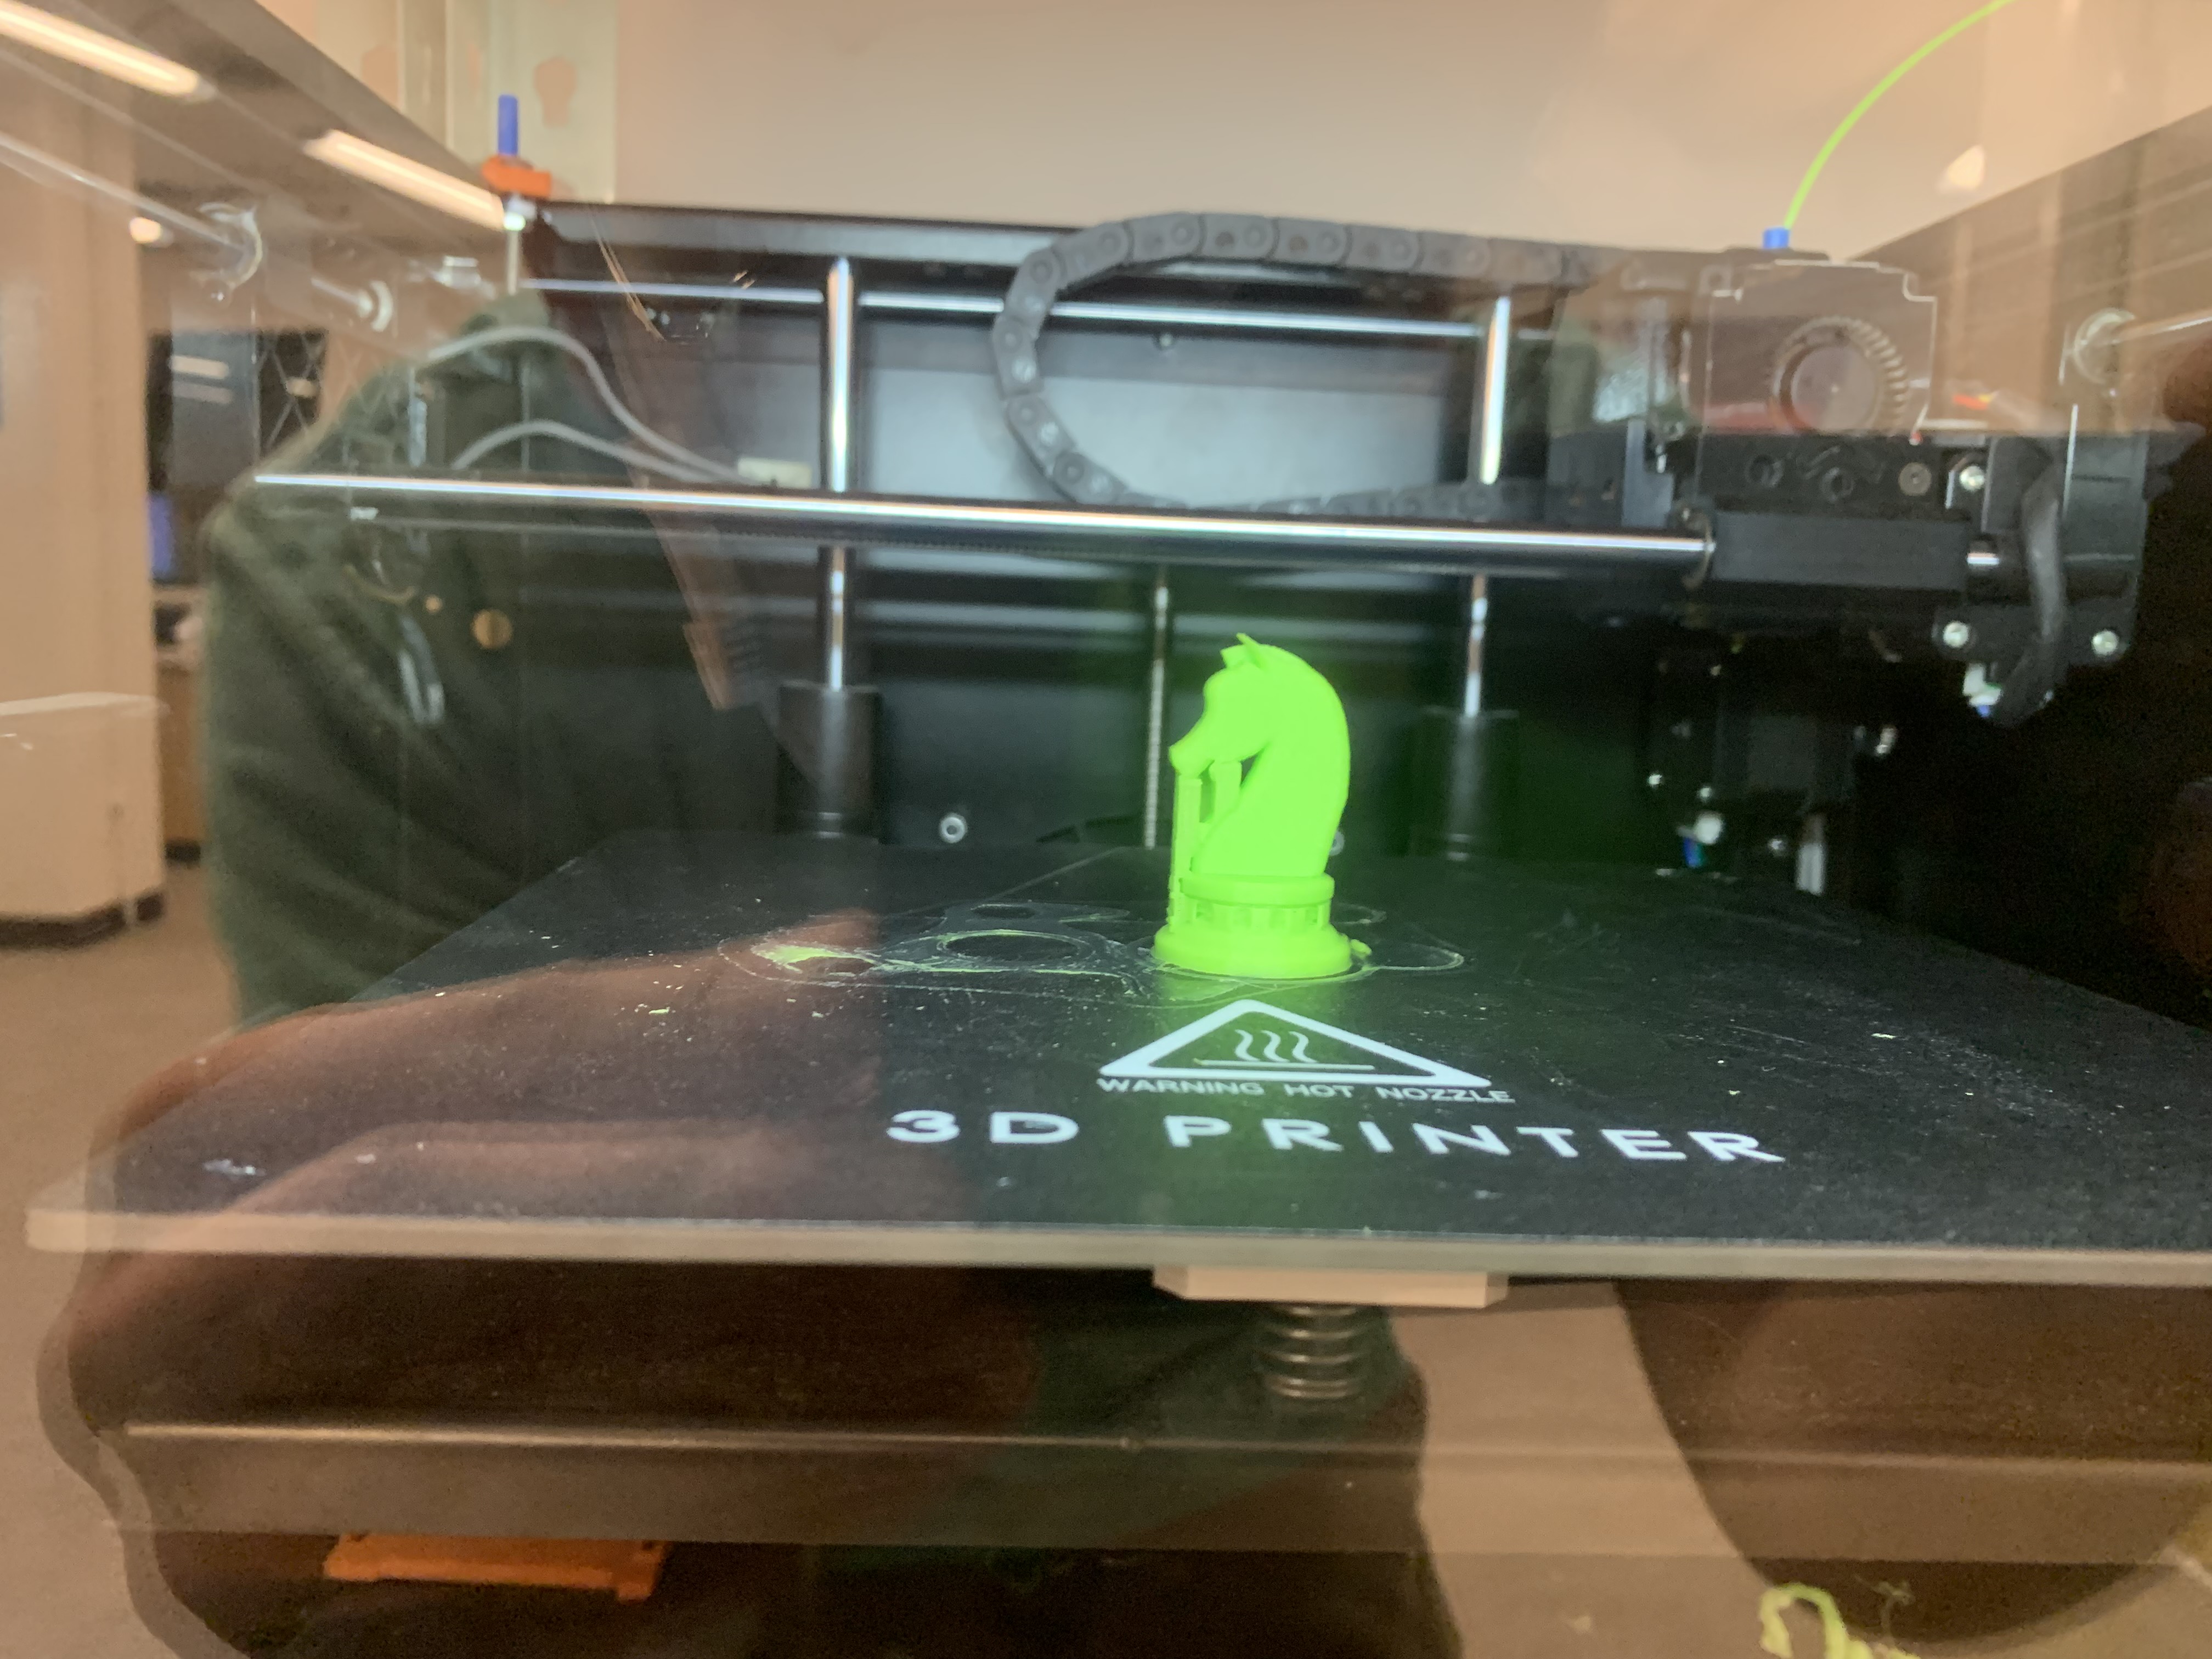
After converting my Knight Chess Piece to an STL file and imported to Ultimaker Cura, I went over to Makerspace @SP library and used their Mbot 3D Grid IV.
| Profile | Settings |
|---|---|
| Quality | Layer Height: 0.2mm, Initial Layer Height: 0.3mm |
| Walls | Wall Thickness: 0.8mm |
| Infill | Infill Density 20% |
| Material | Printing Temperature: 200°c, Build Plate Temperature: 60°c |
| Speed | Print Speed: 60 mm/s |
| Support | Generate Support: Yes, Support Pattern: Zig Zag, Support Density 15% |
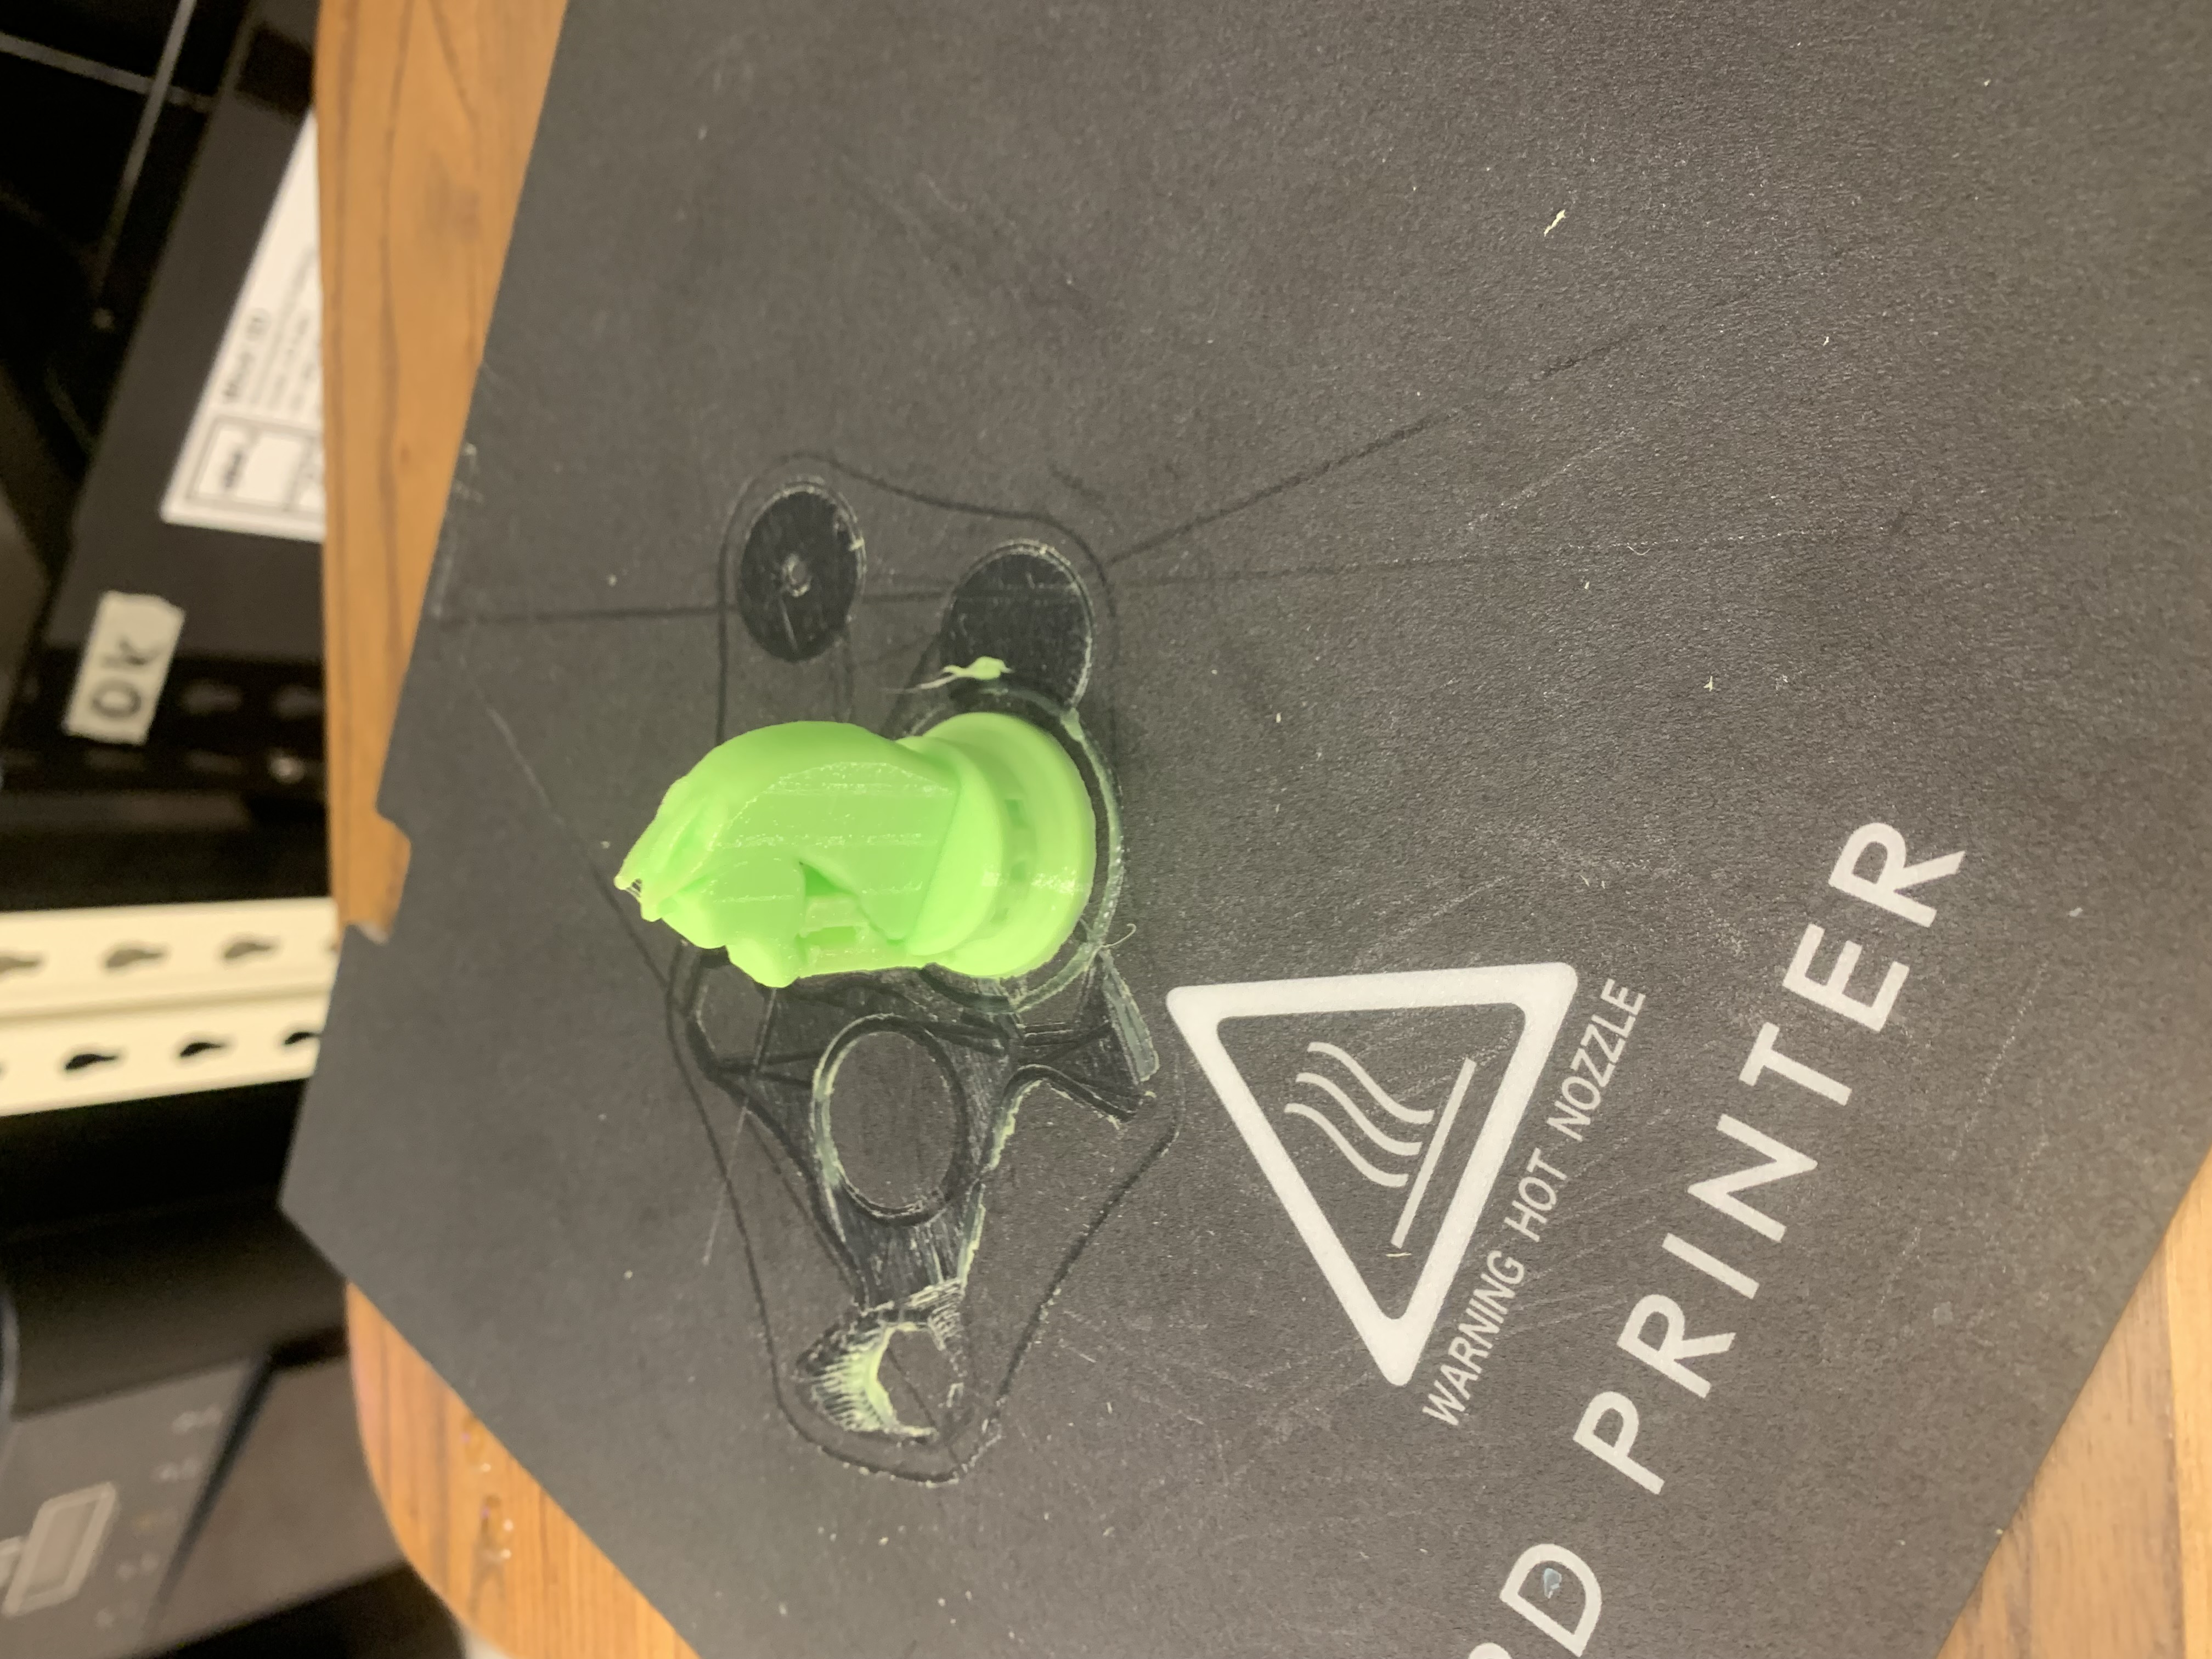
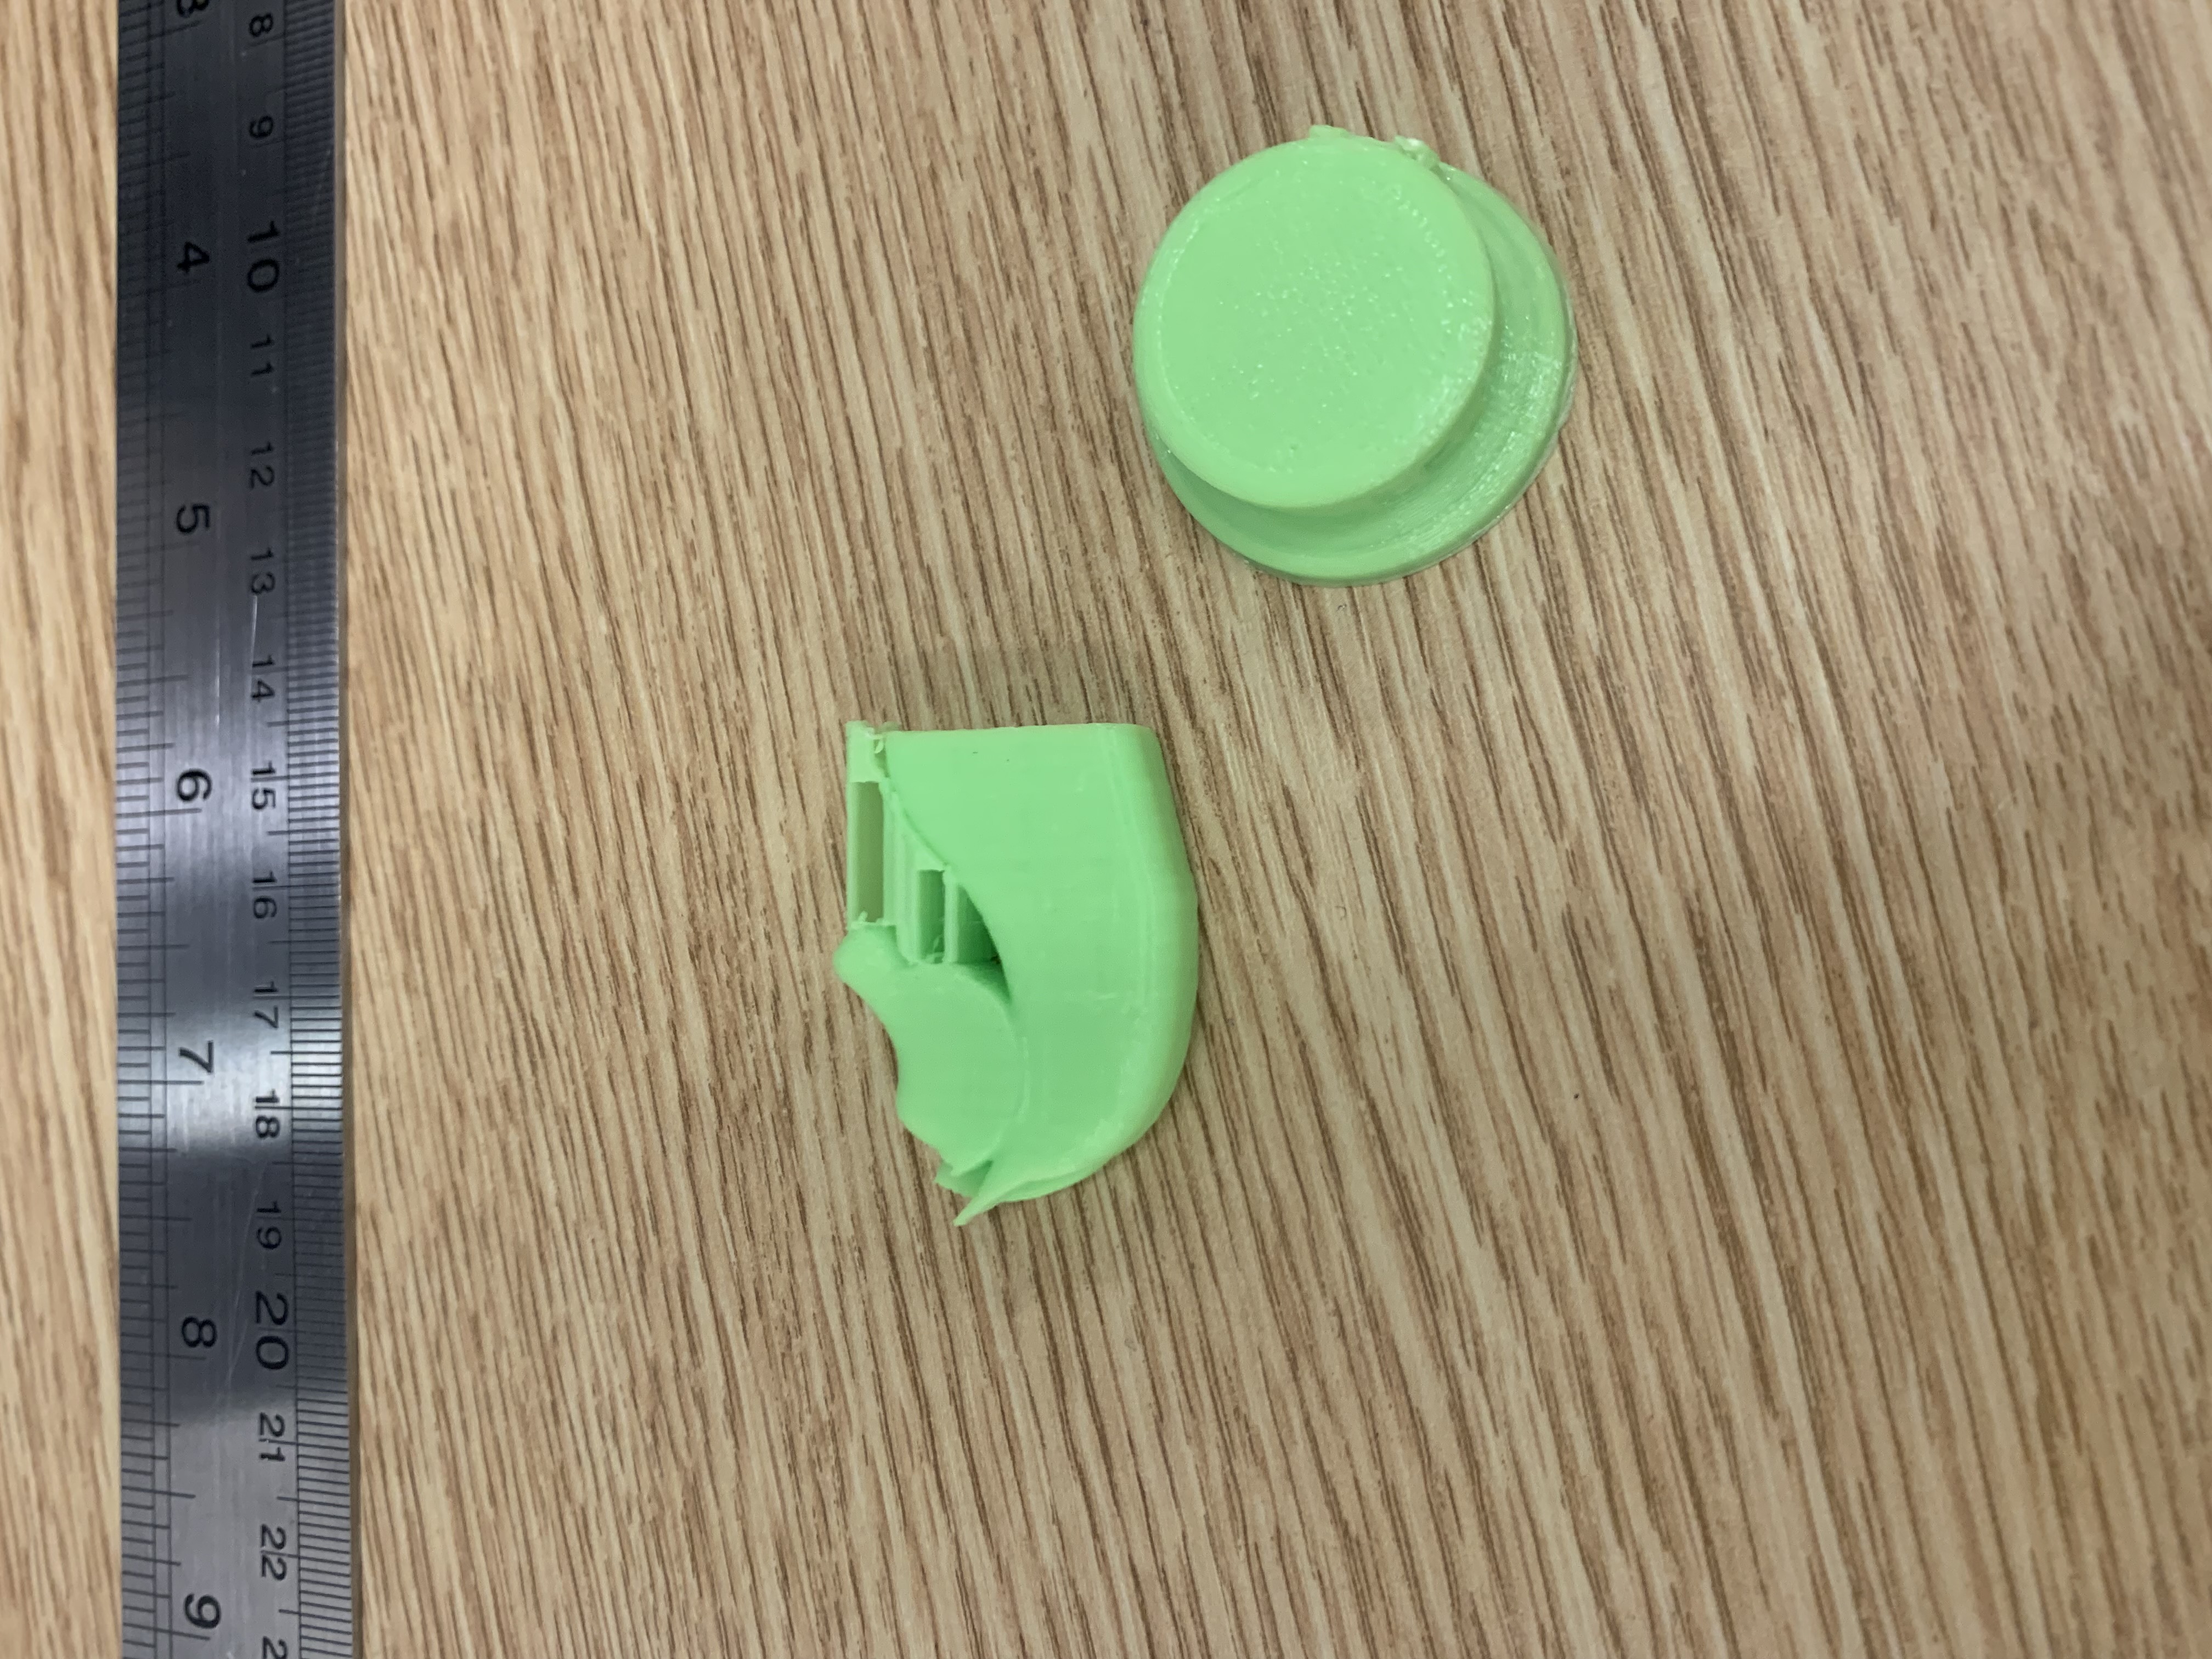
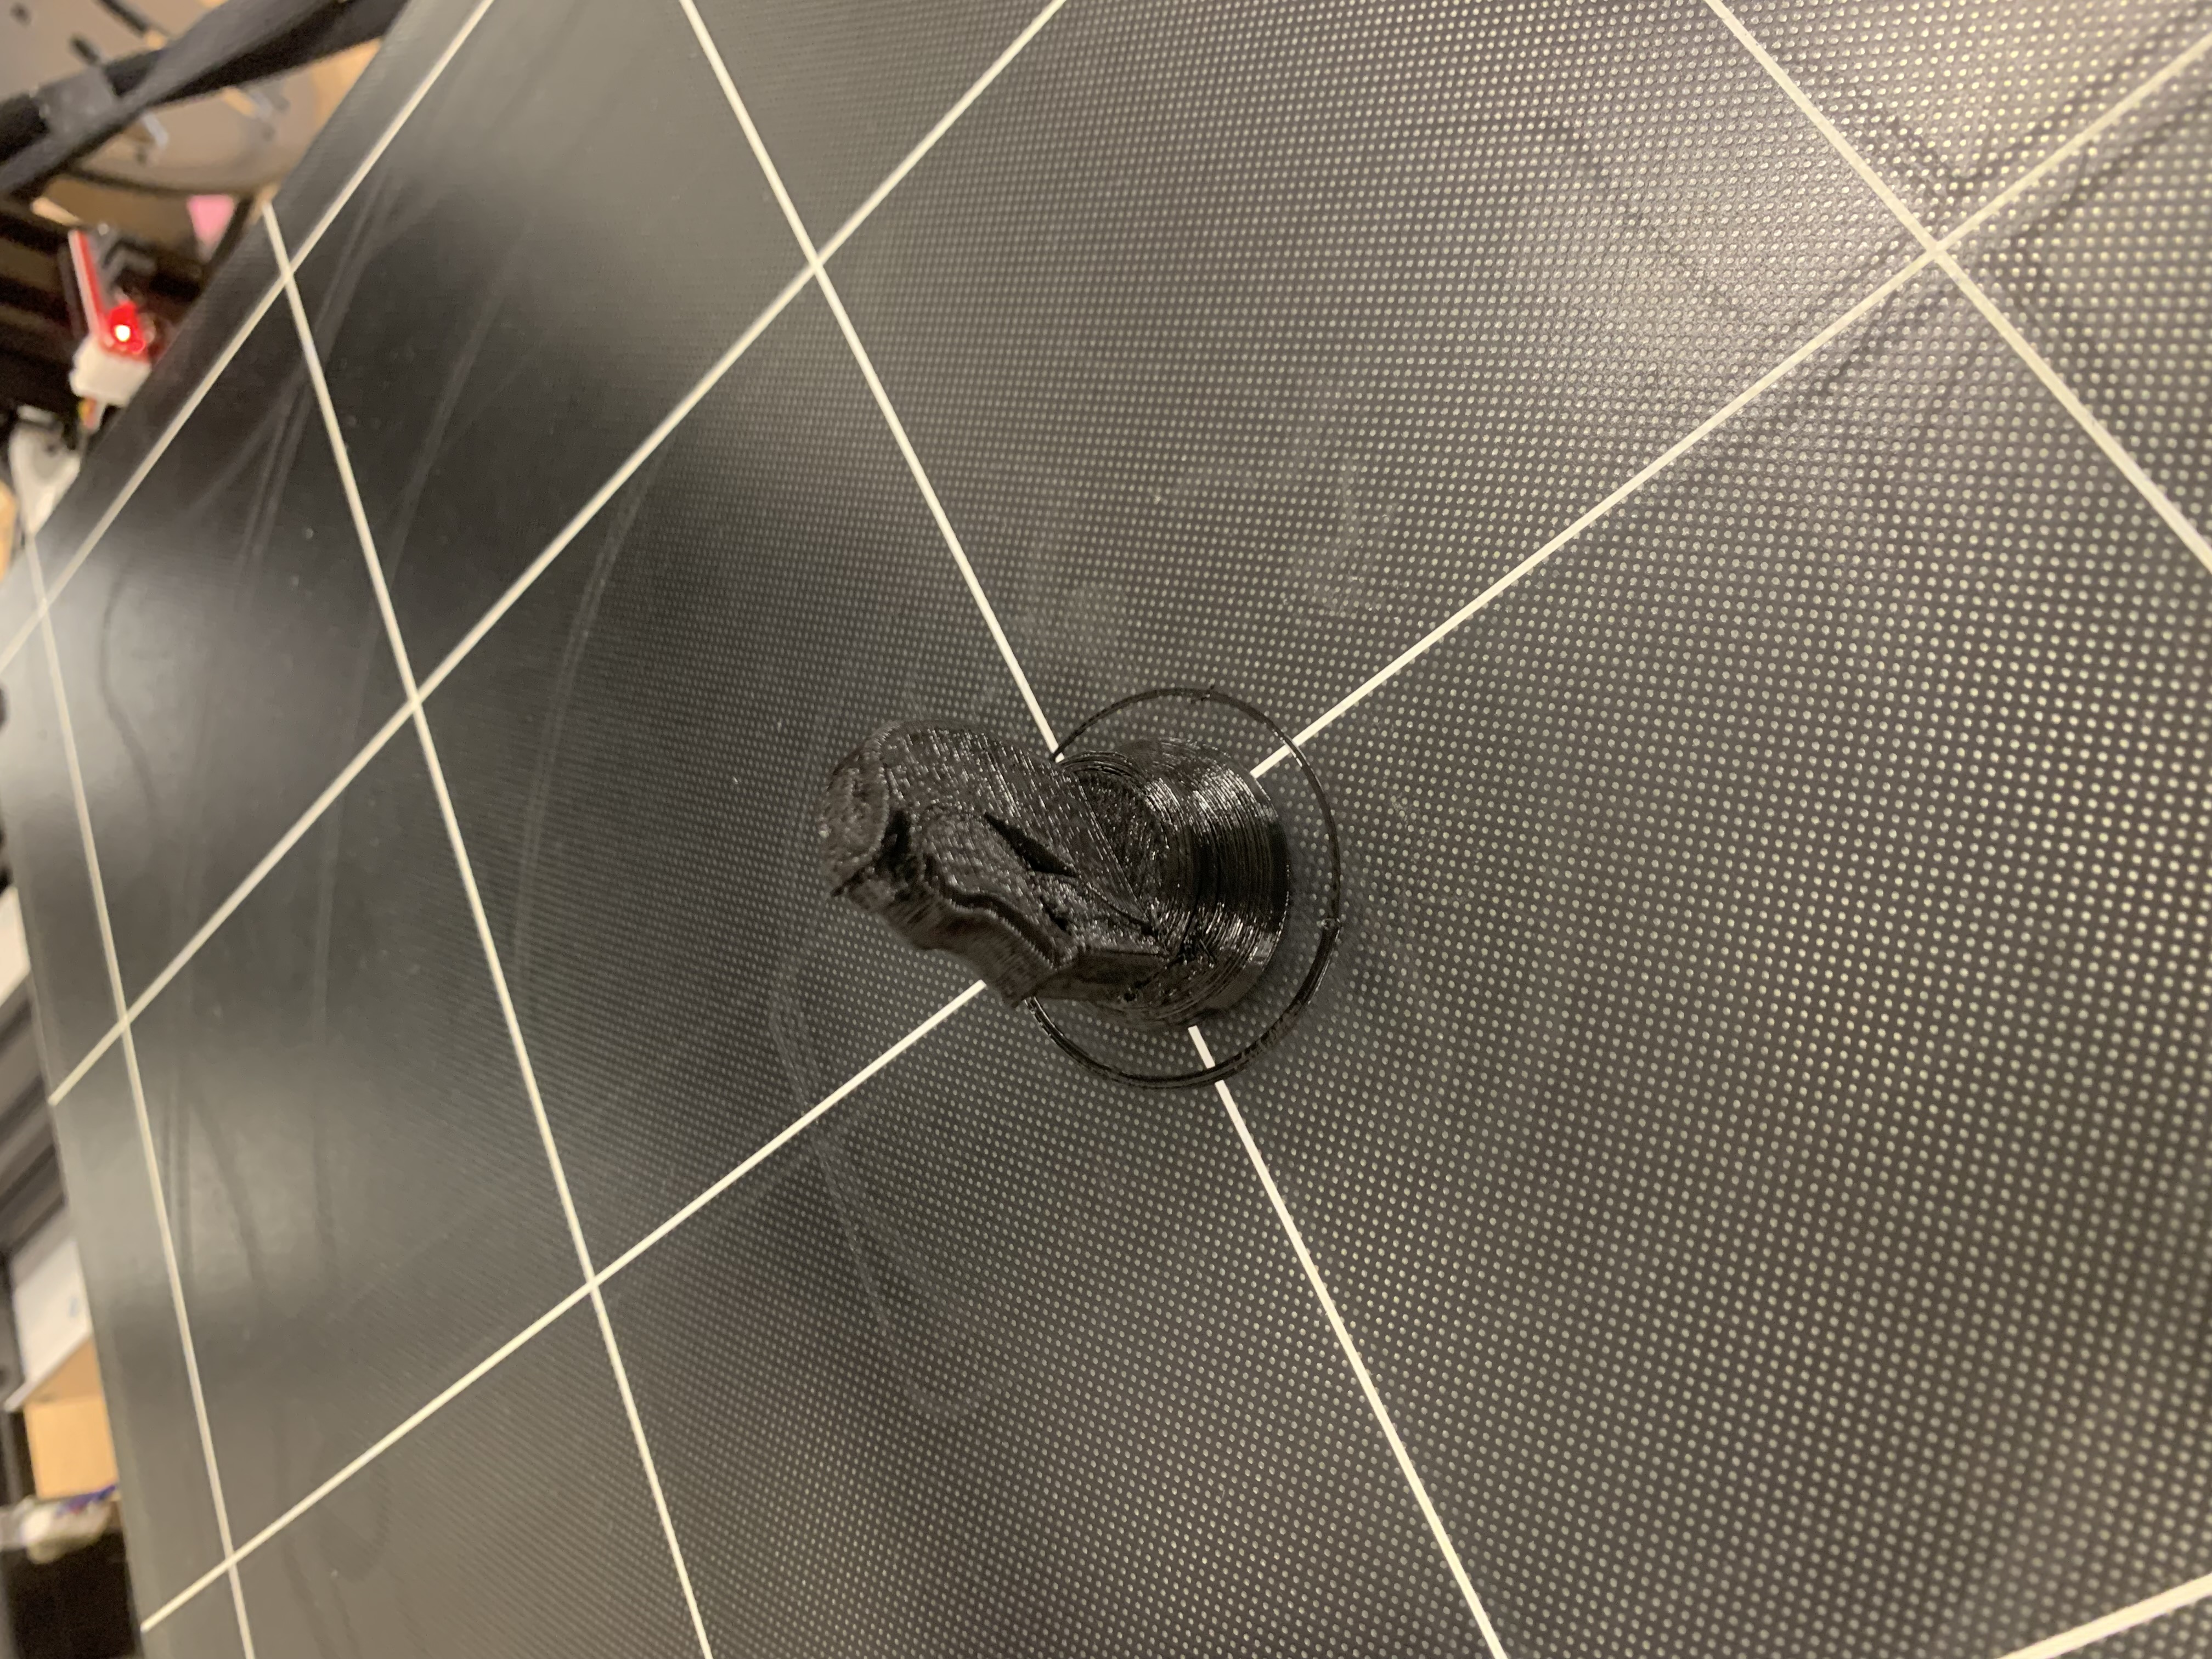
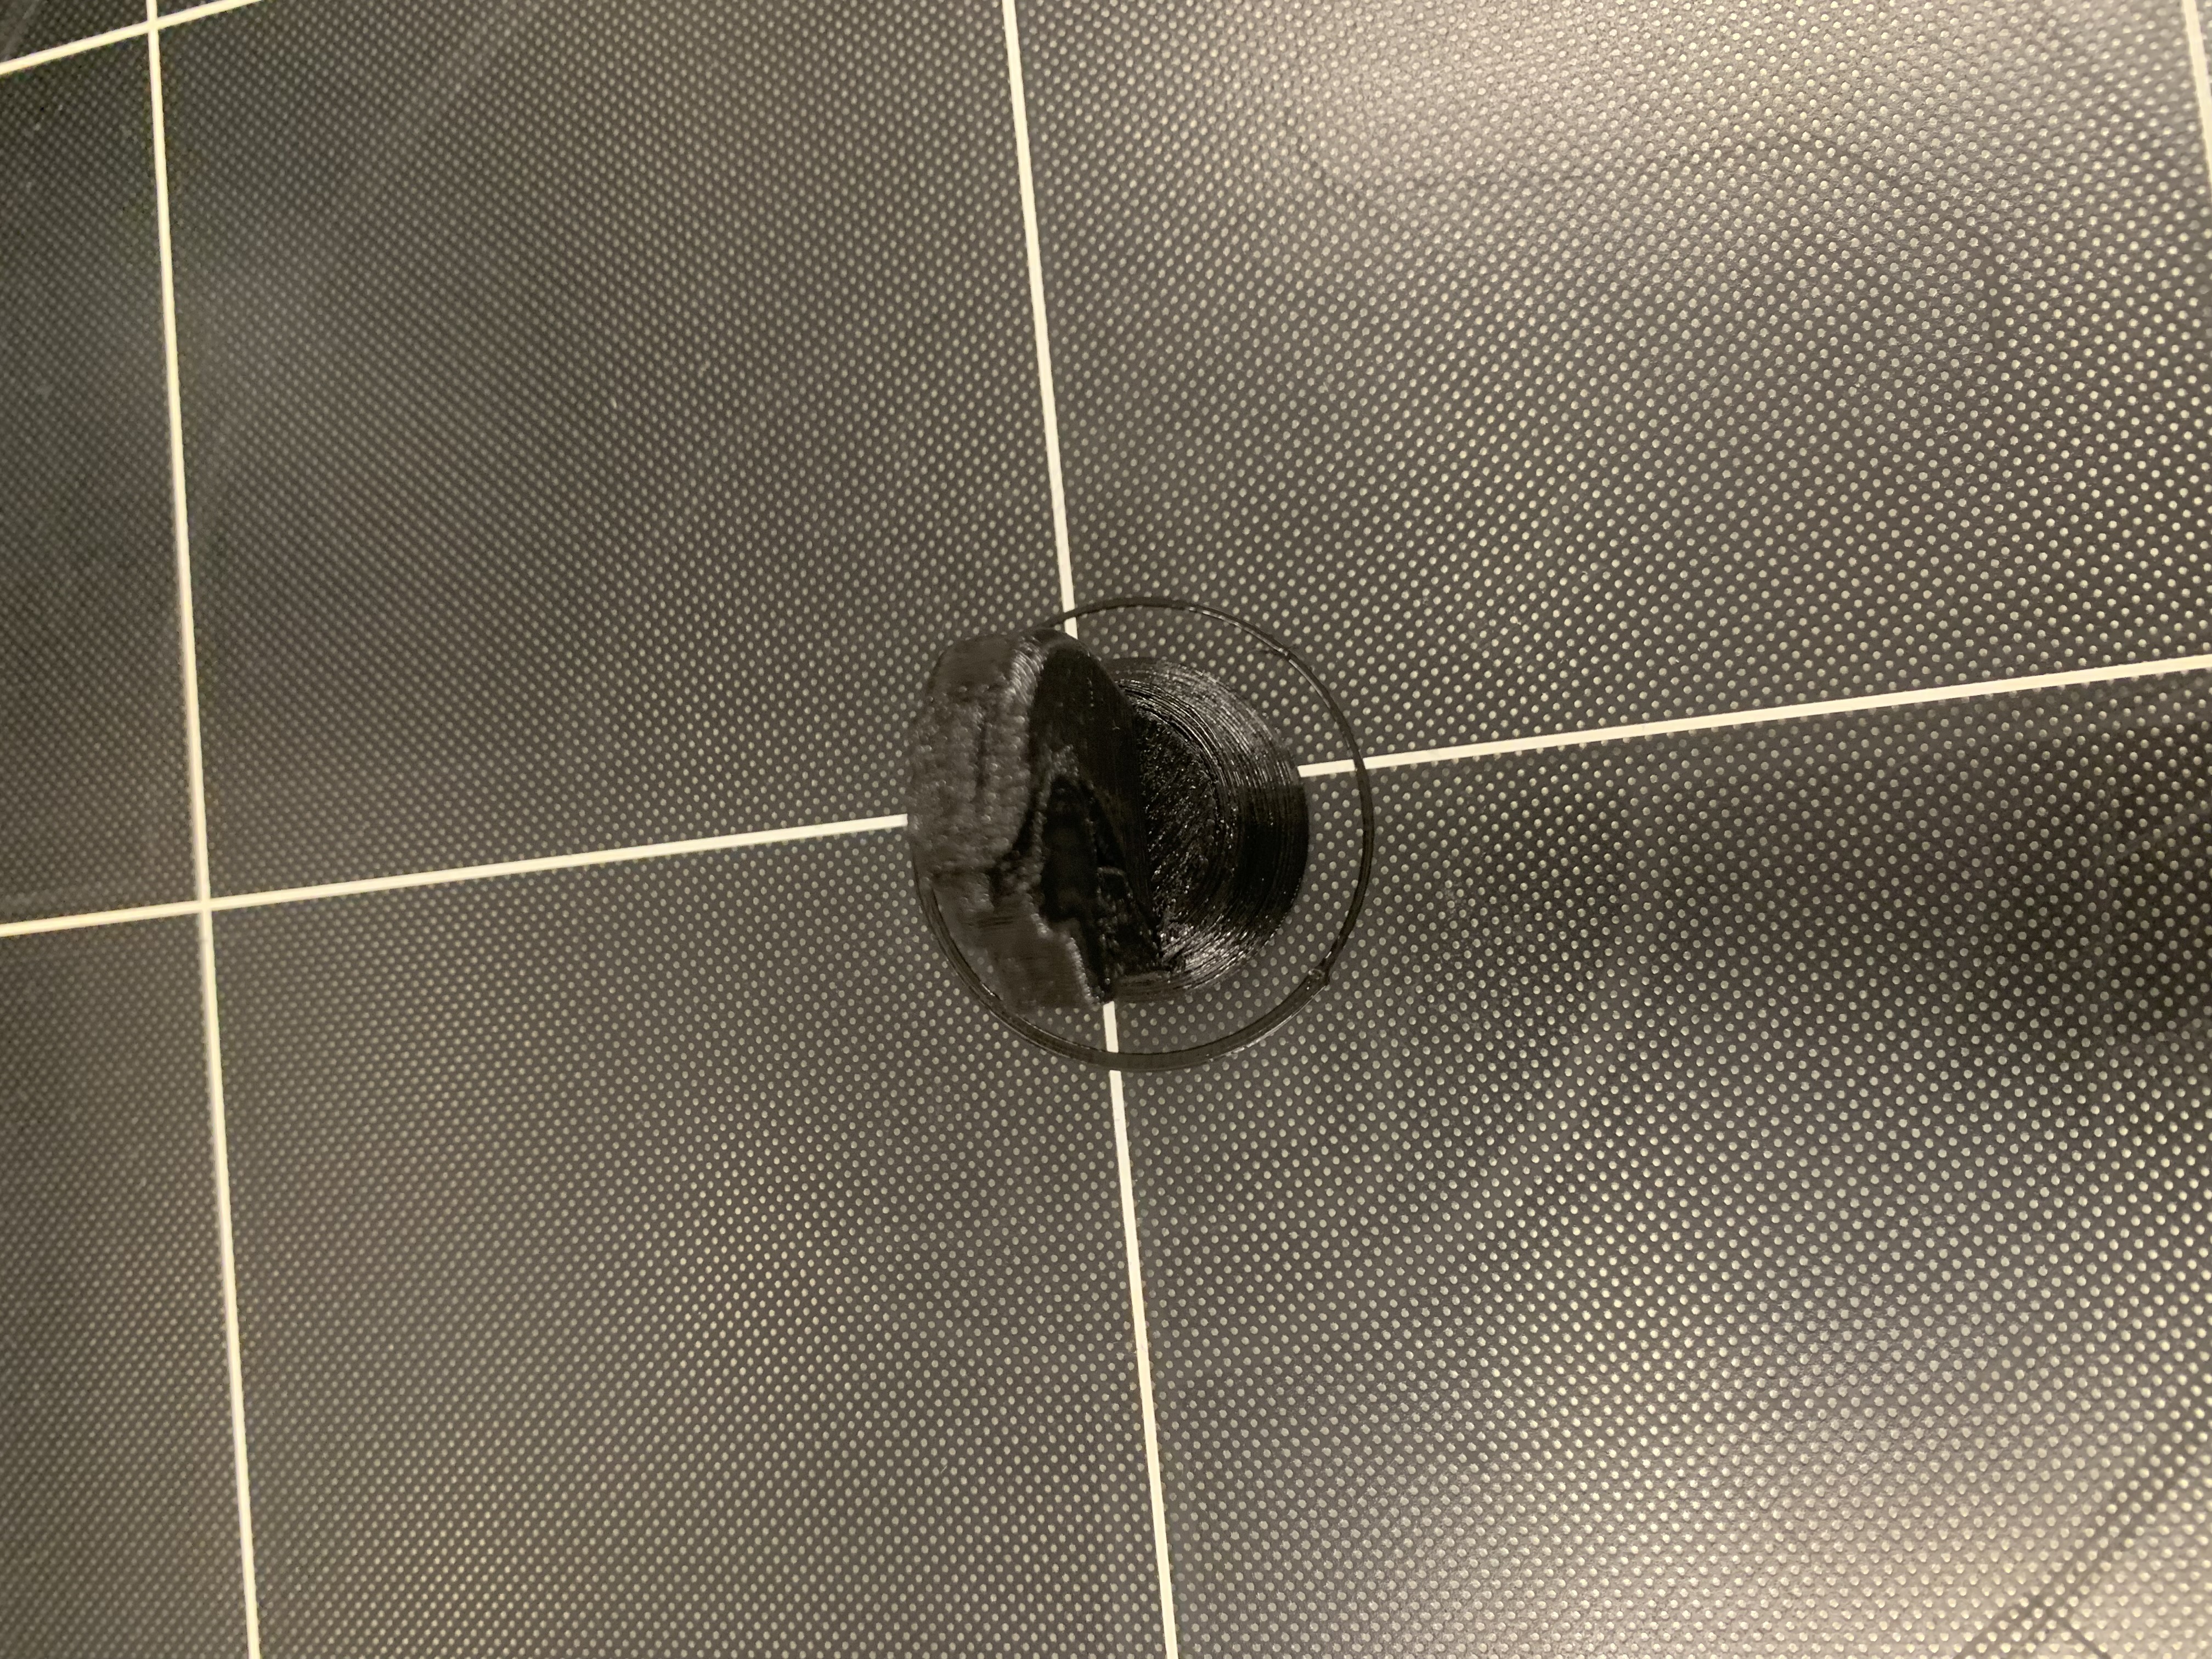
Total Print Time: 47 mins. After printing the Knight Piece, I was not really happy with the result. The piece appeared fine although I felt the support was abit thicker than I excepted. The print wasn't able to properly capture the details of my knight piece. The last picture shows I design mistake I made while designing the knight piece, it was the fact that I left a thin spacing around the height of a piece of paper which I failed to notice, which resulted in the head coming off the body. This could have been better if I had not make that mistake.
ATTEMPT 2: Anycubic Chiron

After fixing my knight piece by extending its base so it will join together, I wanted to use a different printer to see if there is any change. Thus, I settled on using the Anycubic Chiron, another printer available at Makerspace. I adjusted the setting to what I believe will result in a better quality print and went with it. I increased the Wall Thickness and Infill Desnity to make sure the next piece is more strudy. The slower printing speed I was printing at should give the printer more time to create a smoother finish.
| Profile | Settings |
|---|---|
| Quality | Layer Height: 0.2mm, Initial Layer Height: 0.2mm |
| Walls | Wall Thickness: 1.2mm |
| Infill | Infill Density 25% |
| Material | Printing Temperature: 200°c, Build Plate Temperature: 60°c |
| Speed | Print Speed: 50 mm/s |
| Support | Generate Support: Yes, Support Pattern: Zig Zag, Support Density 15% |
Total Print Time: 57 mins. After printing I could immedately tell something was off. Mostly the entire piece looking like a melted piece of plastic. The quality on the piece was horrible, ears of the knight piece melted together, the overall surface having a rough finish and the lack of overall details made it worst. The ears of the knight piece being melted together might be the result of the higher temperature used. When I was checking on the printer, I notice that the temperature stated was around 205°c, which was slightly higher than expected. I though nothing of it at first but with the slower printing speed compiled with the higher temperature resulted in the ears melted together. The slower speed did not even help much as there was no overall improvement in the qualtiy which was a mistake on my part. The supports were also difficult to remove and even broke part of the piece off. This piece is worst than the last on. However, I will take this as a teaching moment.