Introduction
This section of the blog talks about what I learnt about Interface and application programming..
Electronics Production
This page talks about how I used the "processing" application ad how we can use it to interface with my Attiny412 board. Just like the name of this section implies! Firstly you will need to install 'processing'. One thing unique about processing is that is also used by some artist to do digital works of art.
Making a FTDI and UPD PCB
| pictures | examples. |
|---|---|
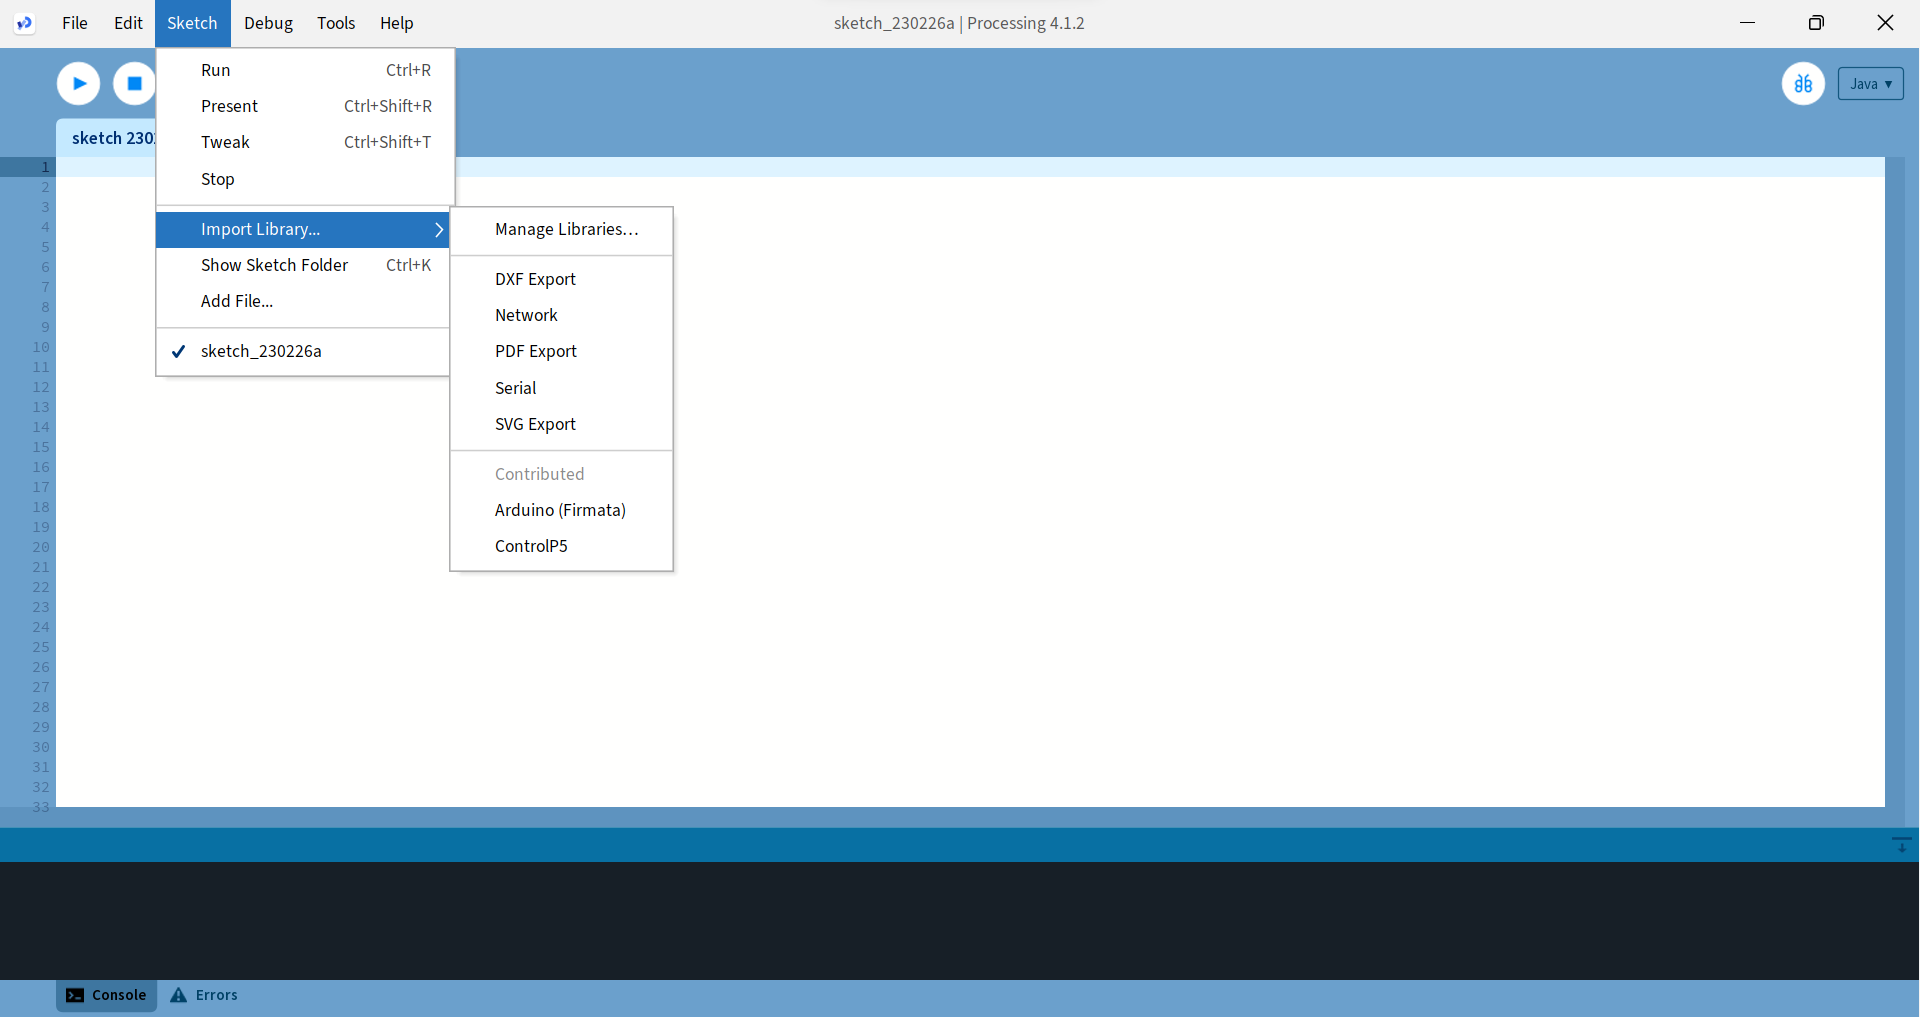 |
Before we beign go to Sketch > Import libary > Manage libary. |
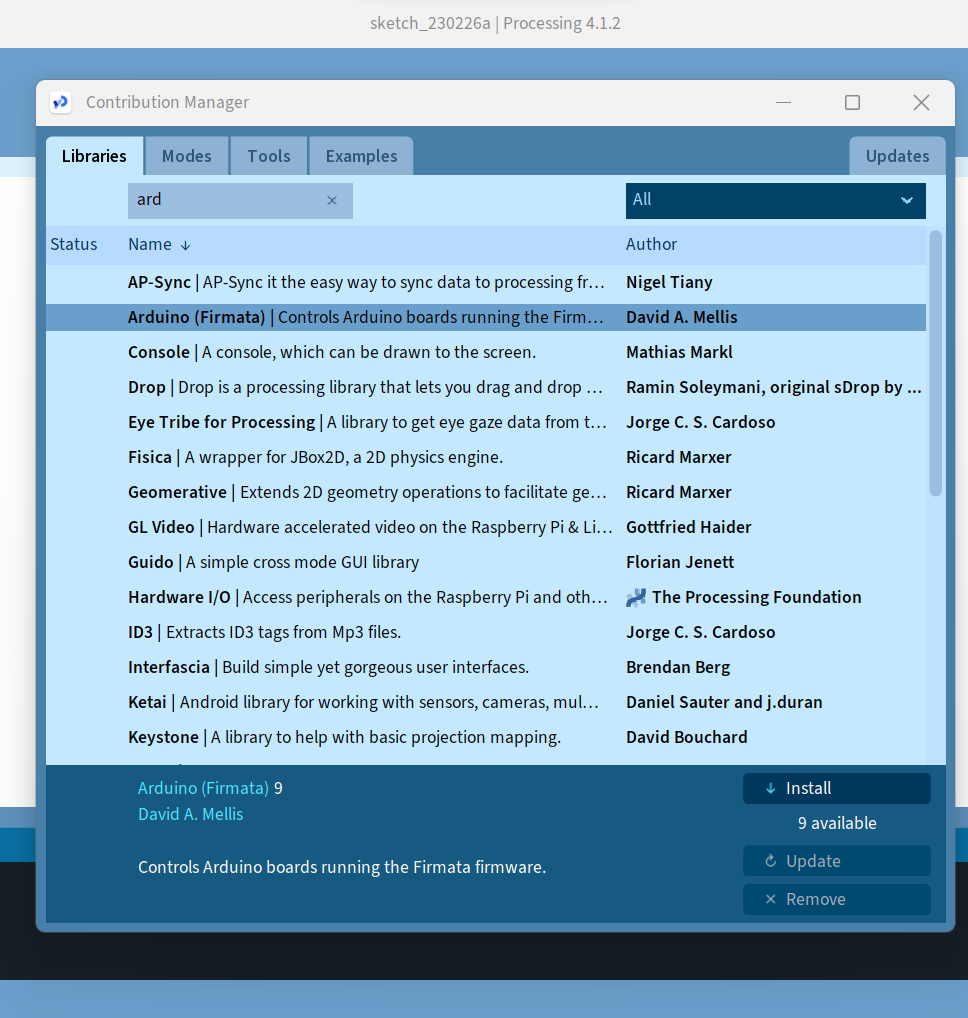 |
Next install the Arduino libary. This allows processing control Arduino boards running the Firmata firmwave |
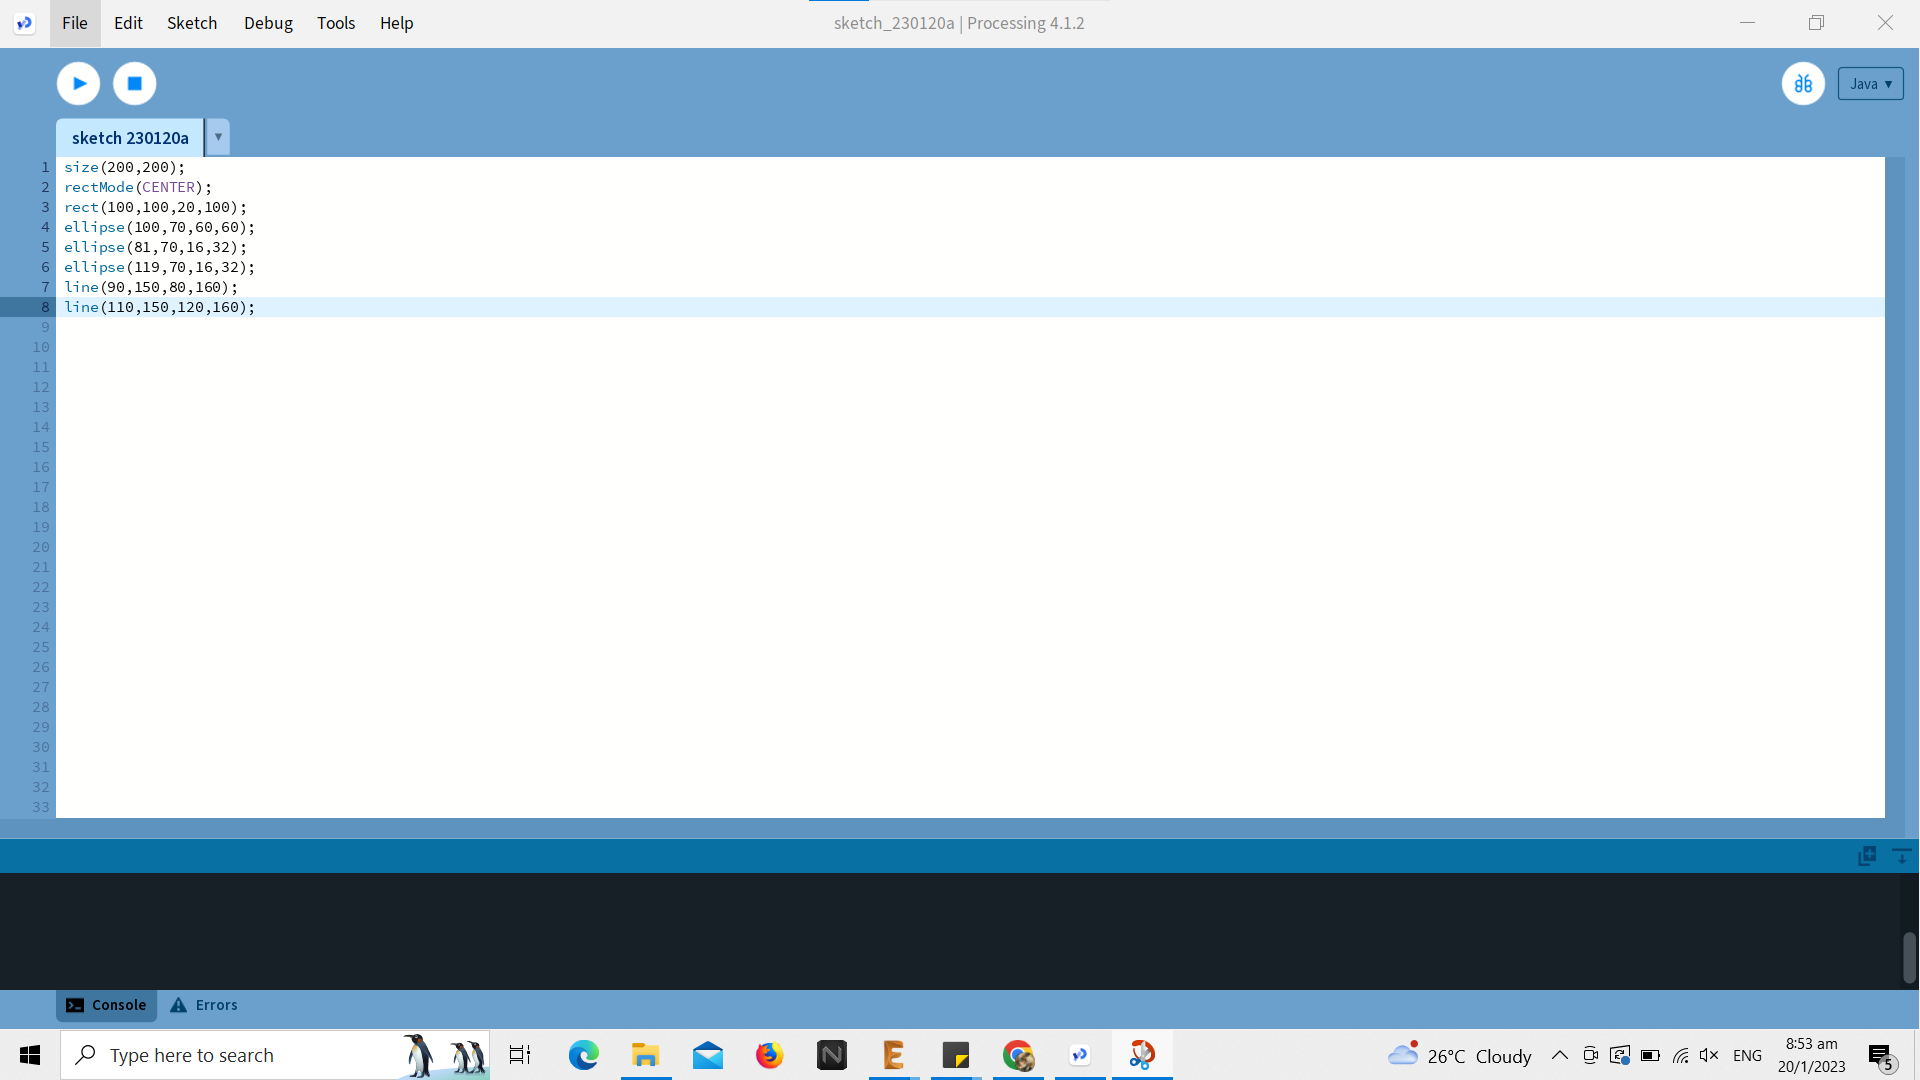 |
For my first program I am going to draw a human. Each line of code which can be seen better in the next image creates a shape in a certain size on a set coordinate in the background. "shape (*coordinate* X, Y, *size* X,Y)" |
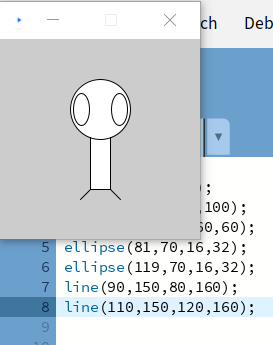 |
Huzzah! A Man of Quality! |
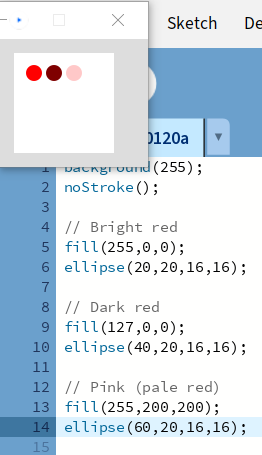 |
This next code generates circles of varying colours. |
 |
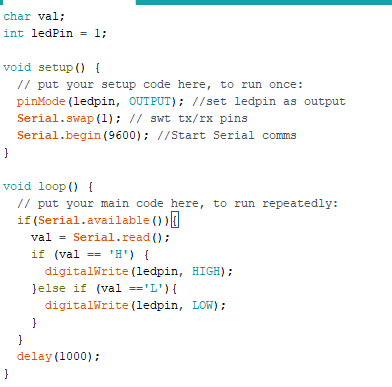 |
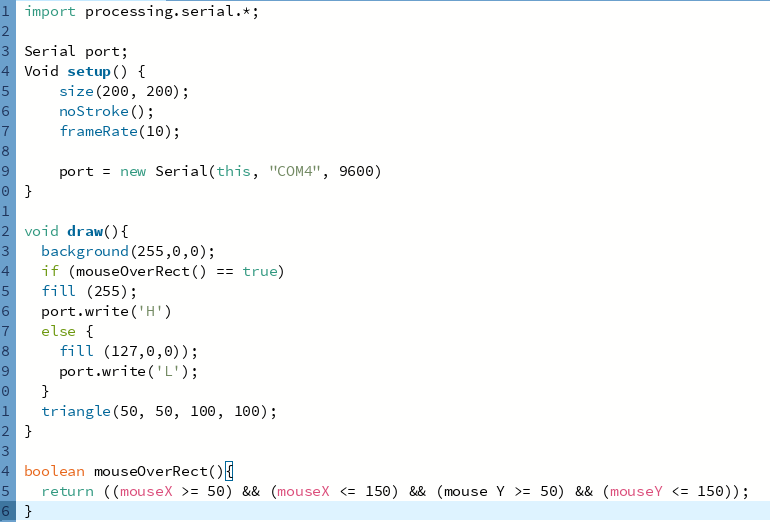
| Finally for the assignment, I will have to use arduino and process to interface with my board. On the processing side, I have code that create a triangle "button" on the screen when my mouse hovers over it changes colour from a bright red to a dark red to indicate that it is press. When it is 'pressed' it communicates with the arduino through the serial port and sends the letter "H". If the button is not pressed, it send a "L". | On the Arduino side, it reads the serial port. When a 'H' is received it lights up the LED and when an 'L' is received it turns it off. |
This is my final result of the code working

Although this section is light on content, it gave me insight on how the code of my final project is going to function. Bascailly through the serial port, my computer is going to send the signals to my PCB which will then process them and in turn control my steppers.