Making a Music Box for my Dad's Birthday
PHASE 3. Laser Cutting and Assembly
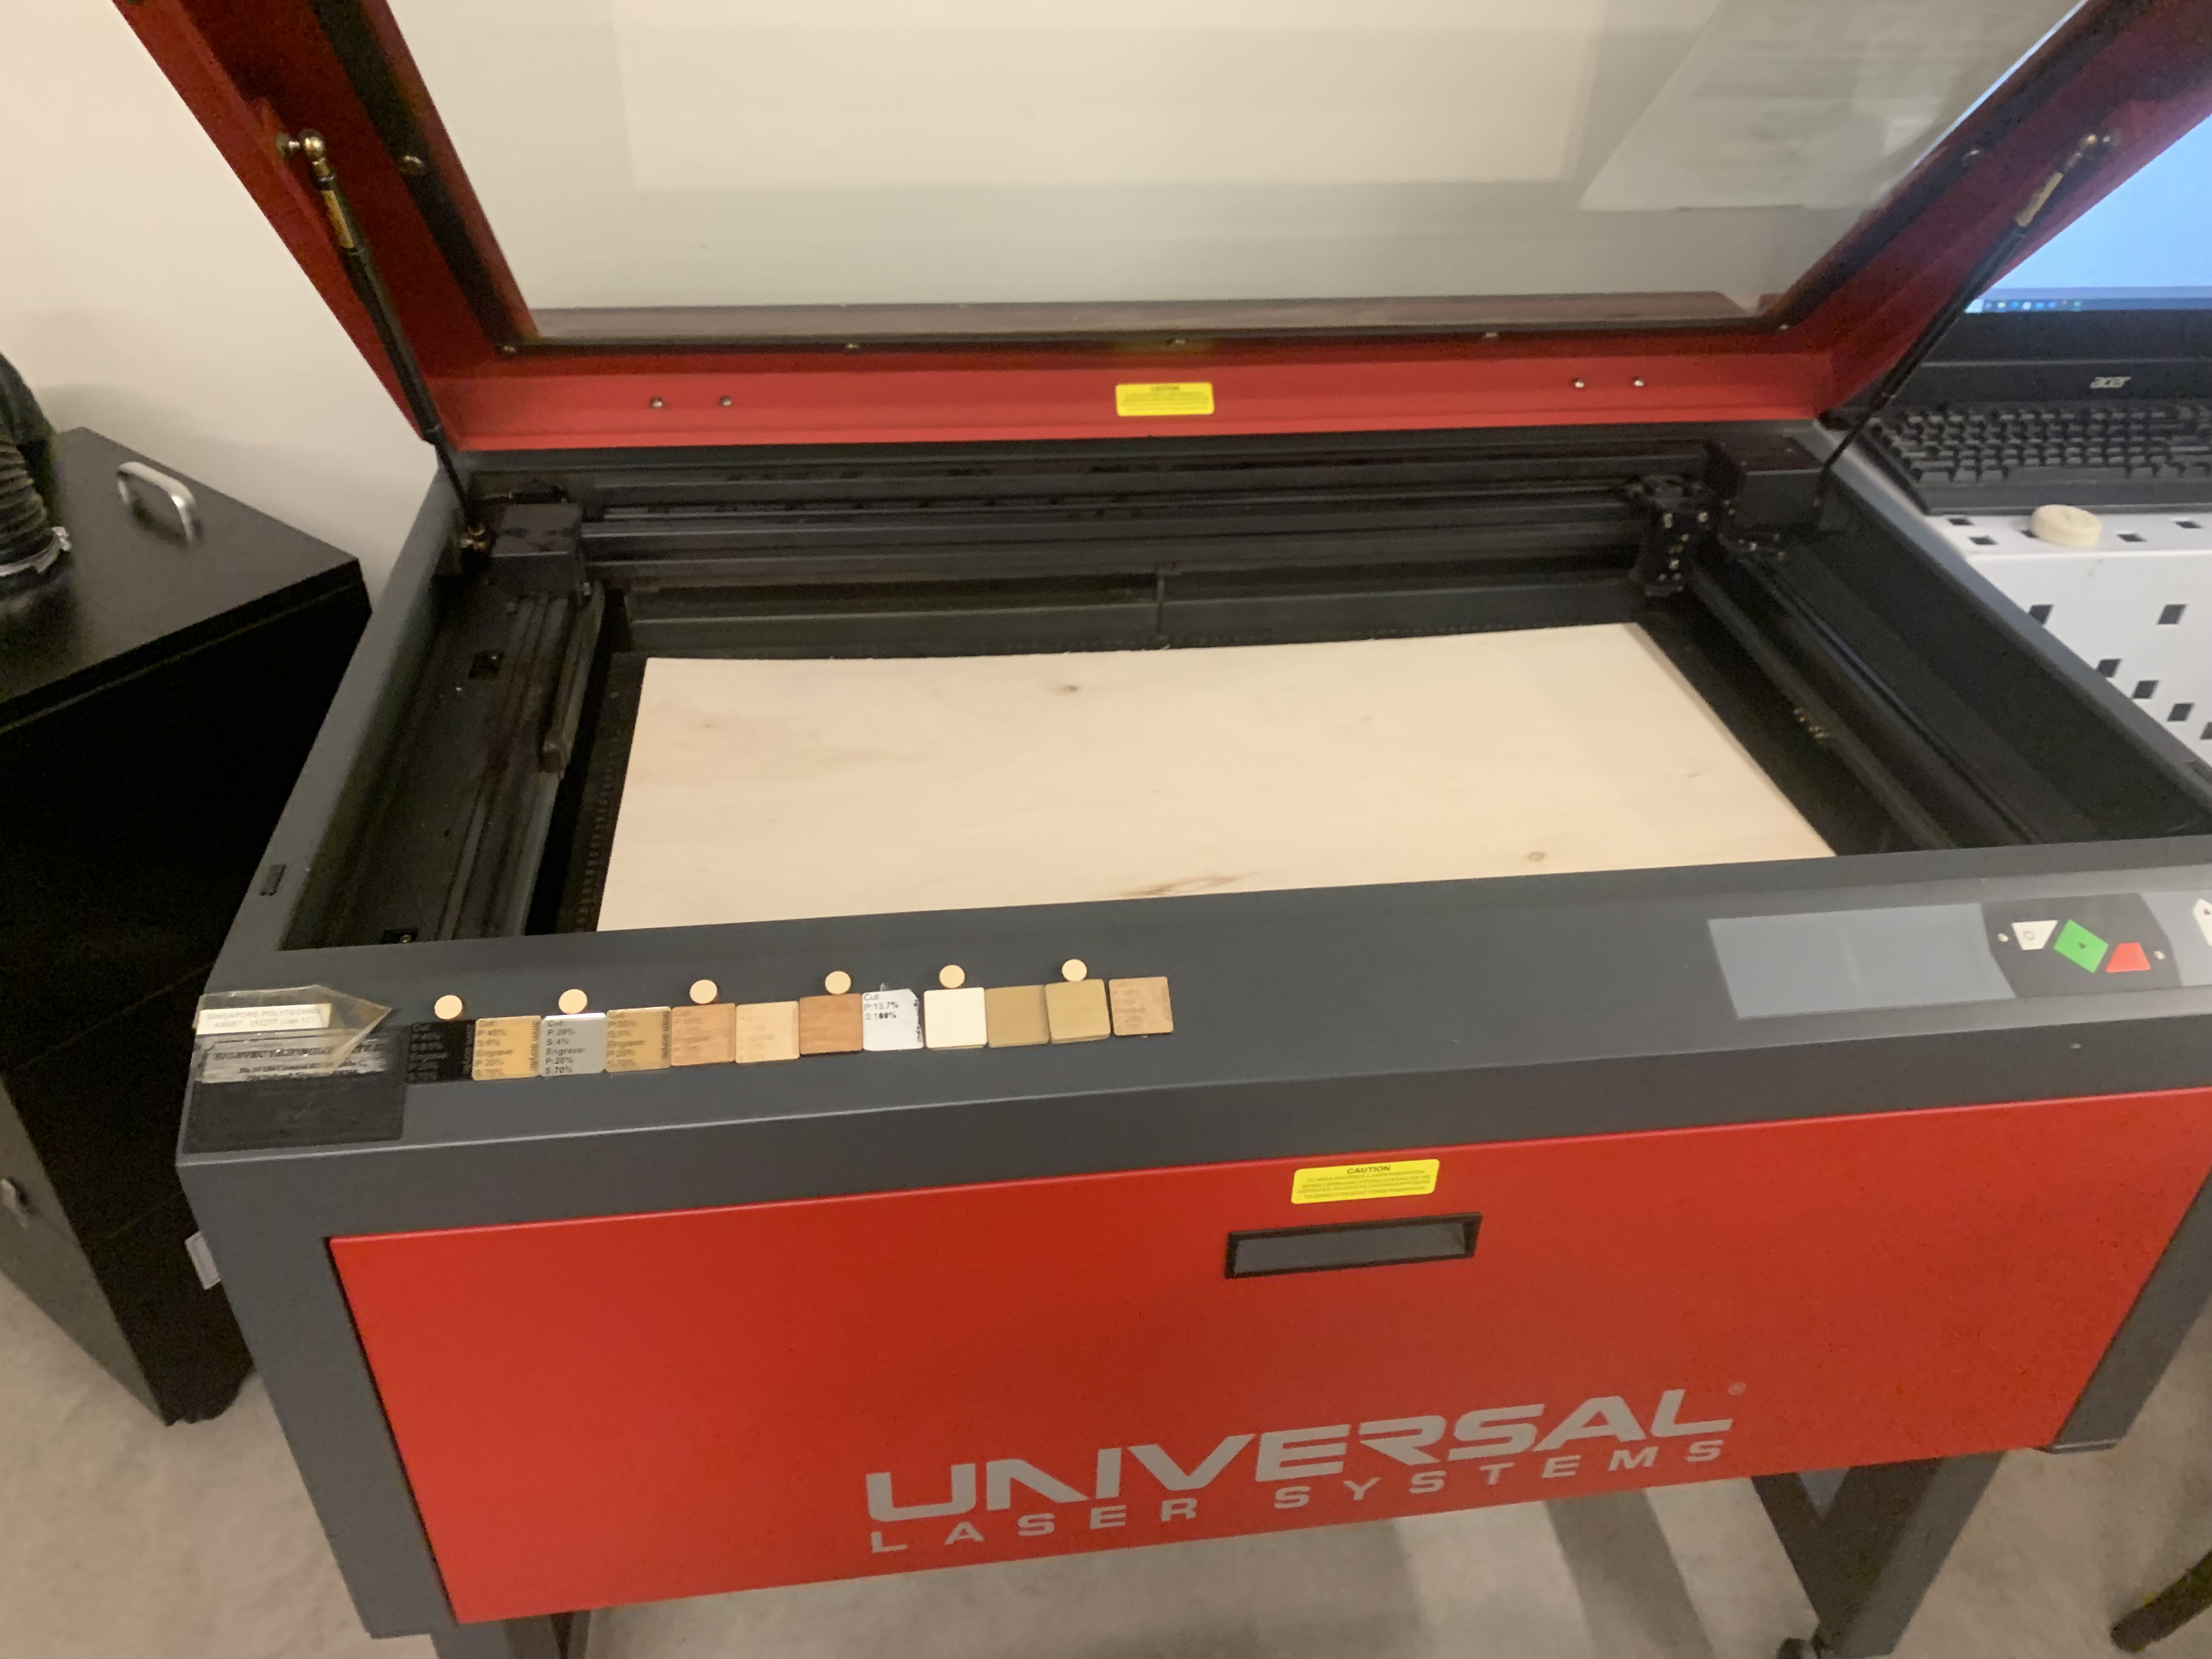
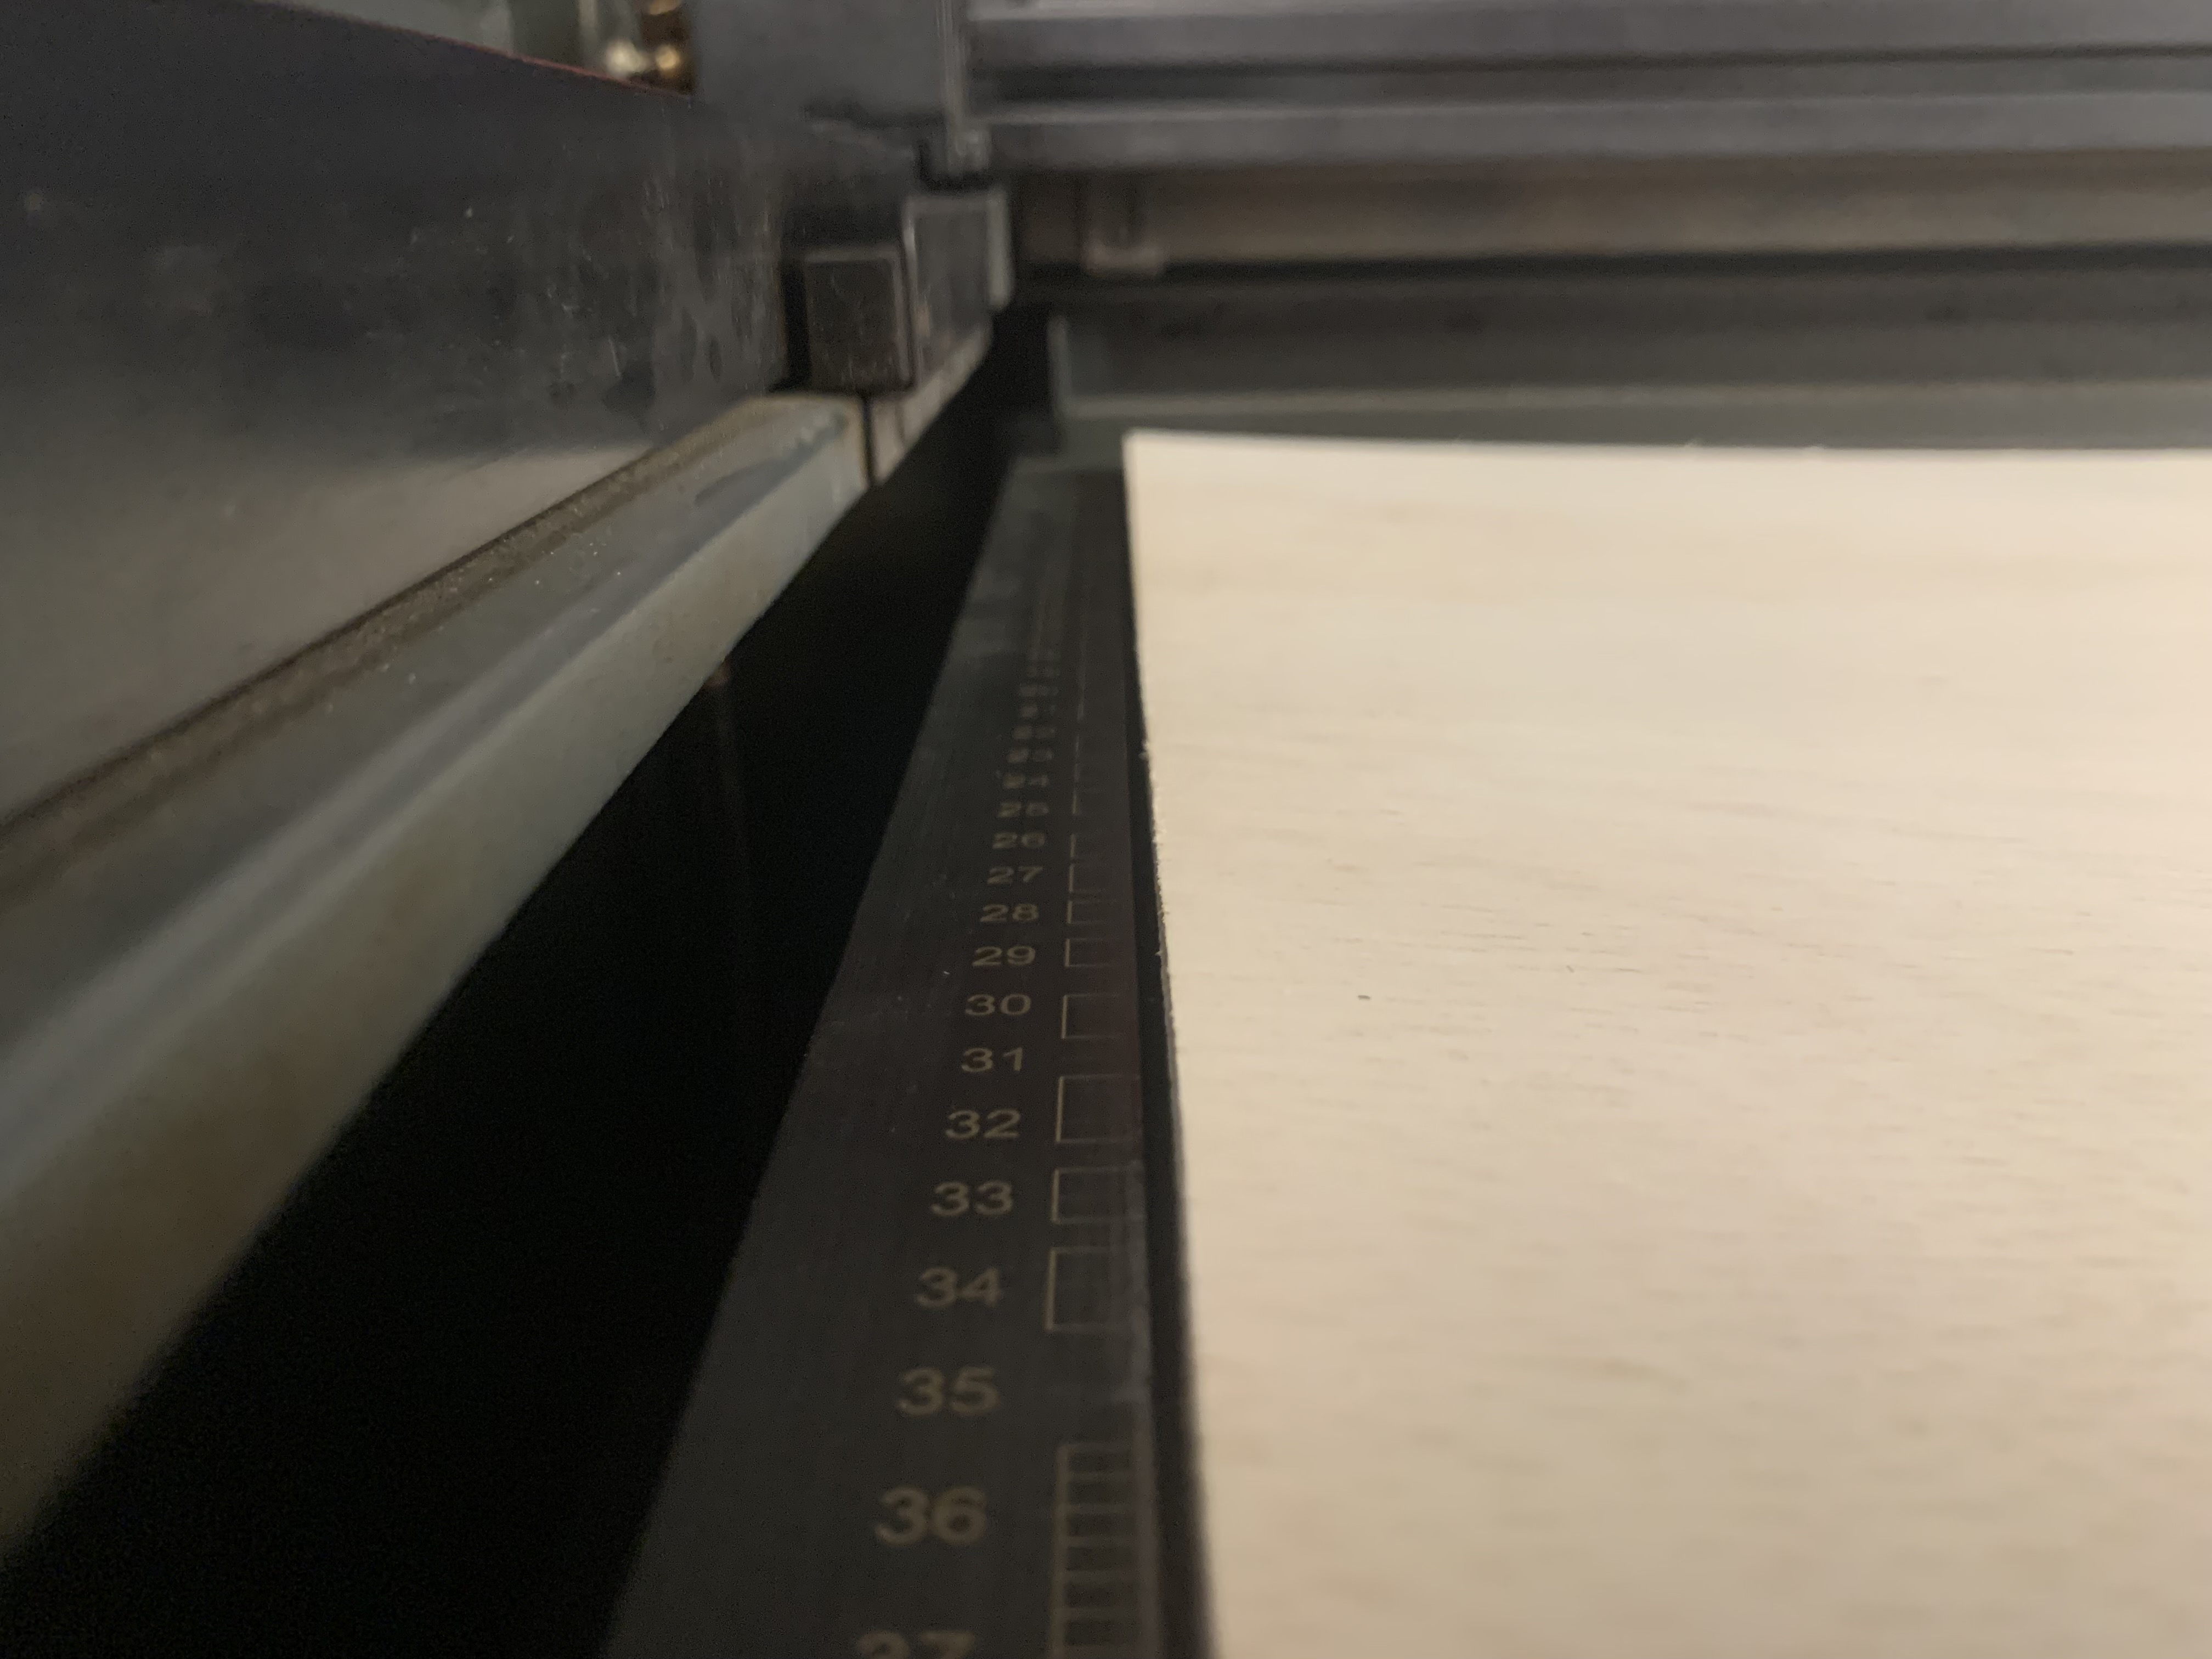
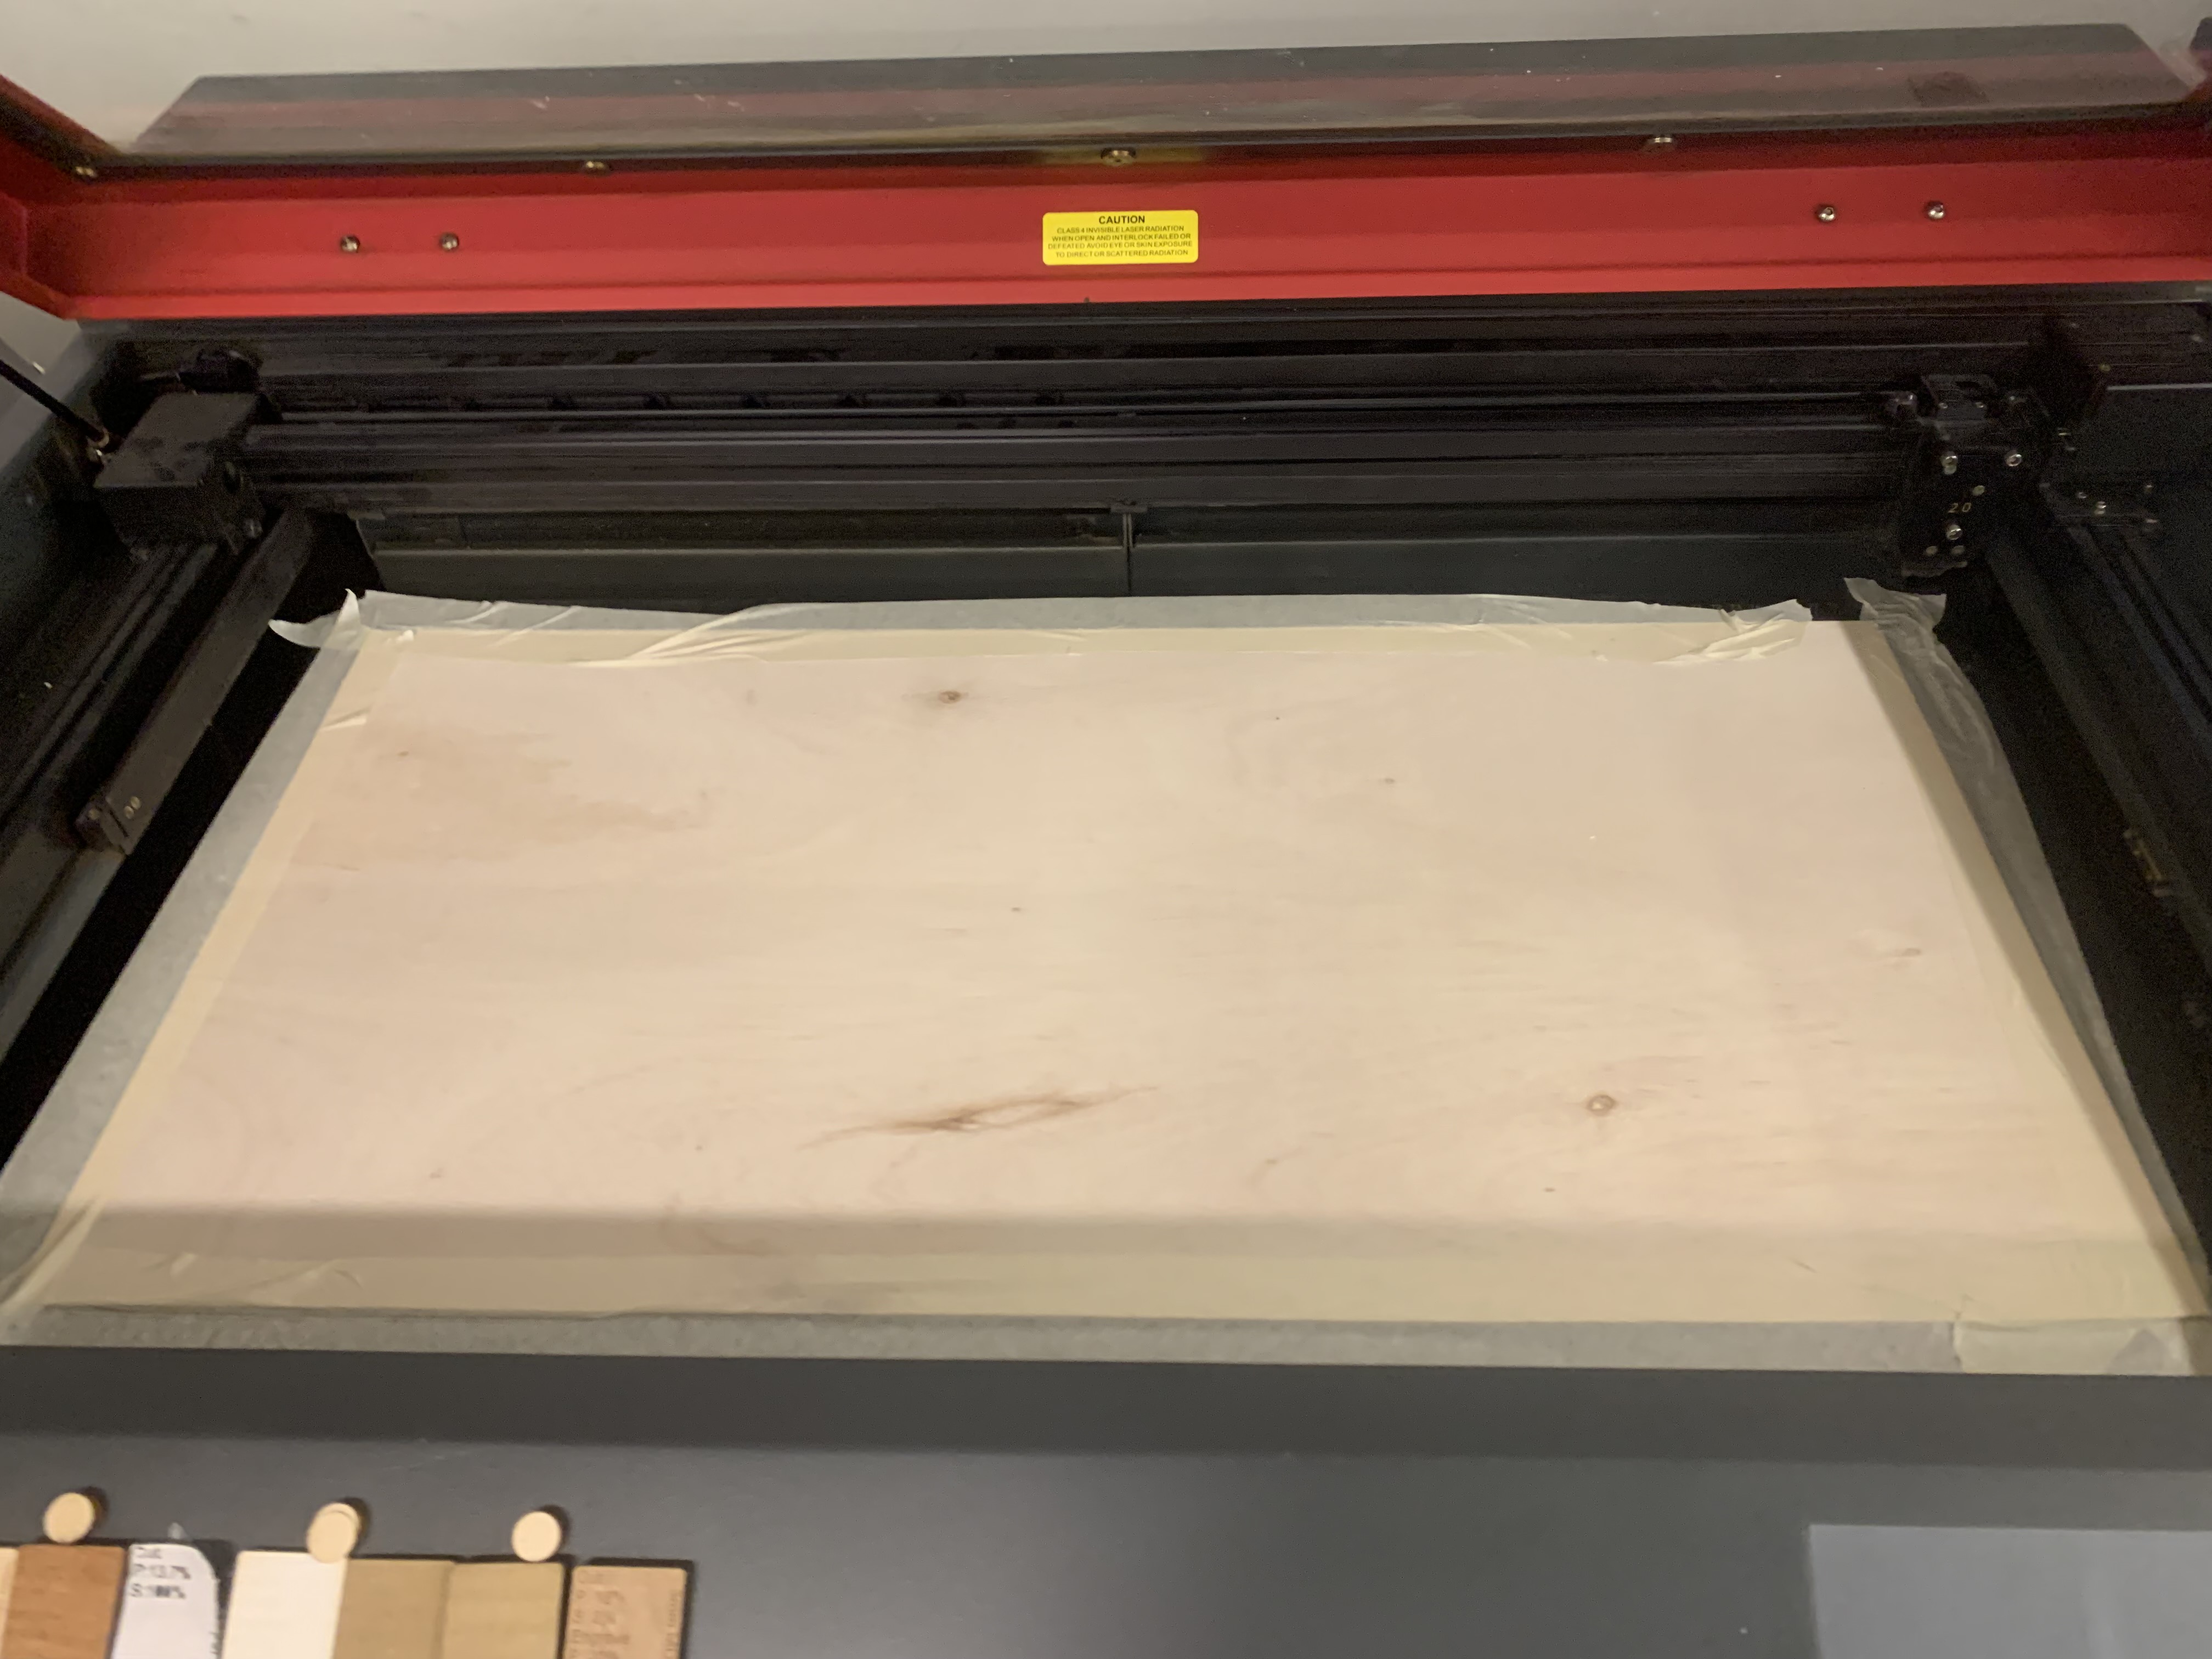
Due to a Lack of 3mm wood at Makerspace, the place I was Laser Cutting, I had to use 5mm wood instead. I did need to change my Fusion 360 Drawing as the Laser cutter does not need to know the thickness of wood while cutting. However, as I was placing the wood into the cutter, I notice that the wood was slightly sticking out. This is bad because the wood will be lose in the machine while it is cutting which isn't ideal. So I had to use a masking tape to tape the wood in place so it will be flat. It is not the best fix but it was faster than looking around for a flat piece of wood and better as other people were queuing for the Machine.
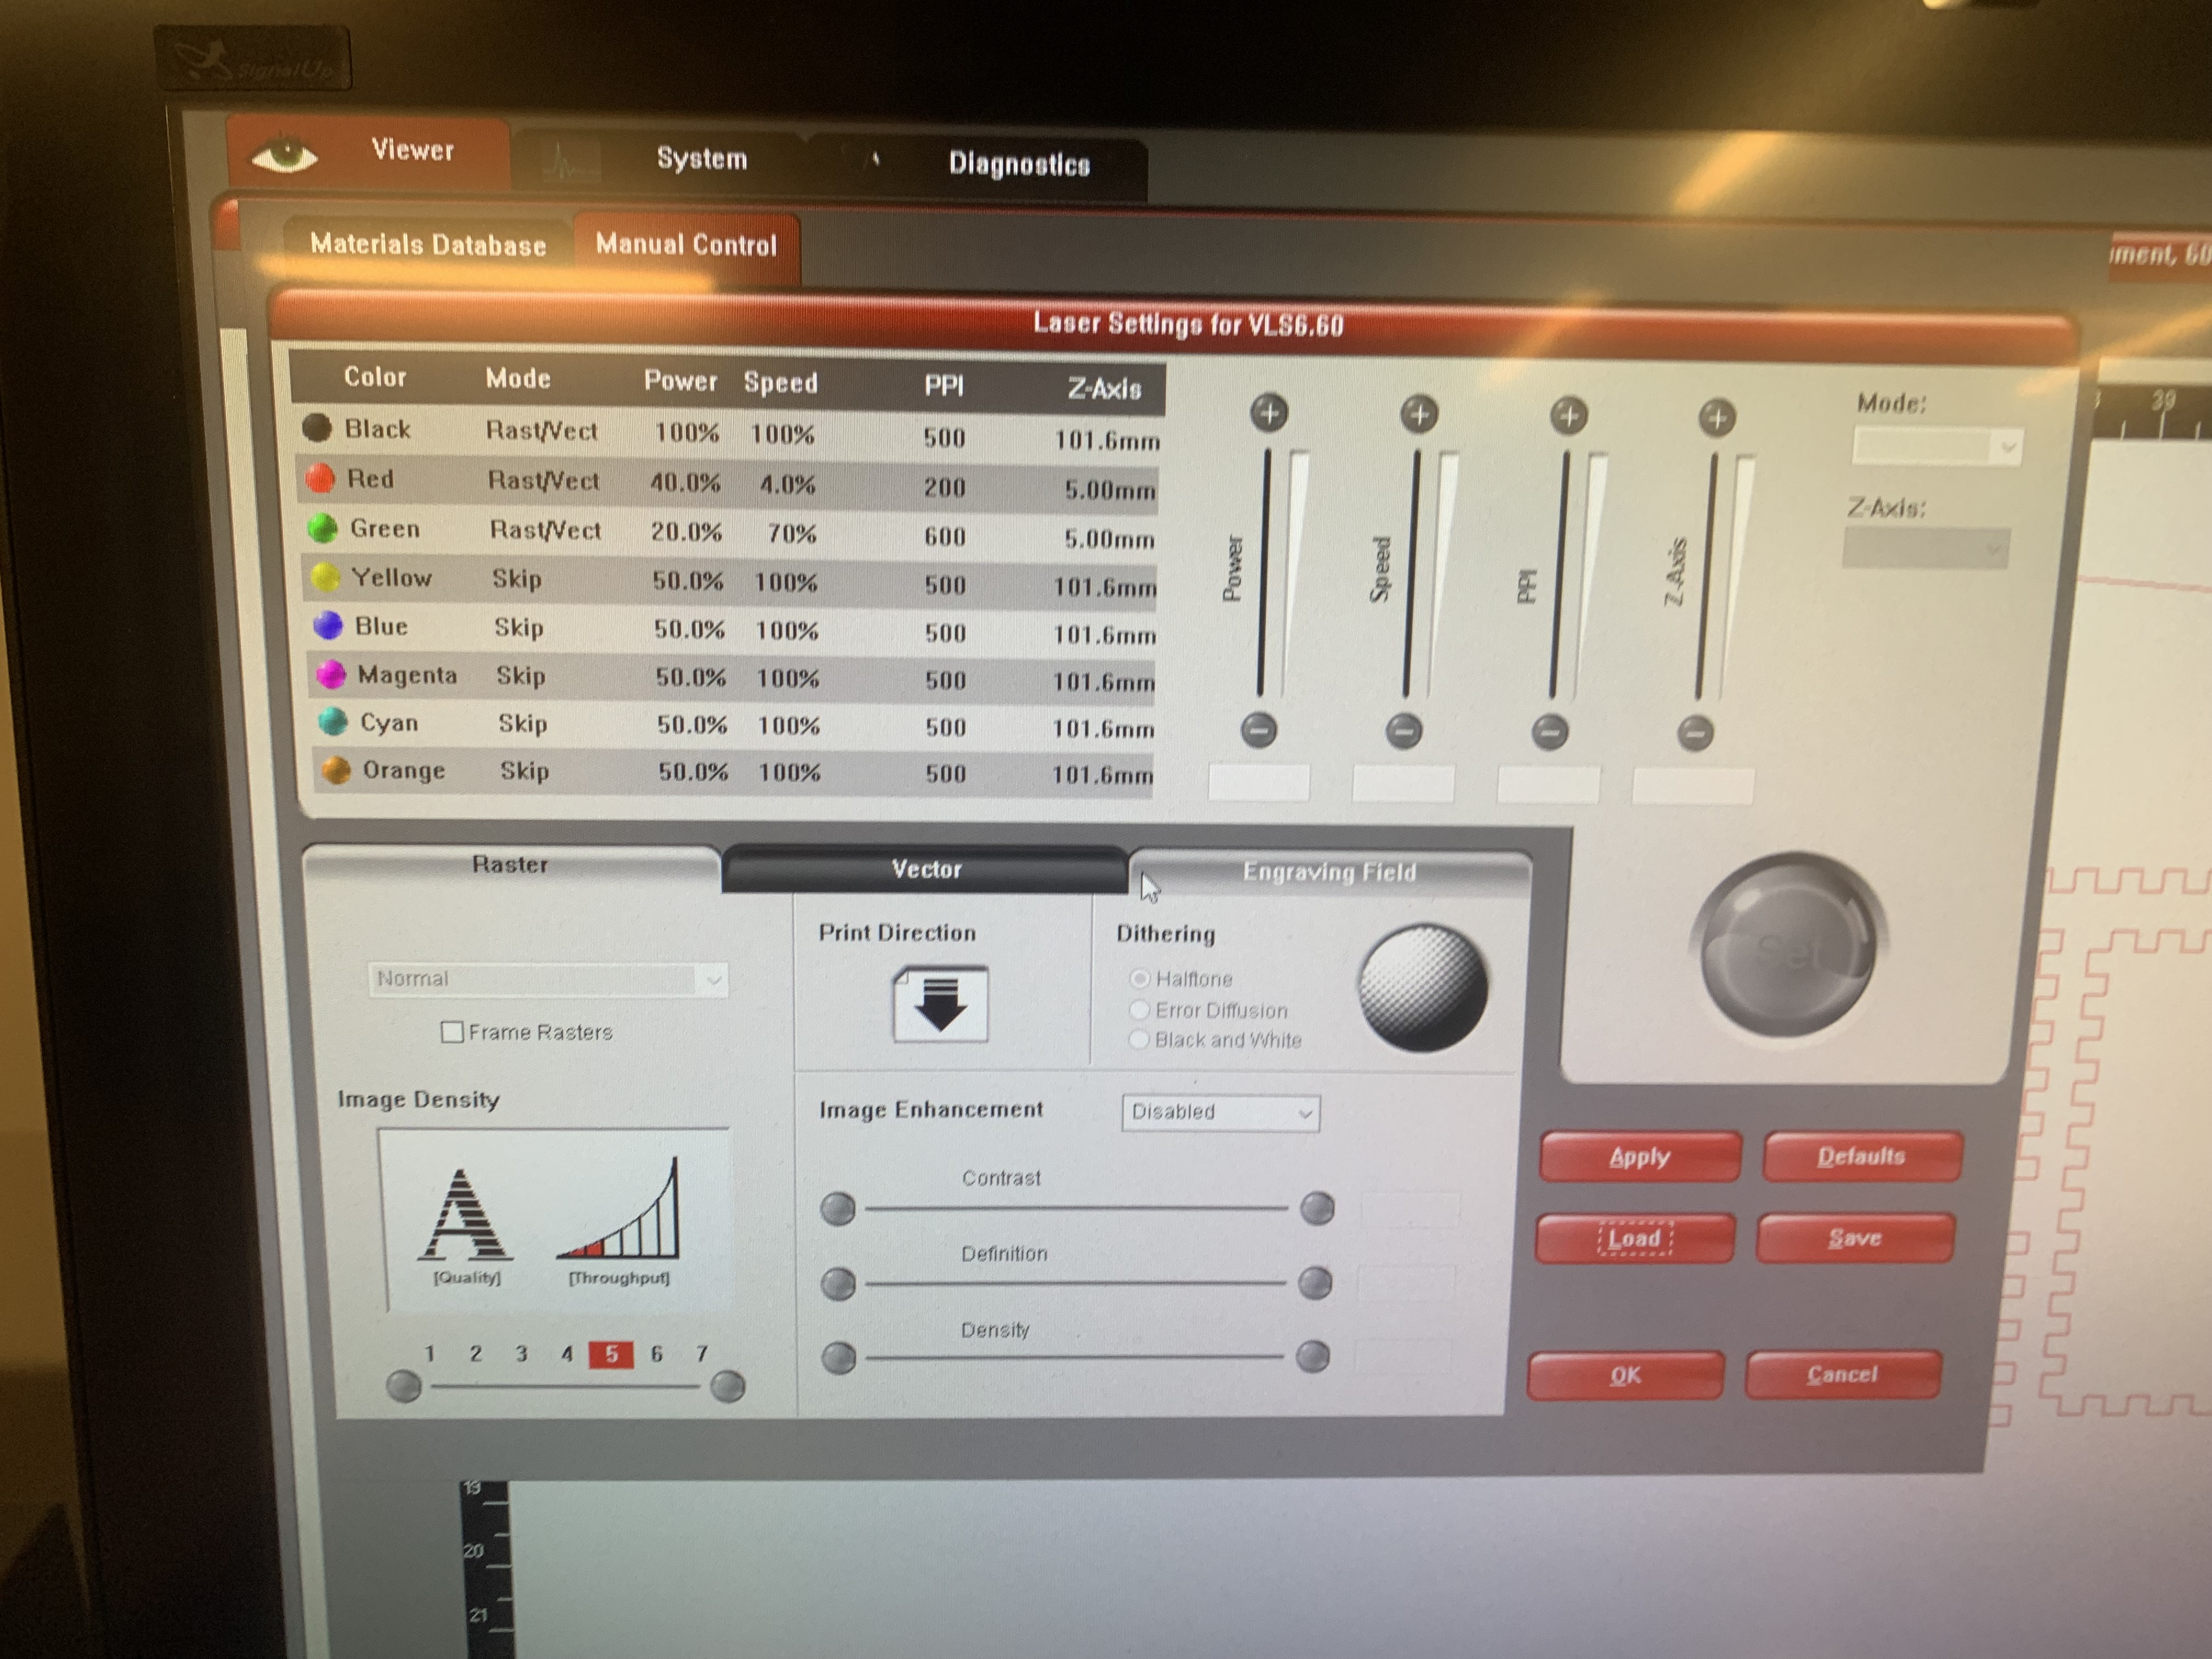
With the drawing finished and the wood set in the machine, I went to the Laser Cutting Software Setting to choose the setting for the laser cutter. Since I will be cutting into a 5mm thick wood instead of 3mm, I changed the pre-made setting profile to 5mm instead of the preivous 3mm. Once done, I when on to choose the top corner of the board and key in its location into the Software. Once I believe everything was set, I hit the start button.
The Video above shows a time lapse video of my music box being laser cut. As may you notice head of the laser cutter cutting over one of the sides twice. This is becuase I forgot to check if there was addtional lines underneath one of my sides. Which caused the cutter to go over it twice. This is not good becasue, it causes the cuts to be less precise and makes the shape a tad bit smaller. So I had to do a new one since this will be a gift.
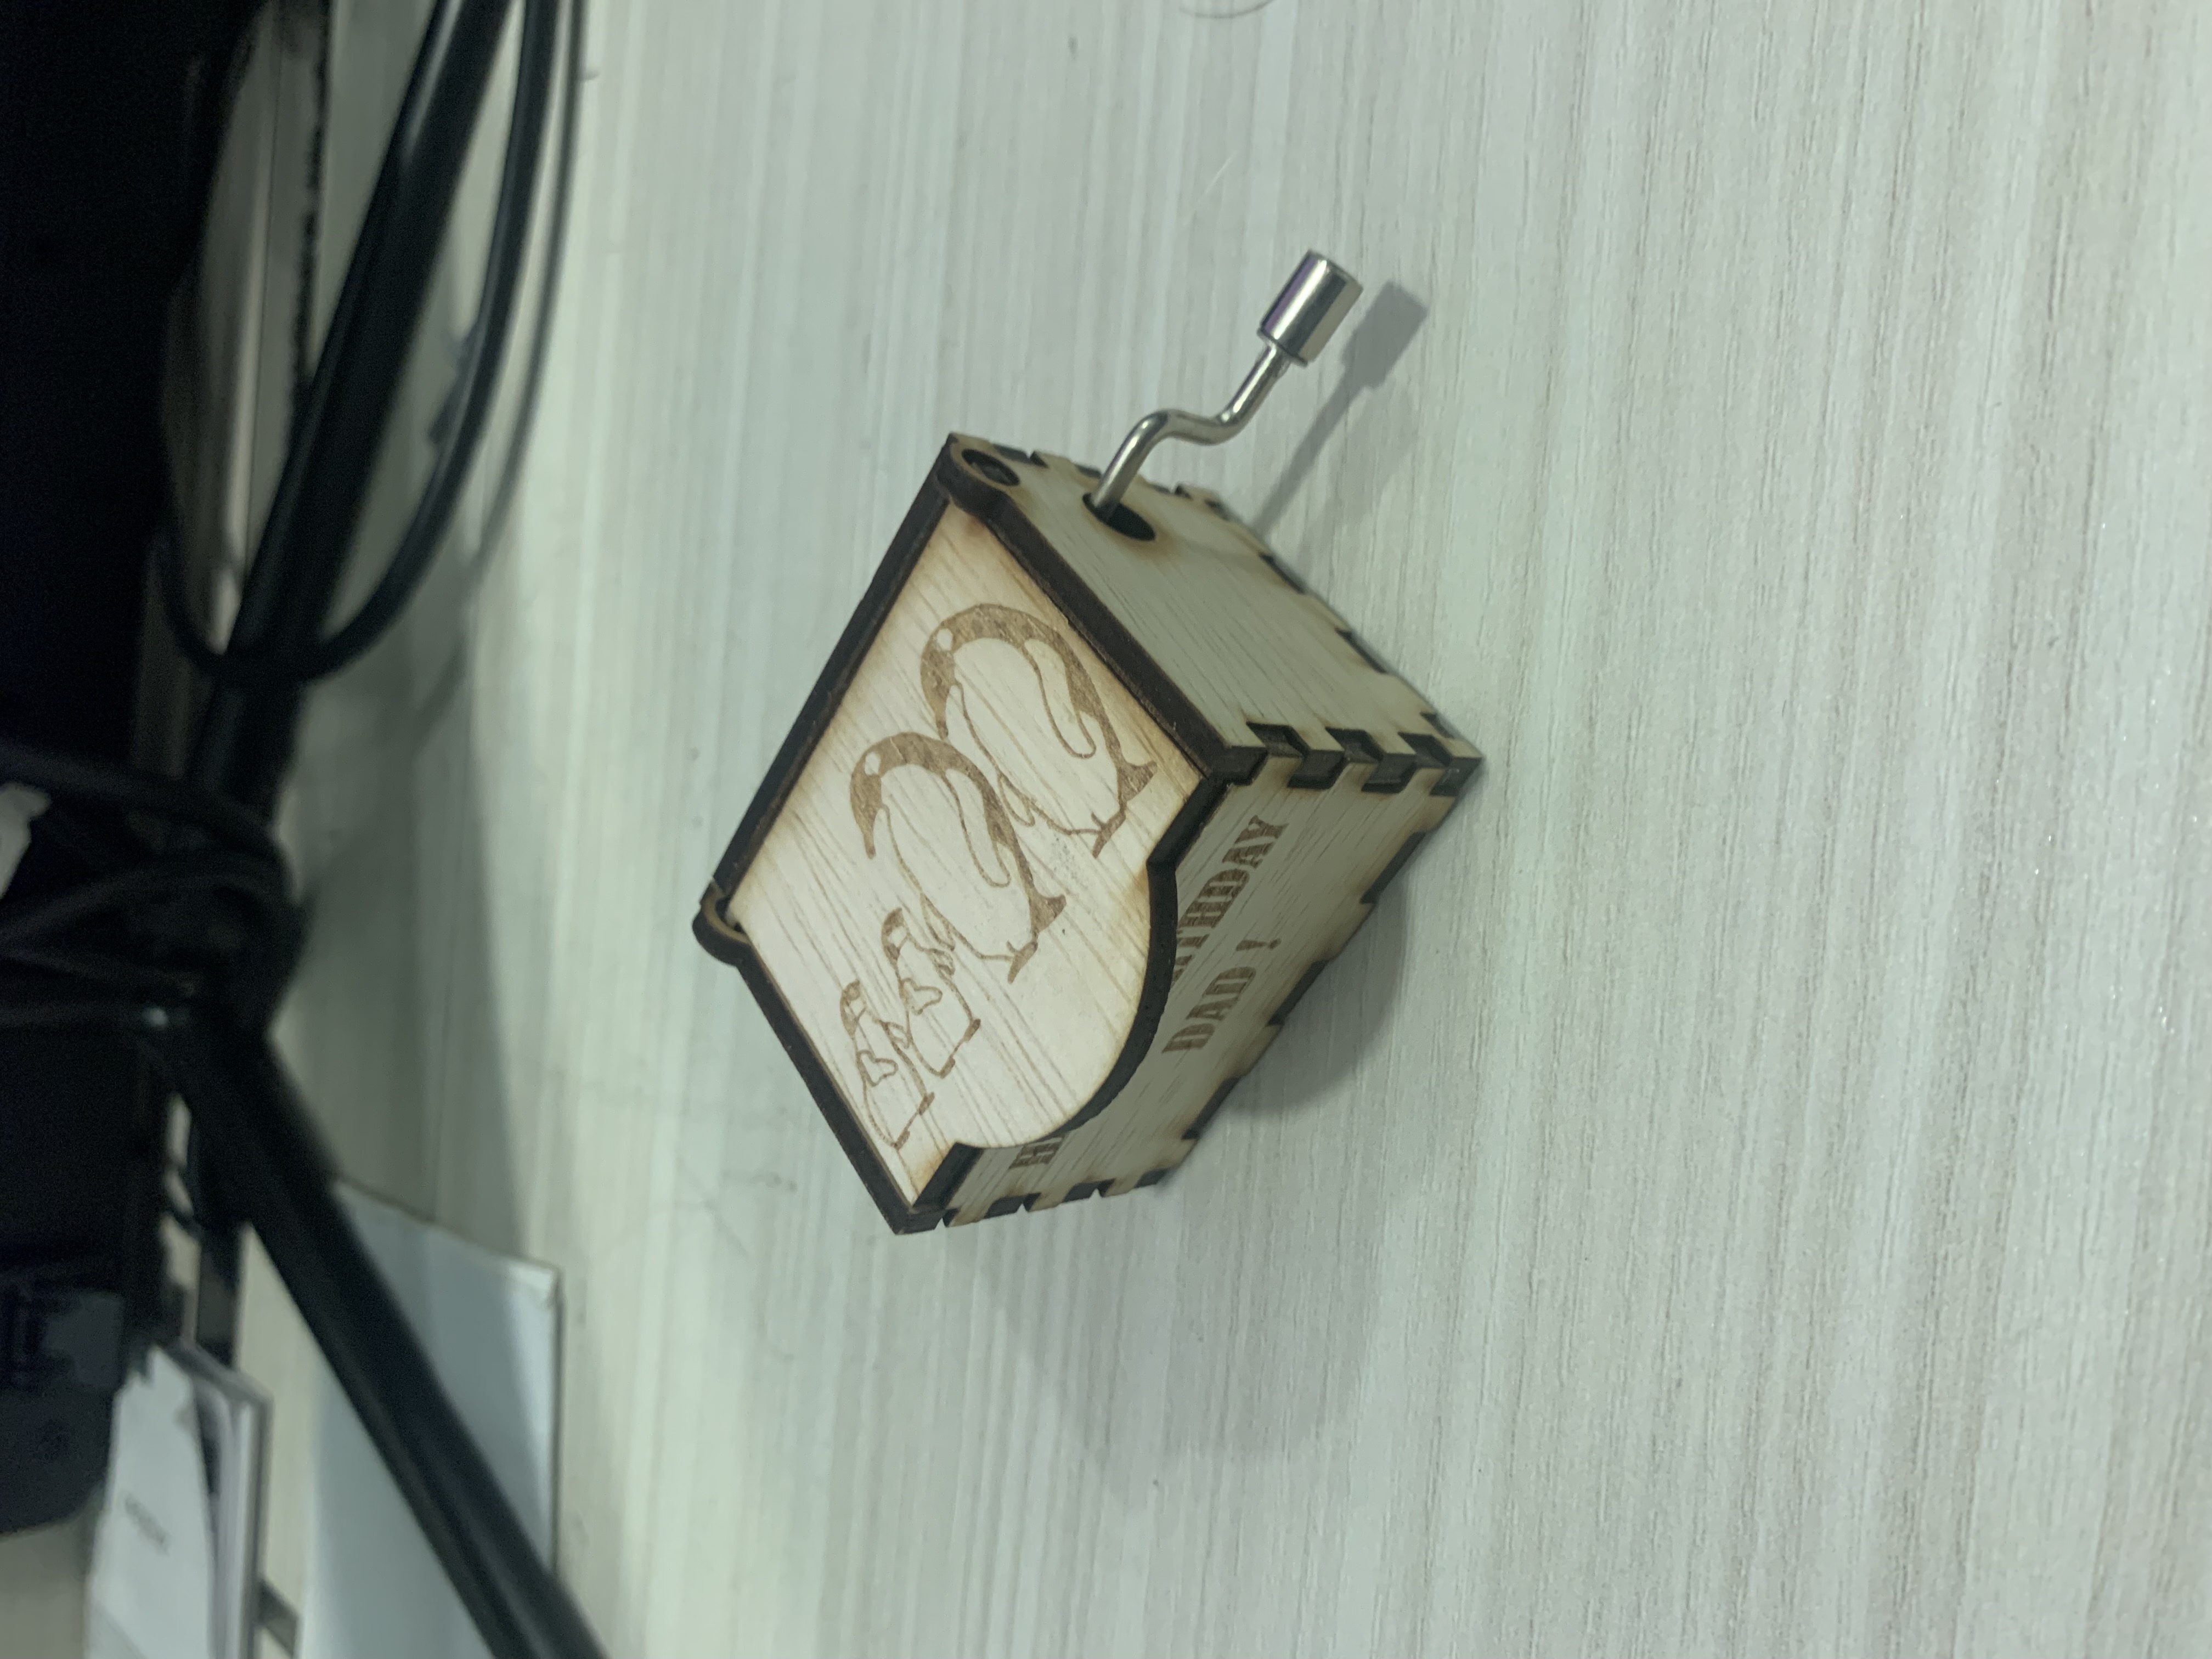
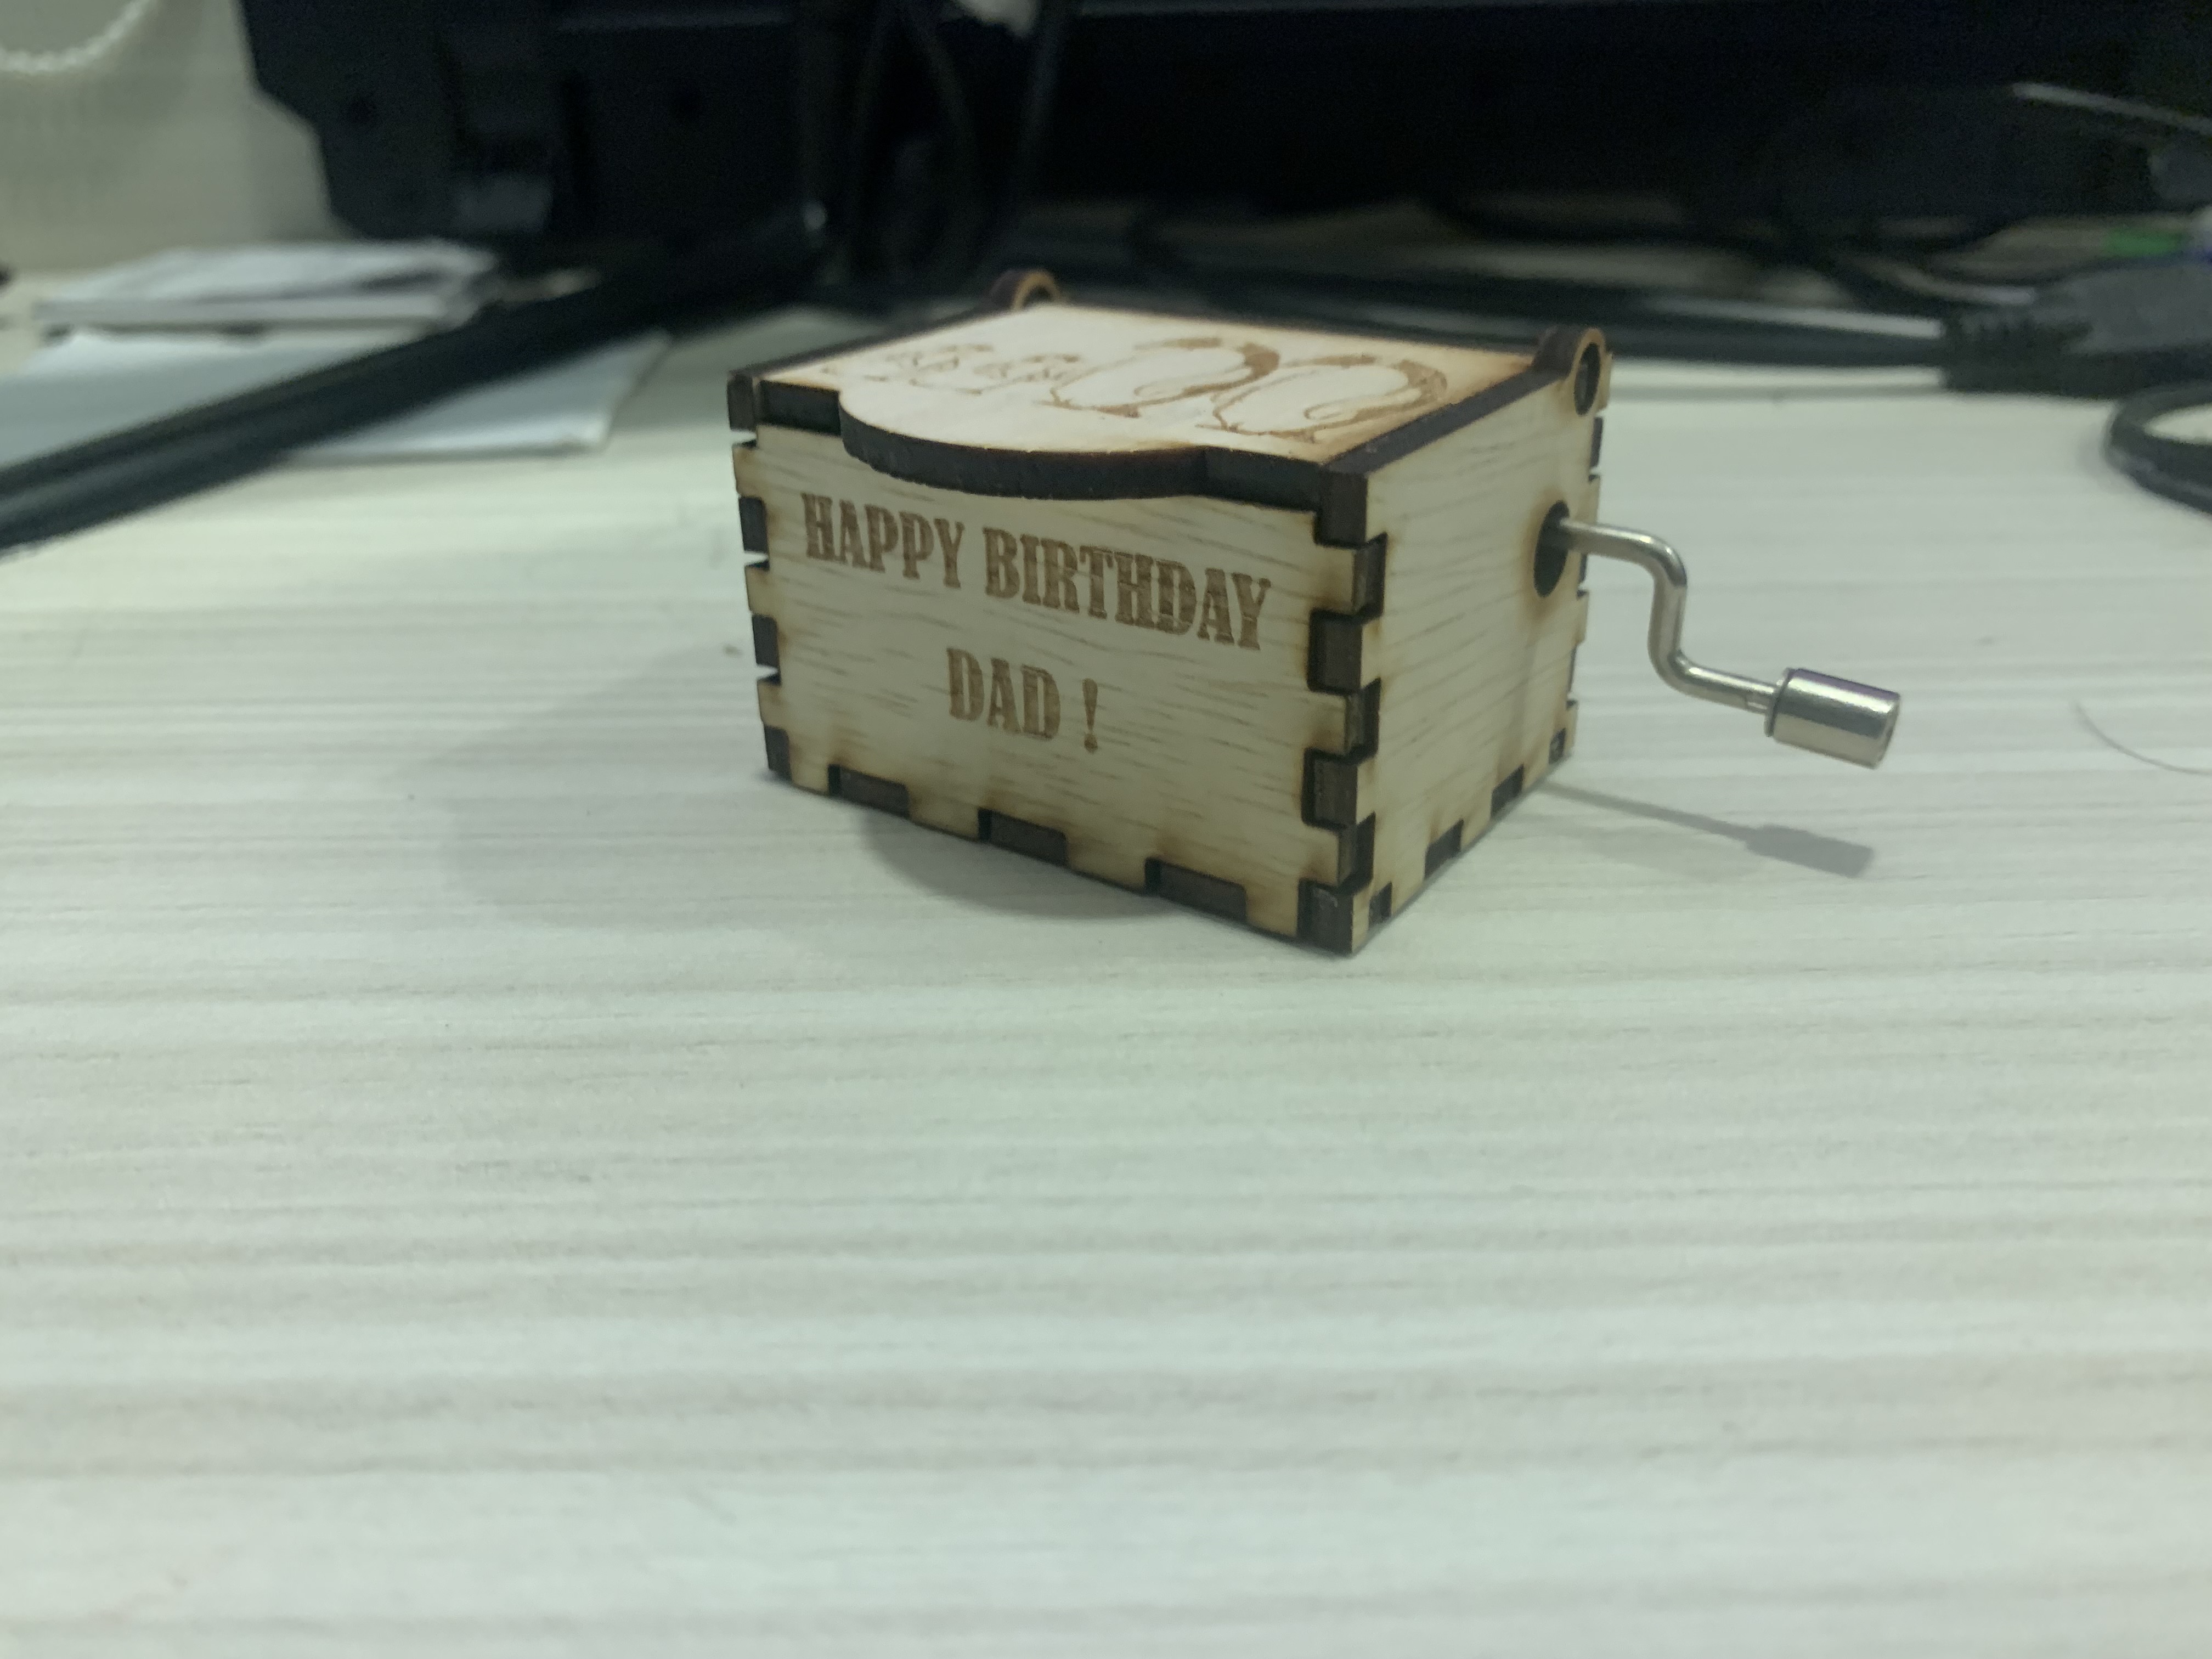
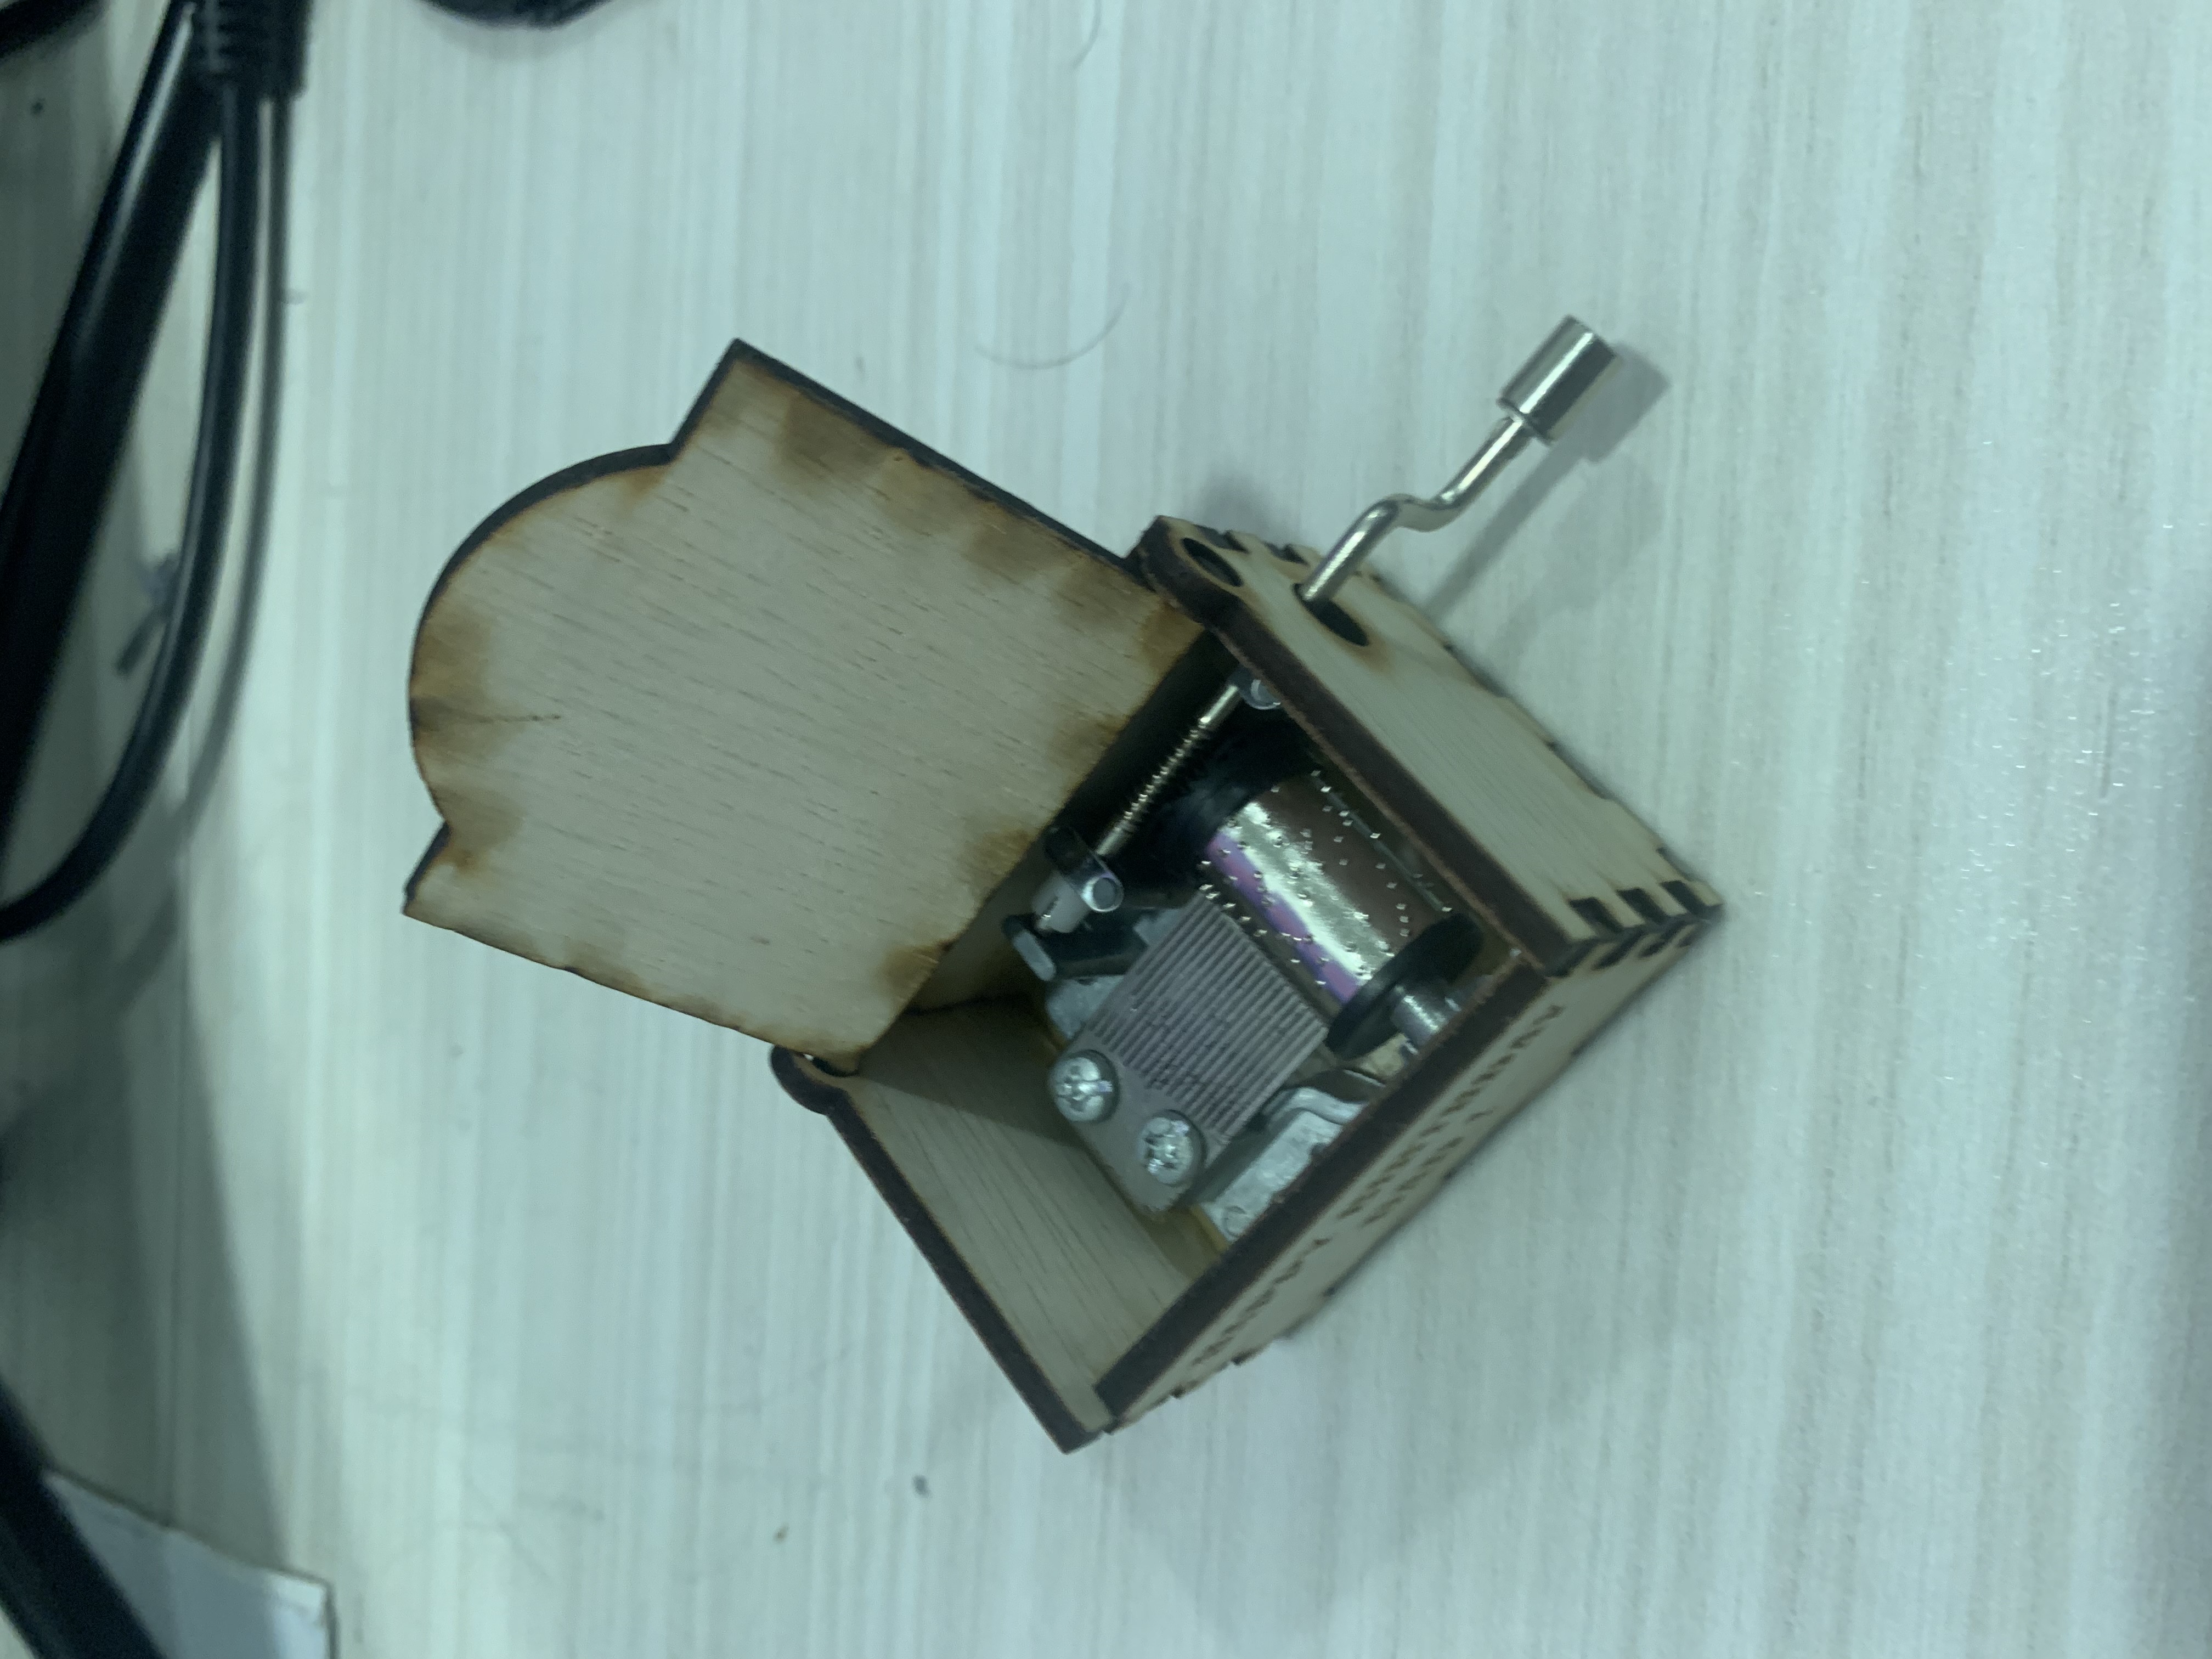
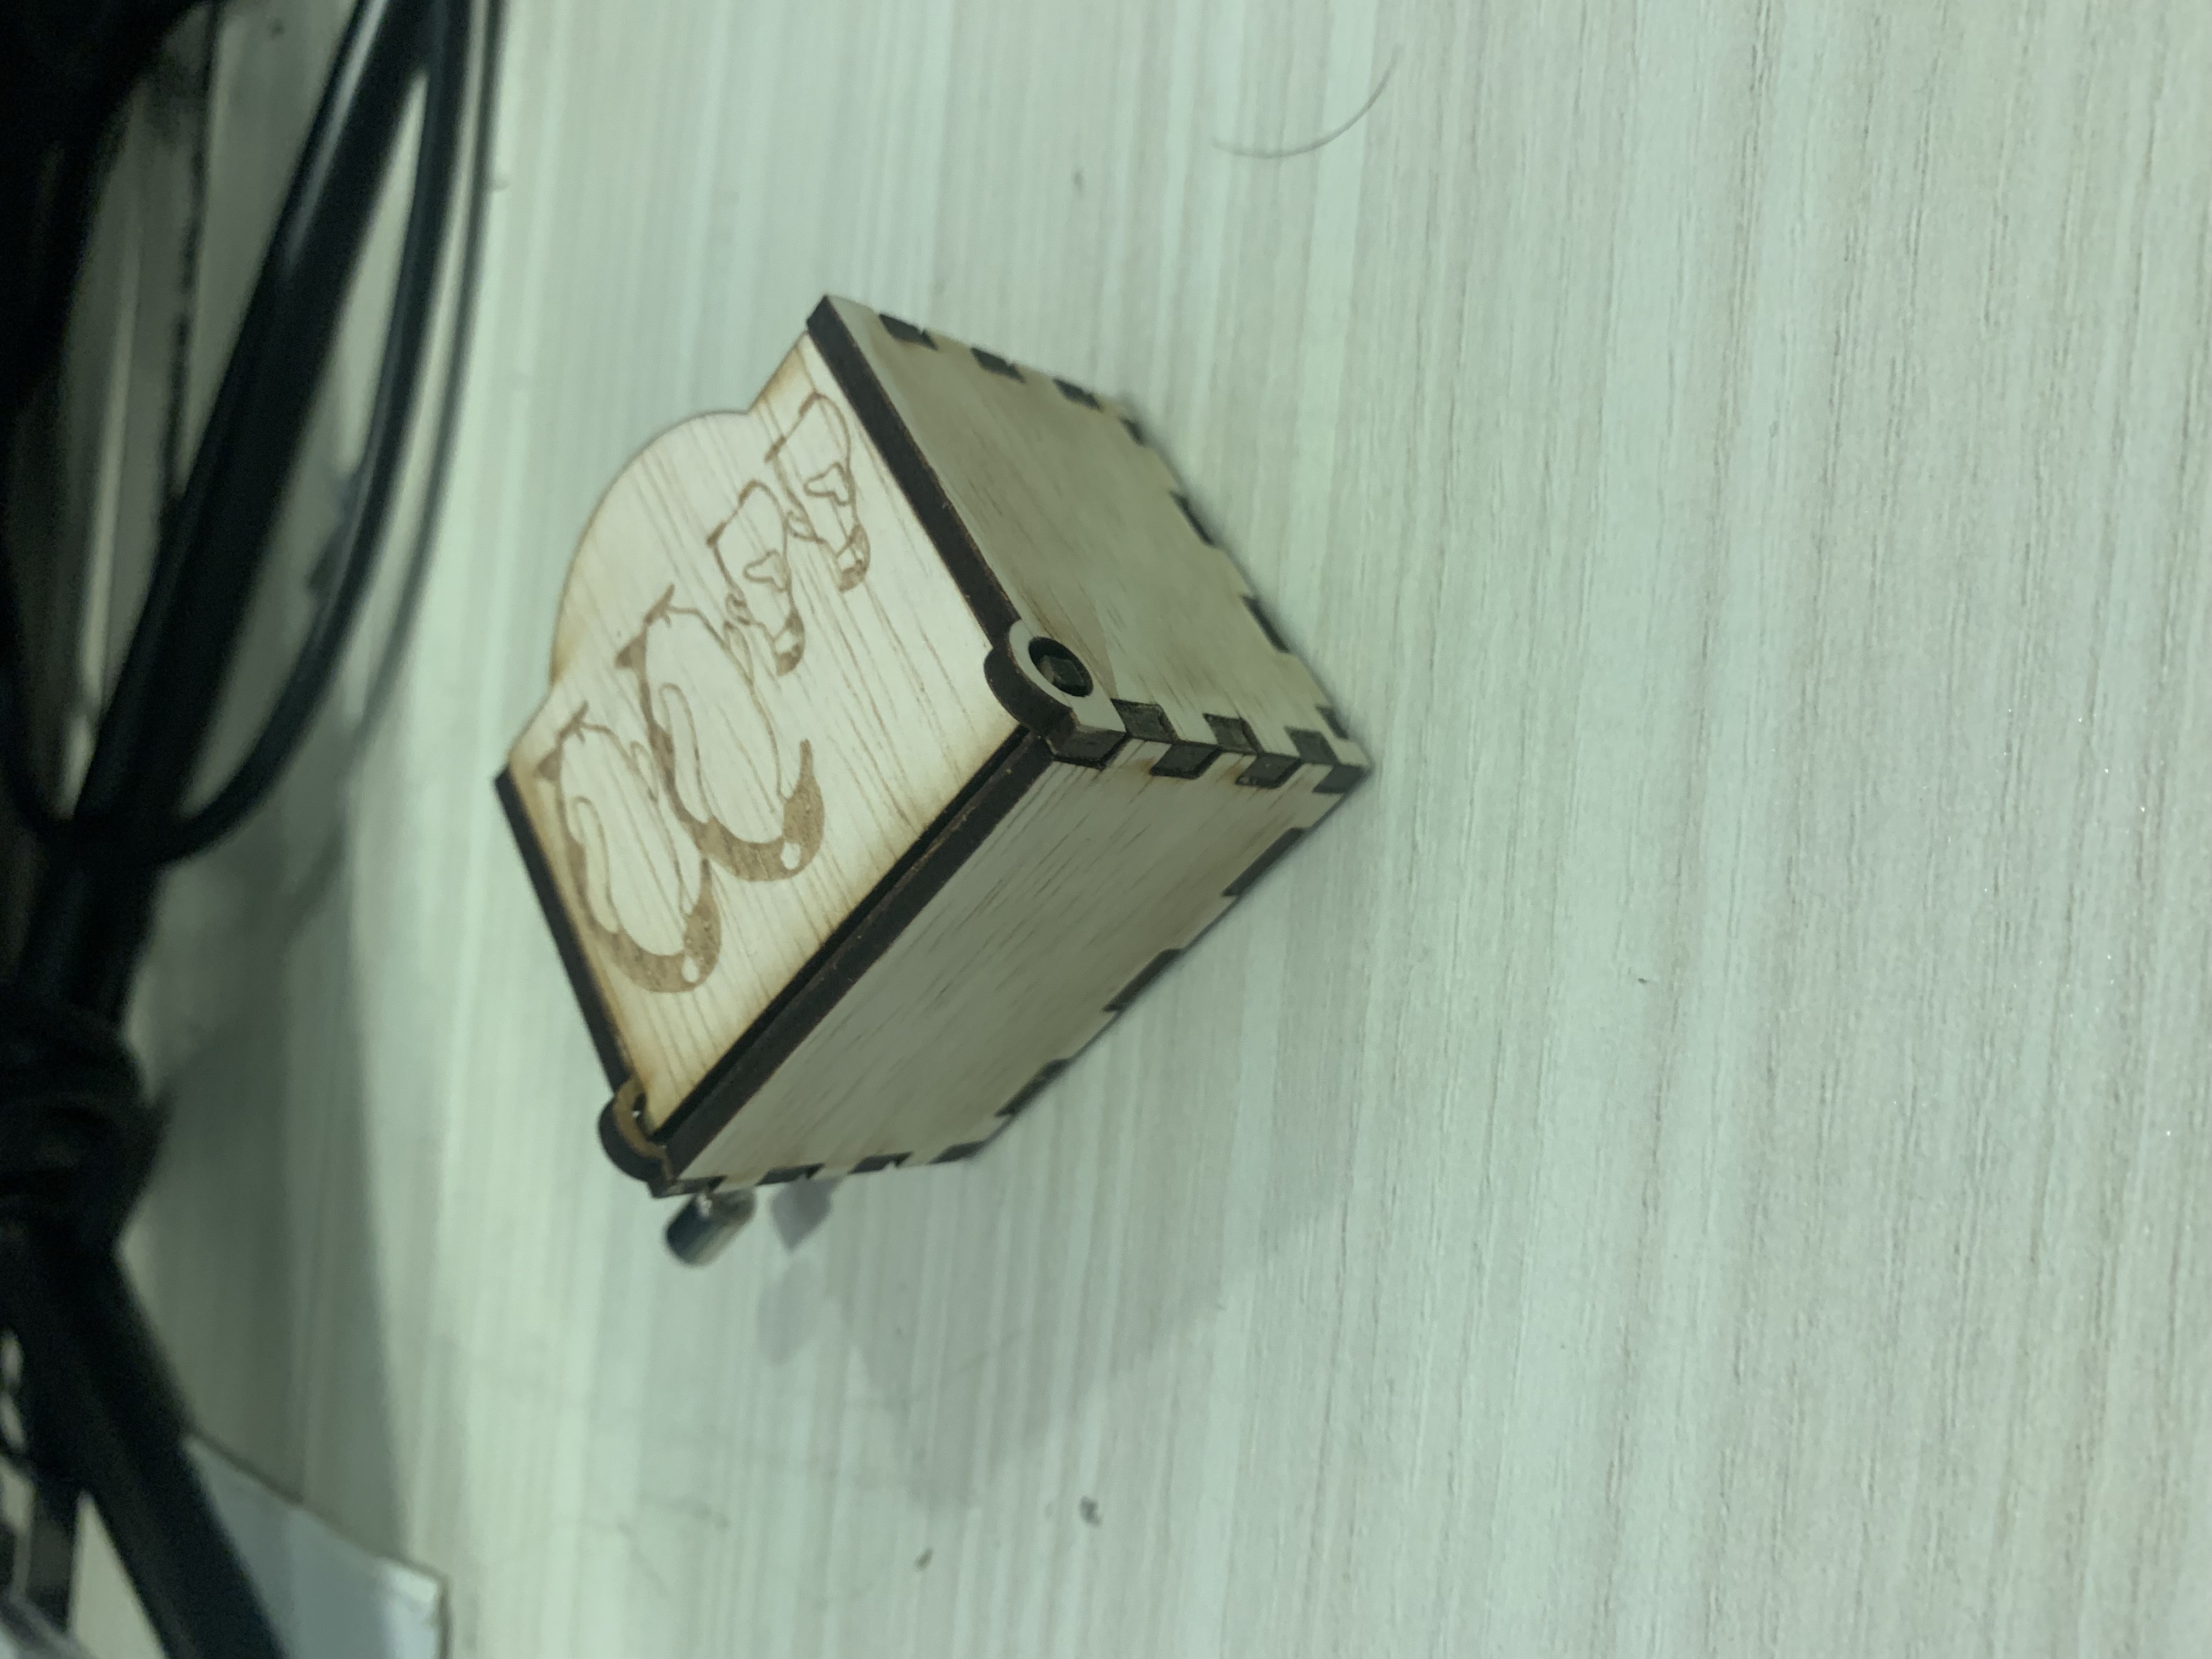
With all the pieces cut out and the internals delivered, I hotglue everything together and the box managed to fit nicely inside the box. Just in time to wish my Dad a Happy Birthday.